This site is supported by our readers. We may earn a commission, at no cost to you, if you purchase through links.
In this article, we will teach you easy steps guaranteed to give you perfect results every time. We will go into how to thread, both manual and automatic techniques, and even tips on those really pesky difficult needles.
Mastering this basic skill will give you the freedom to pick up any sewing project and complete it assertively without errors.
Table Of Contents
Key Takeaways
- Threading a needle isn’t rocket science, but it’s the bread and butter of sewing. Master this, and you’ll be stitching circles around your crafty friends in no time!
- Don’t let those pesky needles get your threads in a twist. From wire loops to desktop threaders, there’s a whole toolbox of tricks to make threading as smooth as butter.
- Size matters! Matching your thread to your needle is like finding the perfect dance partner. Get it right, and your stitches will be doing the tango across your fabric.
- When all else fails, remember: a little spit goes a long way. Wetting the thread end might seem old-school, but it’s a tried-and-true hack that’ll have you threading like a pro faster than you can say "bobbin"!
How to Thread a Sewing Machine Needle?
To thread a sewing machine needle, start by placing the thread spool on the pin and guiding it through the top thread guide. Pull the thread down, wrapping it around the tension disks. Then, thread the needle through its eye from front to back.
For the bobbin, place it in the compartment, unwind a few inches, and insert it ensuring correct thread direction. Close the compartment and turn the handwheel to bring up the bobbin thread.
Always refer to your machine’s instructions and use appropriate needle sizes for your fabric.
With practice, you’ll be threading like a pro in no time. Stick around to unravel more sewing secrets!
Threading Basics
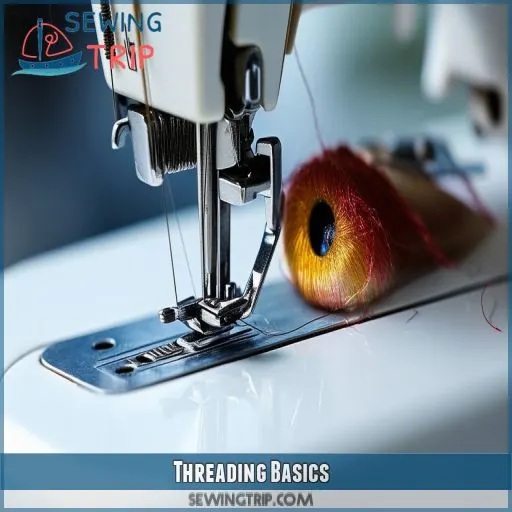
You will want to master how to thread your sewing machine, and in this section of the book, developing perfect stitches every time. Let’s discuss how to thread top and bottom halves of any machine, together with some general tips on how you can set up for success.
Threading the Top Half
To thread the top half of your sewing machine, start by placing the spool on the pin. Wind your bobbin.
Guide the thread through the top thread guide. Pull it down and wrap it around the tension disks.
Finally, thread the needle through its eye.
Remember to use the right needle size for your fabric and adjust the tension as needed for smooth stitching.
Threading the Bottom Half
Now, let’s get down to threading the lower half of your sewing machine. This step is going to help you in assuring that you have strong and even stitches. Here is what you’ll have to do:
Place the bobbin in its compartment. You can hear it click into position.
- Unwind a few inches of thread, watching it flow smoothly
- Insert the bobbin, ensuring the thread direction is correct
- Close the compartment with a satisfying snap
- Turn the handwheel and the thread of the bobbin will be there as if by magic.
General Threading Guidelines
Now that you have threaded the bottom half, let’s go into general guidelines.
Always refer to your sewing machine instructions for personal directions. Sometimes there are threading diagrams right on the machine. If you have a different model, then follow the instructions of one of similar kind as much as possible.
Unplug your machine while re-threading the needle. Use appropriate type and size needles for fabric.
Following these tips will help you become a pro at threading up your sewing machine and get perfect stitches every time.
Manual Needle Threading
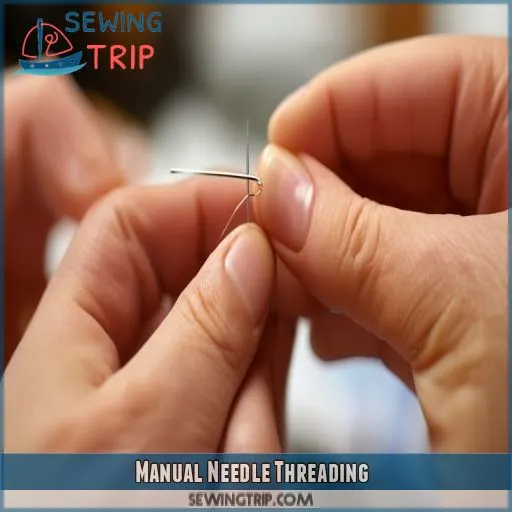
When threading your sewing machine needle manually, you have several options to make the task easier. You can use a handheld needle threader, take advantage of your machine’s built-in needle threader, or utilize an automatic needle threader if your machine has this feature.
Needle Threader
After mastering the threading basics, you’ll find a needle threader invaluable. This handy tool comes in various types, each with unique features.
Hold it horizontally, arrow facing up, and bring the thread across the "fork." Gently press it against the needle, release the thread, and pull down until you hear a click. Push to thread the eye.
It’s compatible with most needles and simplifies the process tremendously.
Built-in Needle Threader
Boy, you’ll be blessed if you have got this feature in your machine—an automatic needle threader.
First, you just have to make sure that your needle is raised to its highest position and the presser foot is lowered. Hold the thread to the left and take it over the threader hook.
Lower the lever, catching it in that tiny wire loop. With the lever still down, it will also carry the thread through the eye of the needle by magic.
There it is. You’ll be mastering that threading art really fast.
Automatic Needle Threader
You will just love working with an automatic threader. Press the button, and it very nearly threads itself.
Do remember, though, thread type counts in this case; thicker threads may cause a problem. Adjust your tension setting accordingly.
When network issues crop up, double-check the path of your thread to make sure it’s seated properly.
Troubleshooting tip: Clean this mechanism regularly to avoid hiccups.
You’ll master this in no time; it’s such a time-saver!
Needle Selection and Thread Preparation
One of the most critical factors in sewing is the proper combination of your needle and thread. You’ll have to remember to pair the thickness of your thread with the size of your needle, achieve the right tension of threads, and understand when to use different types of needles on various fabrics or creations.
Matching Thread To Needle
First, consider the size of your needle, and then match it up with your thread quality. You’ll use larger needles to sew thicker garments and stronger threads; finer needles go for the finer materials.
Use universal needle types if generally sewing, ballpoint for knits, and denim for heavier kinds.
And recall that the right mix ensures smooth stitches without snags or breaks that can be so frustrating.
Don’t try to save on your thread because it’s the skeleton of your work.
Proper Thread Tension
Now that you have matched your thread to your needle, let’s deal with the proper thread tension. It’s very important for contact and fluent stitching. You’ll need to change the tension depending on your fabric and quality of thread. Here are some key points to remember:
- Check for even winding on the bobbin
- Start with a medium tension setting
- Always test on scrap fabric before sewing your project
• Gradually adjust, watching for changes in stitch appearance
Needle Types Explained
Now that you’ve mastered thread tension, let’s dive into needles. Whether your sewing project is a whimper or a bang may depend on the type of needle you use.
Designed to perform specific functions, needles come in a range of sizes, shapes, points, and materials. Universal needles are all-around fantastic for many fabrics, but ballpoint needles truly shine on knits. For lightweight fabrics, it’s best to use a fine needle.
Always remember that using a proper needle will ensure smooth stitching, damage-free fabric, and prevent the risk of damage to your machine.
Needle Threading Techniques
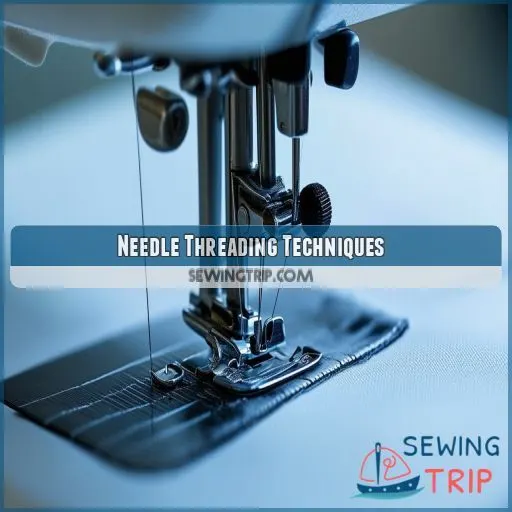
You’ll find several effective techniques to thread your sewing machine needle with ease. These include using a wire loop hand needle threader, a desktop hand needle threader, a magnifying glass for better visibility, wetting the thread end, or employing a specialized needle threader tool.
Wire Loop Hand Needle Threader
You’ll love the wire loop hand needle threader for its simplicity. It’s perfect for improving your hand-eye coordination and a great alternative to other threading tools.
Slip the wire loop through the needle’s eye, hook your thread, and pull it back. It’s so easy, even children can master it!
Recent design improvements have made this little gadget even more user-friendly, outperforming some bulkier threading options.
Desktop Hand Needle Threader
If you’re struggling with the wire loop threader, try a desktop threader. This handy tool combines a needle inserter and cushion in one.
Place your needle in the slot, guide the thread through, and voila! It’s threaded.
For stubborn threads, use a conditioner to reduce friction.
Some desktop threaders even come with a built-in light, illuminating the eye for easier threading.
Magnifying Glass
When threading delicate needles, a magnifying glass can be your best friend. It’s especially helpful if your eyesight isn’t what it used to be.
Hold the magnifier close to the needle’s eye for enhanced visibility and illumination. This simple tool allows for greater precision, making the threading process a breeze.
You’ll find yourself tackling even the tiniest needles with newfound confidence and ease.
Wet the Thread
Now, next time you’re having problems with your eyesight or becoming frustrated, try wetting the thread. This simple trick both makes your work easier on the eyes and also prevents fraying of the thread. Here’s how to do it:
- Wet the end of your thread slightly with your tongue or a damp sponge.
- Wet the end and gently twist to a fine point
- Direct the pointed end toward the eye of the needle.
- Push on thread steadily
This technique can significantly reduce thread breakage and make threading a breeze!
Needle Threader Tool
If wetting the thread doesn’t work, then there’s a needle threader tool. These gadgets come in several styles, each designed not to have a problem threading. Here is a quick comparison of some popular types:
| Type, Ease of Use, Best For, Special Feature | Type | Ease of Use | Best For | Special Feature |
|---|---|---|---|---|
| Wire Loop | Easy | Fine needles | Compact size | |
| Desktop | Medium | All Needles | Stability | |
| Auto | Very Easy | Frequent threading | Speed | |
| LED-lit | Easy | Low light conditions | Illumination |
Always remember to match your threaded thickness with the size of your needle to optimize your results.
Tips for Difficult Needles
Now that you’ve learned some of the threading techniques, let’s talk about some of those really stubborn needles that just won’t cooperate. If you have a lot of trouble, a needle inserter can be very handy. You place the needle in the device, and easily it guides the thread through. Otherwise, one other thing you might try is back threading—threading the needle from the back of the eye. Sometimes it’s easier to see and maneuver.
Large-eye needles are your friends when working with thick threads or shaky hands. A dab of thread conditioner really works wonders to reduce the friction and makes the thread lie nice and supple. At less bright moments, a needle threader that has an integrated light shining right into the eye of the needle makes the operation super easy.
Conquer those needles and feel the thrill of mastery!
• Get rid of threading frustrations once and for all!
• The secret to easy sewing and endless creativity—now unlocked!
General Threading Tips
Now that you have finally mastered needles, let’s take a look at some general threading tips to get you through the rest of your sewing journey. Keep in mind: threading precautions prevent frustration and wasted time. Always:
- Store your threads in a cool, dry place to prevent tangling and deterioration
- Choose good threads-matching your fabric and project needs.
• Keep your machine clean and well-oiled to have it perform at its best.
Thread quality can make or break your job, so don’t be a cheapskate on this staple item. Keep your trusty sidekick running smoothly with regular machine maintenance. When you hit a snag, don’t raise the white flag! Try these techniques with regard to troubleshooting: rethread your machine from scratch, clean lint buildup, or even adjust your tension settings. With practice, you’ll be threading needles like a pro and unleashing your creativity—stitching up a storm—in no time!
Frequently Asked Questions (FAQs)
What is the easiest way to thread a sewing machine needle?
You’ll find it easiest to use your machine’s built-in needle threader if available. Simply hook the thread, lower the lever, and it’ll push the thread through. For manual threading, a wire loop threader can be a lifesaver.
How to thread a sewing machine step by step?
Start by placing the spool on the pin. Guide the thread through the machine’s top guides and tension disks. Lower the needle to its highest point, then thread it from front to back. Finally, pull the bobbin thread up.
How do you thread a sewing machine needle with poor eyesight?
Use a magnifying glass to enlarge the needle’s eye. Try a needle threader tool for easier insertion. Opt for large-eye needles and bright lighting. If you’re struggling, ask someone for help or consider an automatic needle threader attachment.
Do you thread a sewing machine needle from front or back?
You’ve got this! Thread your sewing machine needle from front to back. Much like threading a tiny hoop, guide the thread through the eye and pull it towards you. You’ll feel a very satisfying click when it’s done right.
Can I use dental floss to thread a needle?
While you can use dental floss to thread a needle, it’s not ideal. The waxy coating may gum up your sewing machine, and its thickness can damage delicate fabrics. Stick to proper sewing thread for best results.
How do I thread a needle with arthritis?
Picture a delicate butterfly, gracefully threading its path. You’ll find similar ease with a needle threader. It’s your trusty tool to guide the thread, reducing strain on arthritic hands. Don’t hesitate to use magnifiers for better visibility.
Is it possible to thread a needle blindfolded?
While it’s possible to thread a needle blindfolded, it’s challenging and requires practice. You’ll need to rely on touch, feeling for the needle’s eye and guiding the thread through. It’s not recommended for everyday sewing tasks.
Can I use a sewing machine without threading it?
Did you know 90% of sewing machine issues stem from improper threading? You can’t use a sewing machine without threading it. It’s like trying to write without ink – you’ll just damage the fabric. Always thread properly for best results.
Whats the fastest way to thread multiple needles?
You’ll thread multiple needles fastest using a needle threader. Line up several needles, insert the threader’s wire loop through each eye, hook the thread, and pull it through. Repeat quickly for efficiency.
Conclusion
Imagine yourself threading your sewing machine needle with confidence and having the ability to bring all your creative visions to life. You won’t have a problem with this basic task anymore after learning the techniques.
Be it manual methods, automatic threaders, or the toughest of needles, you now have skills tooled to overcome all challenges in threading. Knowing how to thread a sewing machine needle is critical to successful projects.
The more you practice, the more easily you can thread a needle and thereby enter into worlds of sewing opportunities. Happy stitching!

