This site is supported by our readers. We may earn a commission, at no cost to you, if you purchase through links.
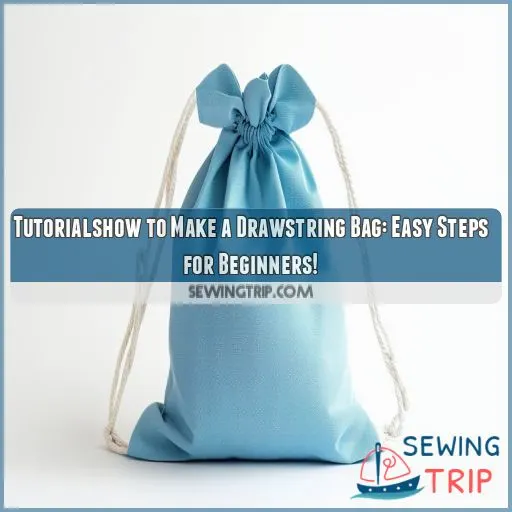 To make a drawstring bag, you’ll need fabric, ribbon, and basic sewing supplies.
Start by cutting two fabric pieces (12" x 9") and two 22" lengths of ribbon. Sew the main pieces together, turn right side out, and create flat bottom corners.
For the casing, fold and press the top edge twice, then stitch along the bottom fold. Thread your ribbon through the casing and tie the ends.
Finish by trimming loose threads and pressing for a crisp look.
This versatile project is perfect for beginners and can be customized in countless ways. With these simple steps, you’re well on your way to crafting your own unique accessory.
Table Of Contents
Key Takeaways
- Whip up a drawstring bag faster than you can say "abracadabra"! All you need is some fabric, ribbon, and basic sewing know-how. It’s like magic, but with threads instead of wands.
- Get creative with your fabric choices – go wild with patterns, mix and match colors, or keep it classy with solids. Your bag, your rules! Just remember, choosing the right fabric is half the battle won.
- Don’t sweat the small stuff, but do sweat the seams! Pressing as you go is the secret sauce for a bag that looks store-bought. It’s like ironing out the wrinkles in your life, one seam at a time.
- Think outside the bag! These versatile little pouches can be anything from a last-minute gift wrap to a toy-taming solution. Who knew a simple sack could be such a jack-of-all-trades?
Gather Your Materials
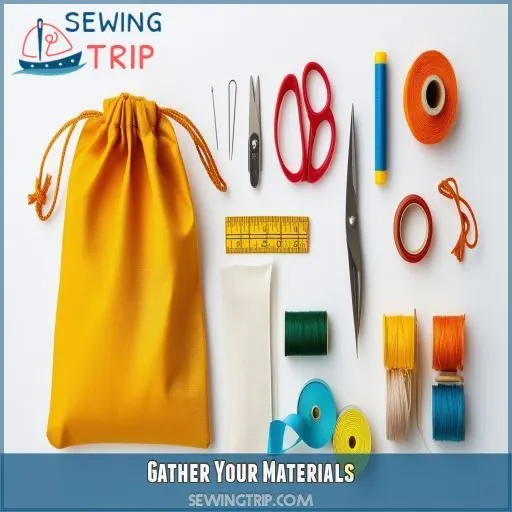
Start by gathering the necessary materials, including medium-weight cotton fabric, grosgrain ribbon, and essential sewing notions. Make sure you have precisely cut fabric pieces and ribbon for efficient construction, aiding in creating a sturdy, professional-quality drawstring bag (Source).
Fabric
Start with selecting high-quality fabrics. Consider the fabric weight for durability, the fabric type for usability, and the fabric color for aesthetics. To make a drawstring bag, you’ll generally need:
- Medium-weight cotton fabric for the exterior.
- Lining fabric for inside.
- Durable fabric for longevity.
Ribbon or Cord
Choose a durable ribbon or cord for your drawstring bag. Make certain the ribbon width suits the casing, typically around 1/2 inch. The cord length should be double your fabric width. Opt for a ribbon color and pattern that complements your fabric. Cord stoppers add a professional touch.
Sewing Notions
You’ll need a few key sewing notions:
- Sewing machine and needles: Make sure you’ve got the right needle sizes for your fabric types.
- Thread: Choose from various thread types to match your fabric.
- Interfacing materials: Essential for adding structure to your lined drawstring bag.
Cut the Fabric Pieces
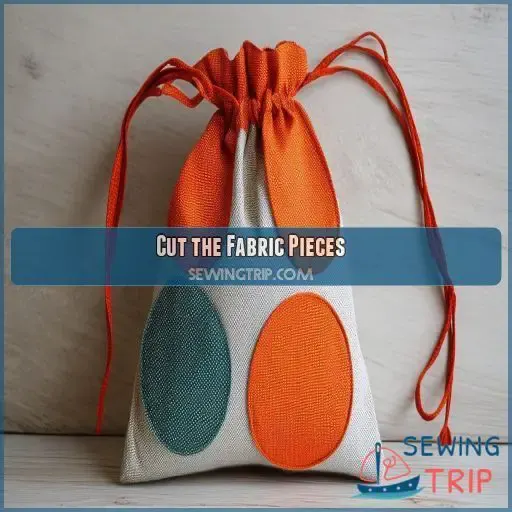
To begin, measure and cut the main fabric pieces to the specified dimensions of 12 inches by 9 inches for each piece (Source). Then, proceed to cut the grosgrain ribbon into two 22-inch lengths .
Measure and Cut the Main Fabric Pieces
First, select suitable fabrics considering weight and colors. Medium-weight cottons or patterned fabrics work well, providing durability and visual appeal. For unique designs, try ripstop or wadding for outer layers.
Measure and cut two main fabric pieces, each 12 inches long by 9 inches wide. Accuracy is key for precise construction. Mark the corners for corner accents and a flat base. Utilize a circle template for even cuts to guarantee your project remains neat .
Cut the Ribbon or Cord to Length
- Ribbon width: Make sure at least ½ inch for ease of threading.
- Ribbon length: 44 inches should suffice for a basic drawstring bag.
- Safety pin: Thread your ribbon or cord through the casing using this tool for efficiency.
Sew the Bag Body
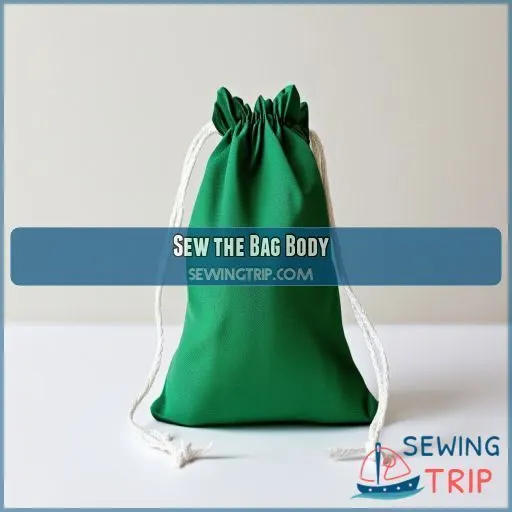
To sew the bag body, pin the main fabric pieces right sides together and stitch around the edges, leaving the top open. Trim the seams, turn the bag right side out, and press to create neat edges .
Pin and Sew the Main Fabric Pieces Together
Now that you have your fabric pieces cut, it’s time to sew them together. Place the two main fabric pieces right sides together, leaving a 2-inch gap at the top edge on both sides. Pin and sew around the edges, using a 1/4 inch seam allowance. Make sure to backstitch at the beginning and end of your stitches.
| Sewing Tips | Benefits |
|---|---|
| Use a 1/4 inch seam allowance | Consistent seam width for a professional finish |
| Backstitch at the beginning and end | Secure stitches to prevent unraveling |
| Press seams as you go | Reduce bulk and make sewing easier |
| Use clips or pins to hold fabric in place | Accurate alignment and smooth sewing |
Trim Seams and Turn Right Side Out
Once you’ve sewn the main fabric pieces together, it’s time to trim the seams. Carefully snip away any excess fabric, close to your stitches, ensuring a neat edge.
Next, turn the bag right side out. Use a box template to make the angle cuts for the corners, which will help form the base.
Press the seams and corners to maintain a clean shape. This technique is essential in achieving a smoothly finished drawstring pouch .
Create the Bottom Corners
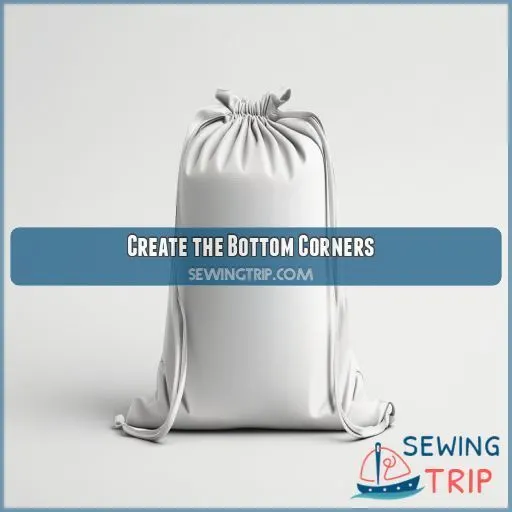
To create the bottom corners, fold and pin the bag’s bottom corners, aligning the side seams with the bottom seams. Sew across each corner 2 inches from the point to form a flat bottom, reinforcing stitches at the start and finish .
Fold and Pin the Corners
To shape the bottom corners of your drawstring bag, you’ll need to create a flat base. Gently pull the front and back pieces apart at the bottom, aligning the side seam with the bottom seam in a triangular fold. Pin the corners securely.
This step guarantees precision, offering a stable foundation. Properly pinning enhances the final shape, giving your bag a professional look. Embrace these sewing techniques for consistent results in corner shaping and pressing .
Sew Across the Corner to Create a Flat Bottom
Once you’ve folded and pinned the corners, align the side and bottom seams precisely.
Sew across the corner seam two inches from the point to form a flat bottom.
For extra durability, add a reinforcement stitch at the start and finish.
This technique helps create a gusset variation suited for a neat boxy pouch or a lined bag.
Whether it’s a waterproof lining or an art accessories holder, this method will guarantee durability and tidiness.
Make the Drawstring Casing
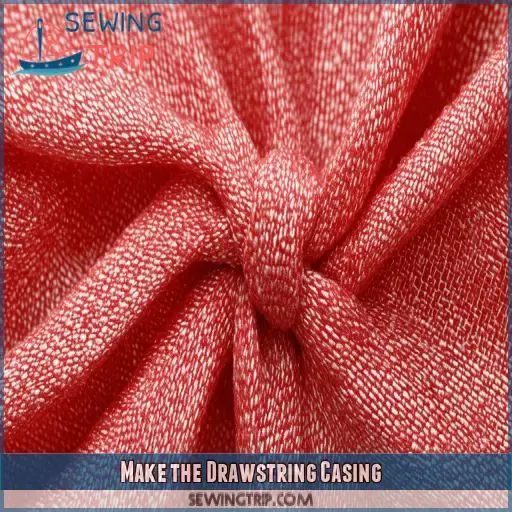
Now it’s time to make the drawstring casing. This part adds function and style to your drawstring bag. Follow these steps to get it right.
- Casing Measurements: Fold the top raw edge of the bag ½ inch to the wrong side and press. Then, fold it again by 0.75 inches and press once more.
- Reinforced Casing: Pin the folded edge in place and sew along the bottom fold, ensuring your stitch is even and secure for durability.
- Decorative Casing: For a decorative touch, you may use a contrast thread or add trim along the top edge before sewing down the second fold.
- Lining Casing: If your bag has a lining, align and sandwich the lining appropriately within the fold before stitching, ensuring a neat finish.
This will create a sturdy channel for your cording material or ribbon to pass through .
Insert the Drawstring
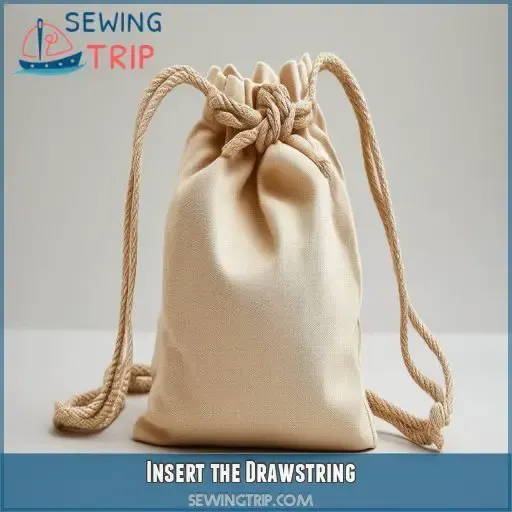
It’s time to insert the drawstring; use a safety pin to thread one ribbon piece through the casing, then repeat for the other side. Finally, tie the ends of the ribbons securely in a knot and pull to close the bag .
Thread the Ribbon or Cord Through the Casing
Alright, thread your safety pin through the drawstring material, such as your ribbon, grosgrain, or fabric drawstring. Insert the pin into one end of the casing, carefully pulling the ribbon through. Here’s a quick guide:
| Task | Objective | Tip |
|---|---|---|
| Measure Ribbon | Check ribbon length | Use a flexible tape |
| Attach Safety Pin | Facilitate threading | Pin to ribbon end |
| Thread Casing | Insert ribbon through casing | Keep material taut |
| Heat Sealing | Prevent fraying | Use a lighter or match |
Threading this step ensures your drawstring bag is practical and easy to close.
Tie the Ends Together
Now that you’ve threaded your ribbon or cord, it’s time to secure it. Tie the ends together using a strong knot that won’t easily come undone. Here are three key points to remember:
- Choose a knot type based on your drawstring material
- Leave enough slack for easy opening and closing
- Trim excess length, but not too short
Ensure your knot is tight and durable, especially if you’re using slippery ribbon. For added security, consider using a flame to slightly melt synthetic cord ends, preventing fraying and enhancing your drawstring bag’s longevity.
Finish the Bag
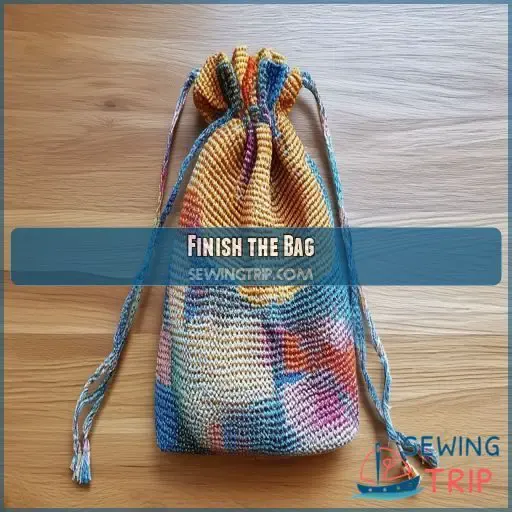
To finish your drawstring bag, carefully trim any loose threads around the seams and edges for a neat appearance. Give the bag a final press with an iron to smooth out any wrinkles and create crisp edges, paying extra attention to the drawstring casing and bottom corners.
Trim Any Loose Threads
Now that you’ve inserted the drawstring, it’s time to give your bag a polished look. Grab your scissors and carefully inspect the entire bag, trimming any loose threads you spot.
Pay special attention to the seams, corners, and drawstring casing. Don’t forget to check both the inside and outside of your easy-sew creation.
This step ensures your beginner-friendly drawstring bag looks neat and professional. Remember, even small details like loose threads can affect the overall appearance and durability of your handmade accessory.
Press the Bag to Neaten the Shape
Now that you’ve trimmed loose threads, it’s time to give your bag a polished look. Grab your iron and press the bag, paying attention to seam allowances and fabric stiffness. Use different pressing techniques for various bag shape variations.
A steam iron works wonders on cotton, while a dry iron is best for delicate fabrics. Don’t forget to press the accent fabric and bias-cut edges.
Neatly press the turning gap and topstitching for a professional finish.
Your super-fast DIY gift bag is almost complete!
Customize Your Bag
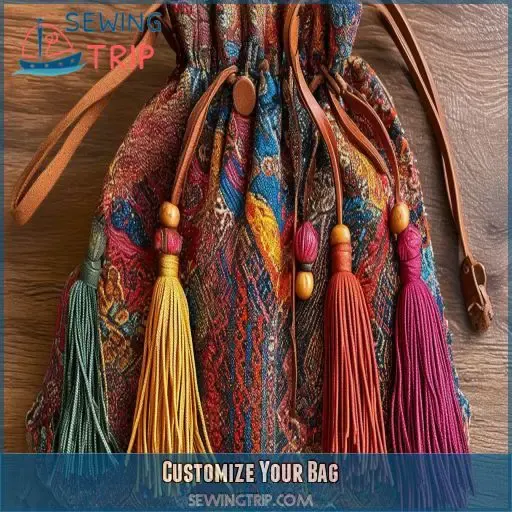
You can personalize your drawstring bag by adding pockets or appliques to enhance its functionality and style. Experiment with different fabric patterns and ribbon colors to create a unique bag that reflects your personality and suits your specific needs.
Add Pockets or Appliques
You can make your drawstring bag truly unique by adding pockets or appliques. Sew on external pockets for extra storage, or create internal compartments for organization. Get creative with appliques using fabric scraps or embroidery designs.
Try dinosaur and fossil prints from Riley Blake Designs’ Fossil Rim Collection for a prehistoric twist.
Transform your bag into a mini pouch or Kalina mini wallet by adjusting the size. For makeup enthusiasts, consider adapting the design into a lay-and-go makeup bag.
These customizations will elevate your basic drawstring bag to a personalized masterpiece.
Use Different Fabrics and Ribbons
Now that you’ve mastered adding pockets and appliques, let’s explore using different fabrics and ribbons to further customize your drawstring bag. You can create unique designs by mixing and matching various materials. Here are some ideas to inspire your creativity:
- Combine canvas fabric with satin ribbons for a rustic-chic storage bag
- Use patterned cotton for a fun tote bag, paired with complementary grosgrain ribbon
- Try velvet fabric with metallic cords for an elegant pouch to store hair scrunchies
Experiment with different color combinations and fabric textures to make your drawstring bag truly one-of-a-kind.
Tips for Success
To guarantee your drawstring bag turns out beautifully, press your seams as you sew for a crisp finish, and use clips or pins to hold fabric layers in place while stitching. When approaching corners, slow down your sewing speed to maintain control and achieve neat, precise turns that will give your bag a professional appearance.
Press Seams as You Sew
As you customize your drawstring bag, remember to press seams as you sew. Set your iron’s temperature based on your fabric choice. Use the presser foot to guide your seam allowance and adjust thread tension accordingly. This step helps ensure crisp edges and professional-looking results for your easy-sew drawstring bag, perfect for kids’ toys.
Use Clips or Pins to Hold Fabric in Place
After pressing seams, secure your fabric with clips or pins. This essential step guarantees accuracy and prevents shifting. Here are four key pinning techniques:
- Pin perpendicular to seam edges
- Space pins evenly, about 2-3 inches apart
- Use double pins for curves or intricate seams
- Consider fabric weight when selecting pin type
Sew Slowly Around Corners
When you’re sewing around corners, slow down to maintain control. This is essential for a polished drawstring bag. Here’s a quick guide:
| Corner Type | Speed | Technique |
|---|---|---|
| Sharp | Slow | Pivot |
| Curved | Medium | Smooth arc |
| Boxed | Slow | Stop & lift |
Take your time, and you’ll nail those corners every time.
Drawstring Bag Ideas
You can create drawstring bags for various purposes, including gift bags, makeup bags, jewelry pouches, toy storage, and travel organizers. Consider the intended use when selecting fabric and sizing for your drawstring bag, adapting the basic pattern to suit specific needs such as waterproof materials for toiletry bags or durable fabrics for toy storage.
Gift Bags
Customize your drawstring bags as unique gift packaging. Mix fabric combinations from Riley Blake Designs’ Fossil Rim collection for eye-catching patterns. Experiment with shapes and closures to create mini StashNGo bags perfect for any occasion.
Makeup Bags
Create compact makeup bags with drawstrings for easy organization. Use waterproof fabrics for toiletries storage. These small pouches double as travel accessories, keeping your cosmetics secure. Customize sizes for various makeup containers and brushes.
Jewelry Pouches
You’ve mastered makeup bags, now let’s elevate your jewelry storage. Create custom pouches for your precious gems. Fabric, beaded, chain, tassel, or zipper pouches – they’ll keep your treasures safe and organized.
Toy Storage
Just like jewelry pouches, drawstring bags make excellent toy storage solutions. They’re perfect for:
- Building blocks
- Action figures
- Board game pieces
Encourage kids to practice toy organization and safety with these versatile bags.
Travel Organizers
Drawstring bags are perfect travel organizers. Pack accessories and toiletries efficiently with these versatile pouches. Here’s a quick guide:
| Use Case | Size | Best For |
|---|---|---|
| Toiletries | Medium | Liquids |
| Accessories | Small | Jewelry |
| Dirty Laundry | Large | Clothes |
Frequently Asked Questions (FAQs)
How do you make a drawstring bag?
Like a caterpillar transforming into a butterfly, you’ll create a drawstring bag with ease. Cut fabric, sew sides, fold top for casing, thread ribbon through, and you’re done. It’s a simple project you’ll master quickly.
How to sew the bag for a drawstring bag?
You’ll sew the bag by folding your fabric right sides together, stitching along the bottom and side edges. Leave an opening at the top for the drawstring. Turn it right side out and press the seams flat.
Are drawstring bags a good sewing project?
Like Aladdin’s magical pouch, drawstring bags are an excellent sewing project. You’ll master essential skills while creating a versatile accessory. They’re quick to make, customizable, and perfect for beginners. You’ll feel empowered crafting these practical, stylish bags.
How do you sew a drawstring pouch?
You’ll need fabric, ribbon, and basic sewing supplies. Cut your fabric, sew the sides, create a casing at the top, and thread the ribbon through. It’s a quick project that’ll give you a handy pouch in no time!
How do I adjust the bag size proportionally?
Want to customize your drawstring bag’s size? Simply adjust all measurements proportionally. For instance, to double the size, multiply each dimension by two. This applies to fabric pieces, ribbons, and seam allowances. You’ll maintain the bag’s shape while altering its scale.
Can I use interfacing for a sturdier bag?
Yes, you can use interfacing for a sturdier bag. It’ll add structure and durability. Simply iron fusible interfacing to the wrong side of your fabric before assembly. Choose lightweight to medium-weight interfacing, depending on your desired stiffness.
Whats the best way to waterproof my drawstring bag?
You can waterproof your drawstring bag by applying a fabric waterproofing spray or wax coating. Alternatively, use waterproof fabric like ripstop nylon or laminated cotton. For added protection, seal the seams with waterproof tape or silicone sealant.
How do I add interior pockets to the bag?
Fax over your design plans, then cut fabric for pockets. Pin them to the lining before assembly. Sew pocket edges, leaving openings. You’ll add organization and functionality to your drawstring bag, enhancing its versatility for various uses.
Can I use alternatives to traditional drawstrings?
You can use alternatives like elastic cords, leather straps, or even repurposed materials like shoelaces. These options offer unique looks and functionality. Experiment with different closures like toggles or buttons for a personalized touch on your drawstring bag.
Conclusion
With these steps under your belt, you’re now equipped to create a charming drawstring bag. This tutorial on how to make a drawstring bag has guided you through the process, from cutting fabric to adding those final touches.
Your handmade drawstring bags will soon become go-to gifts or personal accessories. Keep crafting and enjoy the satisfaction of creating something both beautiful and functional!

