This site is supported by our readers. We may earn a commission, at no cost to you, if you purchase through links.
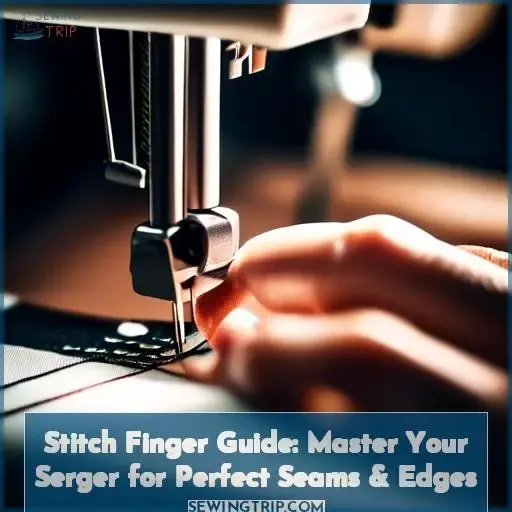
This guide illuminates the pivotal role of the stitch finger in crafting those clean, professional-looking finishes that elevate your sewing projects from homemade to handmade.
Whether you’re navigating the dense jungle of differential feeds or the intricate dance of tension adjustments, understanding the stitch finger’s function is your compass to mastering your serger.
Let’s unravel the mystery together, ensuring your journey from tangled threads to seamless creations is as smooth as the fabric under your presser foot.
Yes, a stitch finger on a serger is a crucial component that guides threads to create stitches on fabric edges, working alongside needles and the pressure foot.
Table Of Contents
Key Takeaways
- The stitch finger acts like knitting needles, guiding the looper thread to form stitches on the fabric edge, crucial for creating smooth and professional finishes.
- Removing or adjusting the stitch finger is essential for achieving narrower stitches, rolled hems, or narrow overcasting, highlighting its versatility in serging applications.
- Proper adjustment and maintenance of the stitch finger are vital for preventing thread jams and ensuring smooth stitching, especially on lightweight fabrics or when creating specialty stitches.
- The stitch finger’s functionality is closely tied to other serger settings like differential feed and stitch length, indicating its integral role in the overall performance of the serger.
Differential Feed Mechanics
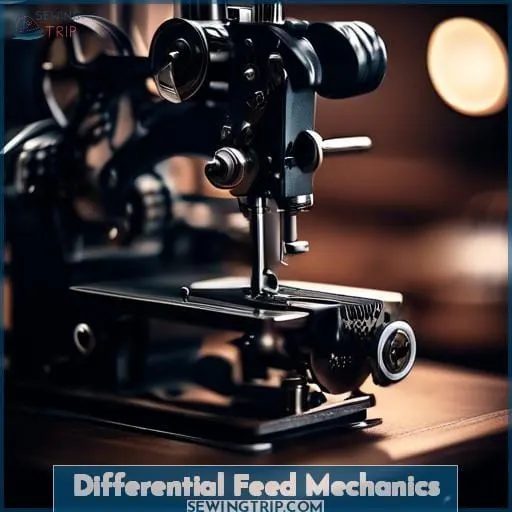
When you’re working with a serger, understanding the differential feed is crucial for achieving the perfect seam finish.
This feature, controlled by adjusting the ratio between two sets of feed dogs, allows you to manipulate how fabric is fed through the machine.
By fine-tuning this setting, you can prevent puckering on lightweight fabrics, achieve smooth seams on knits, or create decorative ruffles and edges.
Role in Fabric Handling
The stitch finger on a serger is a critical component that aids in the formation of stitches. It’s a finger-shaped part located near the cutting blade on the pressure foot’s right side. The stitch finger serves as a guide for the looper threads, ensuring that they wrap neatly around the fabric edge and hold the fabric smooth during stitching.
This is especially important for creating specialty stitches such as rolled hems, narrow hems, or narrow four-thread overcasting or seaming. The stitch finger can be adjusted or removed depending on the stitch required, and the process for doing so varies by machine.
In the case of the Brother 1034D serger, the user is experiencing thread jamming on the removable stitch finger, which could be due to a problem with the stitch finger itself or the interaction between the threads and the stitch finger.
The user has attempted several troubleshooting steps, but the issue persists. Potential solutions include replacing the stitch finger, pressure foot, or stitch plate, having the machine serviced, purchasing a new machine, using the machine without the stitch finger, or seeking further support from the manufacturer.
To prevent such issues, it’s recommended to perform regular maintenance and care, including professional servicing, cleaning, oiling, using high-quality thread and needles, and storing the machine properly.
Additional troubleshooting tips include checking for burrs or defects on the stitch finger, ensuring thread guides are correctly positioned, cleaning tension disks, trying different threads, and adjusting differential feed settings.
Here are three key points to consider:
- Stitch Finger Replacement: If the stitch finger is damaged or defective, replacing it may resolve thread jamming issues.
- Stitch Width Adjustment: Properly adjusting the stitch width can prevent fabric puckering and ensure that stitches meet at the fabric edge.
- Rolled Hem Techniques: Removing or adjusting the stitch finger is necessary for creating clean rolled hems and narrow hem creation.
Adjustment and Ratios
A stitch finger on a serger is a component located near the cutting blade that guides fabric and threads to create stitches on fabric edges.
Adjusting the differential feed ratio affects how fabric moves, with higher ratios causing gathering and lower ratios causing stretching.
Stitch length controls stitch spacing, impacting seam strength and appearance.
Stitch width adjusts the cutting blade position for different fabrics.
Removing the stitch finger can result in narrower stitching for specific techniques.
Stitch Length Control
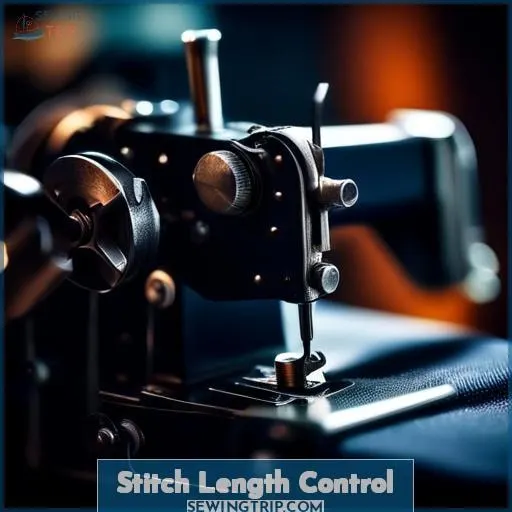
The stitch finger on a serger is a critical component that guides the threads to create stitches on the fabric’s edge. It’s located near the cutting blade on the pressure foot’s right side and acts similarly to knitting needles for the looper thread, ensuring that the threads smoothly flow onto the fabric edge during sewing.
When you’re adjusting your serger for different fabrics or finishes, such as rolled hems or narrow overcasting, you may need to remove or adjust the stitch finger. This can affect the seam strength and may require balancing with the thread tension to ensure a professional finish.
Impact on Seam Strength
A stitch finger on a serger is a small, finger-shaped metal or plastic component that sits near the cutting blade on the right side of the serger’s presser foot.
It plays a crucial role in the formation of stitches by acting as a guide for the looper threads, helping to hold the fabric smooth during stitching and ensuring that the threads wrap neatly around the fabric edge.
Balancing With Tension
When sewing with a serger, maintaining proper tension is crucial for high-quality stitches. If you observe thread slippage or fabric puckering, it signals that tension needs attention. Balancing the relationship between loopers and tension settings helps avoid such problems.
Adequate tension results in smooth seams without jamming the stitch fingers. Consistent monitoring and adjustment of your serger’s tension are essential for improving seam finish quality.
Stitch Width and Blade Position
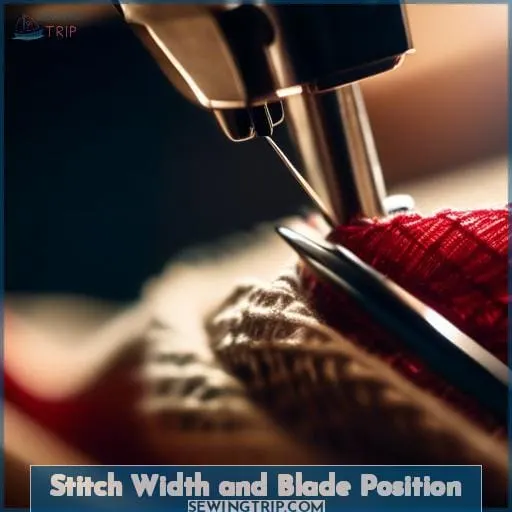
The stitch finger on a serger is a critical component for achieving perfect seams and edges on your sewing projects. It plays a vital role in guiding the threads to create the stitch on the fabric’s edge, ensuring a professional finish.
Adjusting the stitch width and blade position can significantly impact the quality of your work, especially when working with different fabric types. This adjustment allows for precise control over how the fabric is cut and stitched, enabling you to achieve the desired finish whether you’re working with thick, thin, or stretchy materials.
Importance for Fabric Edges
A stitch finger on a serger is a small, finger-shaped metal or plastic component that sits near the cutting blade and acts as a guide for the threads, helping to form the stitches on the edge of the fabric.
It’s particularly important for creating certain types of stitches, such as rolled hems or narrow overlocking, by holding the fabric flat and directing the loopers’ threads to wrap neatly around the fabric’s edge.
The stitch finger ensures that the stitches are formed correctly and that the fabric edge is finished professionally.
Adjusting for Fabric Types
Adjusting your serger’s stitch width and blade position is crucial when working with different fabric types, as it ensures that the stitches properly align with the fabric edge without hanging off.
- For thick fabrics, increase the stitch width to prevent the fabric from bunching under the needle.
- When creating narrow or rolled hems, a closer blade position helps achieve delicate edges.
- Specialty and decorative stitches may require unique adjustments to accommodate varying fabric thickness and texture.
Understanding the Stitch Finger
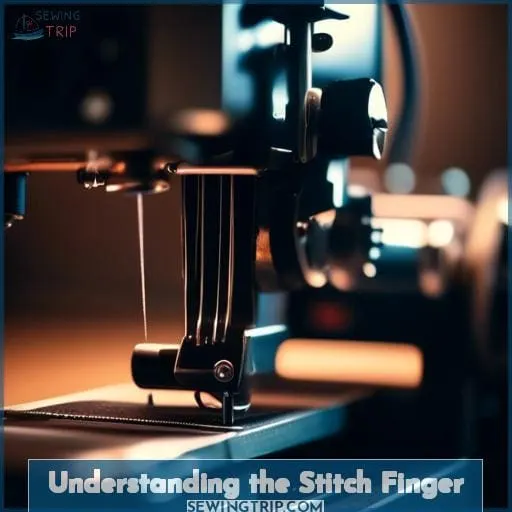
The stitch finger in your serger plays a crucial role in forming stitches, especially when you’re aiming for perfect seams and edges.
It’s essential to know when to adjust or remove this component to achieve the desired stitch quality. Whether you’re working on delicate rolled hems or robust overcasting, understanding the stitch finger’s function can significantly enhance your serging results.
Function in Stitch Formation
Your serger’s stitch finger plays a pivotal role in guiding the threads to form tight, even stitches along the fabric’s edge. This component is essential for achieving perfect seams and clean edges. Proper stitch finger threading and adjustment ensure the serger functions optimally.
Regular stitch finger cleaning prevents jams, while knowing when to replace it can save you from future issues. Mastering the stitch finger’s function in stitch formation is key to serging success.
| Stitch Finger Aspect | Importance |
|---|---|
| Types | Matches specific fabric and stitch needs |
| Threading | Ensures smooth thread flow |
| Cleaning | Prevents jams and prolongs life |
| Replacement | Maintains stitch quality |
| Adjustment | Tailors stitch formation to fabric type |
When to Remove or Adjust
You’ll need to know when it’s appropriate to remove or adjust the stitch finger on your serger to ensure optimal performance and stitch quality.
For rolled hem types or narrow hemstitching, removing or adjusting the stitch finger placement is key. Utilizing a gathering foot or engaging in decorative serging also necessitates these changes.
Always consult your user’s manual to guide these adjustments. For issues beyond DIY fixes, customer service or a nationwide repair service can offer a satisfaction guarantee through professional repair centers.
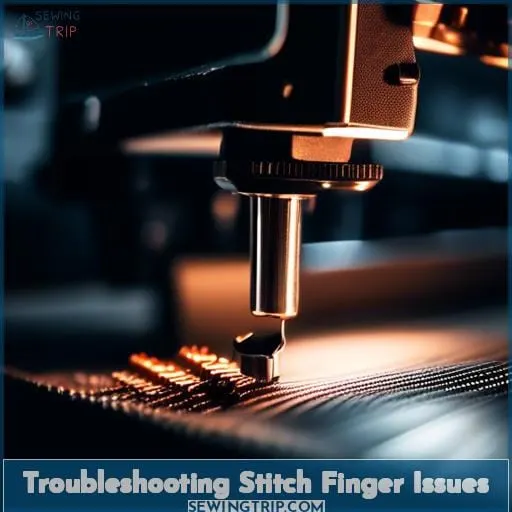
Troubleshooting Stitch Finger Issues
When encountering thread jams on your serger’s stitch finger, promptly identify the root cause. Routine maintenance like cleaning and oiling helps prevent many problems; however, specific troubleshooting may be necessary.
Check for burrs on the stitch finger and ensure proper thread guide alignment to resolve these jams effectively.
Identifying and Fixing Jams
When troubleshooting stitch finger issues on your serger, it’s crucial to first identify the root cause of thread jams to effectively address and resolve the problem.
- Examine the stitch finger position; ensure it’s correctly aligned for smooth thread flow.
- Adjust differential feed settings and thread tension balance to prevent bunching or stretching.
- Perform regular cleaning and maintenance, especially after narrow hem projects, to keep your serger jam-free.
Regular Maintenance Tips
After addressing thread jams, it’s crucial to establish a routine for serger maintenance to prevent future issues with the stitch finger.
Regularly utilize cleaning tools to clear lint buildup, adhere to a strict oiling schedule, and replace needles as needed.
Experiment with different thread types for optimal performance. Ensure the cutting blade is sharp for tasks like rolled hems.
Serger Safety Precautions
While troubleshooting stitch finger issues on your serger, it’s crucial to maintain safety by keeping your fingers away from the blade and needle area, especially during adjustments or when the machine is in operation.
The proximity of your fingers to the serger blade presents a significant hazard, underscoring the importance of adopting safety techniques. Always ensure your hands are positioned safely, and utilize tools, rather than fingers, for making adjustments close to the blade.
Familiarize yourself with the emergency stop button’s location, a vital feature that can prevent accidents. Regular maintenance not only keeps your serger running smoothly but also reduces the risk of unexpected malfunctions that could compromise safety.
By prioritizing serger blade safety and adhering to these guidelines, you’ll safeguard yourself against potential injuries, ensuring a secure and productive sewing environment.
Frequently Asked Questions (FAQs)
Can I use a universal stitch finger on different serger models, or do I need a specific one for my machine?
You’ll need a model-specific stitch finger for your serger. Universal ones may not fit or function correctly with different machines.
How does the stitch finger impact the creation of decorative stitches on a serger?
The stitch finger on a serger guides threads to create precise, decorative stitches, transforming simple seams into embellished masterpieces.
It’s the unsung hero, ensuring your creative visions come to life with elegance and precision.
Is it possible to modify or create a DIY stitch finger if a replacement is not available?
Yes, it’s possible to craft a DIY stitch finger for your serger if a replacement isn’t available.
You’ll need to understand your machine’s specific needs and be creative with materials to ensure the homemade stitch finger guides threads correctly for smooth stitching.
What materials are stitch fingers typically made from, and does this affect their durability or performance?
Stitch fingers, crafted from durable metal, excel in guiding threads to produce precise, clean stitches along fabric edges.
How often should the stitch finger be inspected for wear or damage as part of regular serger maintenance?
Inspect the stitch finger for wear or damage every time you clean your serger. Typically, do this after every project or when you notice a change in stitch quality.
This ensures your serger runs smoothly and extends its lifespan.
Conclusion
Ironically, the smallest parts often hold the greatest importance, and the stitch finger on your serger is no exception.
You’ve learned how this tiny guide is pivotal for impeccable seams and edges. By mastering its adjustments and maintenance, you’re now equipped to tackle any fabric with confidence.
So, stitch on and watch your projects transform from simple to spectacular.

