This site is supported by our readers. We may earn a commission, at no cost to you, if you purchase through links.
In this article, you’ll discover 10 essential tips to diagnose and resolve common tension issues.
This includes identifying signs of imbalance and adjusting the top and bobbin thread tension.
Whether you’re a beginner or an experienced sewist, these practical strategies will elevate your sewing skills to new heights.
Table Of Contents
- Key Takeaways
- When to Adjust Sewing Machine Tension?
- Signs That Your Sewing Machine Tension Needs Adjustment
- Ideal Tension Settings for Domestic Sewing Machines
- Setting the Correct Bobbin Tension Level
- Identifying High Tension Levels on a Sewing Machine
- Understanding Sewing Machine Tension Basics
- Common Issues With Needle Tension Being Too High
- Addressing Problems Caused by Needle Tension Being Too Low
- Dealing With Overall Tight Thread Tension
- Resolving Issues Due to Weak Thread Tension
- Factors to Consider When Adjusting Sewing Machine Tension
- Frequently Asked Questions (FAQs)
- Conclusion
Key Takeaways
Master tension, master sewing! Fine-tuning your machine’s tension is key to achieving pro-level results.
Keep an eye out for uneven stitches or fabric puckers, as they indicate tension problems.
Think of top thread tension like a tightrope walker; you want it just right, not too loose and not too tight.
Bobbin tension is usually set by the factory and rarely needs adjusting, but it’s worth checking if you’re experiencing issues.
When to Adjust Sewing Machine Tension?
You should adjust your sewing machine tension when you notice issues like loose or baggy stitches, or the top thread showing on the underside of your fabric.
Overly tight stitches, the bobbin thread being pulled to the top, thread breakage, fabric puckering, or skipped stitches also suggest that it’s time for a tension adjustment.
The ideal tension setting is typically 4.5, but this can vary depending on the type of fabric and thread you are using. Remember always to use high-quality threads and the correct needle size.
Stick with it, and you’ll soon master the art of perfect stitch tension.
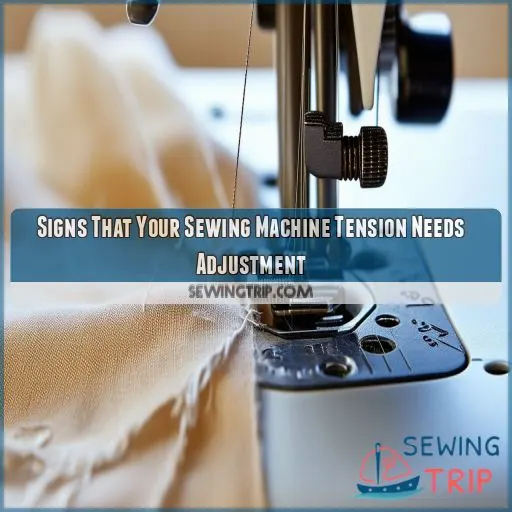
Signs That Your Sewing Machine Tension Needs Adjustment
Sewing machine tension issues can be frustrating, but there are several signs that indicate when your sewing machine tension needs adjustment.
One clear sign is when you experience thread tension problems, such as loose or baggy stitches, or overly tight stitches that lack flexibility. Another indicator is the quality of your stitches. If you notice that the top thread is visible on the underside of your fabric or the bobbin thread is being pulled to the top, it’s time to adjust your tension settings.
Additionally, the type of thread you use matters. Different thread types have unique tension requirements, so using the wrong thread can lead to tension issues. Similarly, needle compatibility plays a role. Using the correct needle for your fabric type and ensuring it’s properly inserted is essential for maintaining proper tension.
Lastly, fabric selection is important. Certain fabrics may require specific tension settings, so choosing the right fabric for your project and adjusting the tension accordingly can help prevent issues.
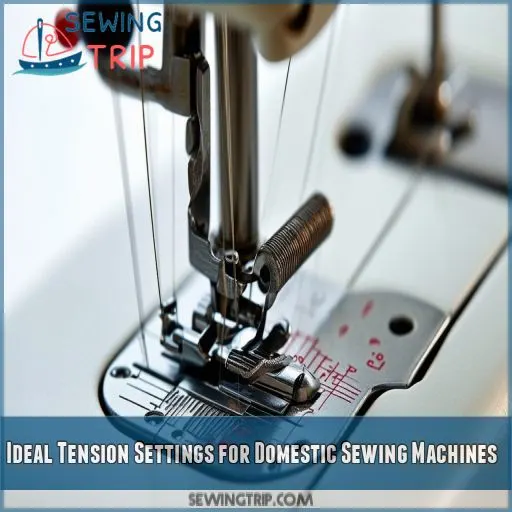
Ideal Tension Settings for Domestic Sewing Machines
Regarding household sewing machines, setting proper tension is necessary for smooth stitching. Here are some tips to guide you in mastering tension control:
- Grasp the Dynamics: The standard tension setting for straight-stitch sewing is usually 4.5, but you should adjust it based on the fabric and thread thickness you’re using. Experiment with different settings to find the ideal balance for your project.
- Match Thread and Fabric: It’s important that the thread you use is compatible with your fabric. Choose high-quality threads from reputable brands that complement the fabric in type, weight, and quality. This compatibility helps prevent tension issues and ensures durable stitches.
- Consider the Needle Size: The needle size significantly impacts stitch tension. Choosing the right needle size for the thickness of your fabric is essential, as an incorrect size can lead to tension problems and unsatisfactory results.
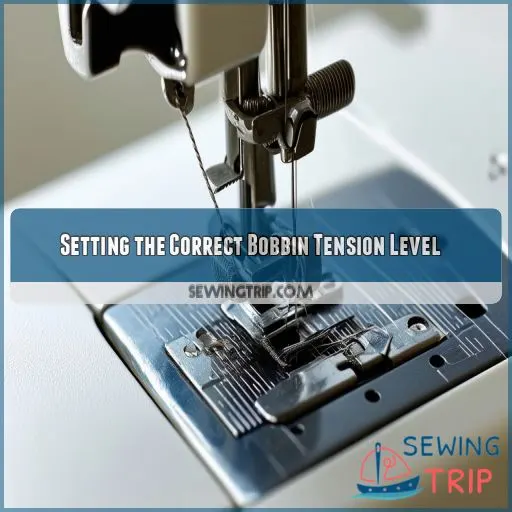
Setting the Correct Bobbin Tension Level
Bobbin case tension is usually factory-set and left untouched. However, if you do need to adjust the bobbin thread tension, it’s important to do so with caution. The bobbin-case spring adjustment should only be tightened or loosened a tiny bit at a time using a screwdriver. This is typically done during machine servicing and is a last resort when troubleshooting sewing machine tension problems.
To check if your bobbin case tension is correct, try this simple test: the bobbin case should slide out slightly when you pull on the thread. If it slides out too easily or not at all, you’ll need to adjust the spring tension.
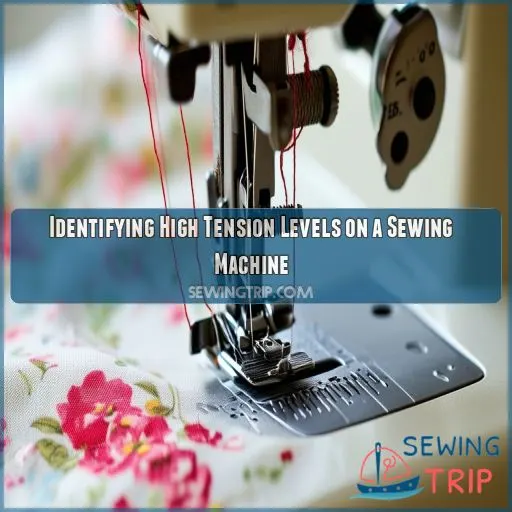
Identifying High Tension Levels on a Sewing Machine
You can identify high tension levels on your sewing machine by keeping an eye out for certain tension indicators. Here are some common issues that suggest your sewing machine tension is too tight:
- Thread breakage: If your thread breaks frequently, it’s a sign that the tension is too high, causing excessive stress on the thread.
- Fabric puckering: When the top thread tension is too high, it can cause the fabric to pucker or gather, resulting in uneven and unsightly seams.
- Uneven stitches: High tension can lead to uneven stitch lengths, with stitches appearing longer on the top and shorter on the bottom, or vice versa.
To resolve these issues, you’ll need to adjust your sewing machine’s tension settings.
Understanding Sewing Machine Tension Basics
Sewing machine tension is a delicate balance that guarantees your stitches are consistent and durable. It’s controlled by tension devices and regulators that manage the top and bobbin thread tension.
Here’s a quick overview of the key tension components:
| Component | Function | Adjustment |
|---|---|---|
| Tension Devices | Guarantee proper tension for top and bobbin threads | N/A |
| Tension Regulators | Adjust tension by tightening/loosening tension discs | Tiny adjustments at a time |
| Thread Thickness | Affects tension; experiment with settings | Match thread thickness to fabric |
| Thread Compatibility | Mismatched threads cause tension issues | Use same brand, quality, and weight for top and bobbin |
| Needle Size | Impacts stitch tension | Choose needle size based on fabric and thread |
The top thread tension is typically adjusted via a dial, while the bobbin thread tension is often factory-set and adjusted with a screwdriver as a last resort.
Perfect tension results in interlinking threads in the middle of the fabric, creating flat, even stitches on both sides.
Common Issues With Needle Tension Being Too High
You’ve mastered the basics of sewing machine tension and the significance of adjusting it correctly. Now, let’s delve into common issues caused by excessive needle tension.
Signs of High Needle Tension
- Needle bending: You may observe your needles bending or snapping more frequently.
- Thread breakage: The thread breaks repeatedly, leading to frustration and wasted materials.
- Fabric puckering: Your fabric begins to pucker, resulting in an uneven and unattractive finish.
- Skipped stitches: Stitches are omitted, leading to an incomplete and weak seam.
- Inconsistent tension settings: You’ve adjusted the tension settings, but the problems persist.
When confronted with these issues, it’s crucial to troubleshoot systematically. Inspect your needle for damage, verify correct threading, and eliminate any debris from the machine’s components. Remember to use high-quality thread and match the upper and lower threads for optimal performance.
Addressing Problems Caused by Needle Tension Being Too Low
If the needle tension is too low, you might experience issues like skipped stitches, thread shredding, fabric puckering, or even your sewing needle breaking. These problems can be frustrating, but they’re usually easy to fix with a few simple adjustments.
Skipped stitches are a common issue when the needle tension is too low. You’ll notice that the stitches aren’t forming properly, and the needle might even skip over some areas entirely. Thread shredding is another problem caused by low tension, where the thread frays or breaks easily. This can lead to a mess of shredded thread in your machine, and it’s a sure sign that something needs to be adjusted.
Fabric puckering is also a result of low needle tension. The fabric will start to gather and bunch up, causing unsightly wrinkles and creases in your project. It can be frustrating to see your hard work ruined by puckered fabric, but don’t worry—it’s often an easy fix.
Lastly, a sewing needle that keeps breaking is a sure sign that the tension is too low. The constant breaking can be frustrating and costly, as you’ll need to replace the needle frequently.
Dealing With Overall Tight Thread Tension
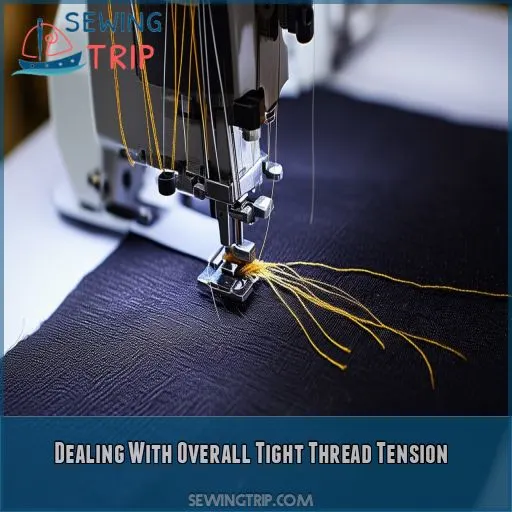
If your sewing machine tension is too tight, it can cause a host of issues, including:
- The top thread breaking frequently due to being pulled too tightly.
- Uneven stitches, with the top thread pulled to the underside of the fabric.
- Difficulty feeding the fabric through the machine smoothly because of the high tension.
- Loops forming on the underside of the fabric, indicating the need to loosen the top thread tension.
To correct overall tight thread tension, you can try the following:
- Loosen the top thread tension gradually by turning the tension dial a small amount at a time.
- Check the thread path to make certain it isn’t caught on any guides or tension discs, restricting its movement.
- Verify that the tension gauge is set appropriately for your fabric and thread type.
- Consult a sewing machine tension guide for specific adjustments based on your machine’s make and model.
Resolving Issues Due to Weak Thread Tension
When dealing with weak thread tension, the first step is to check your tension dial. Confirm it’s set correctly for the type of stitch and fabric you’re working with. It’s important to remember that the default setting of 4.5 is for straight-stitch sewing, so you may need to loosen the tension for zig-zag stitches or topstitching.
If adjusting the tension dial doesn’t resolve the issue, contemplate the thread thickness and quality. Thicker threads require a looser tension, so if you’re using a heavy-duty thread, adjust the tension accordingly. Additionally, confirm you’re using a quality thread brand, as inferior threads can cause tension problems.
Another factor to contemplate is machine maintenance. Over time, sewing machine parts can become damaged or clogged, affecting thread tension. Regularly clean and maintain your machine to prevent this.
Factors to Consider When Adjusting Sewing Machine Tension
When adjusting sewing machine tension, consider both the top thread and bobbin thread settings, making sure they’re in harmony for balanced stitches. Troubleshoot tension problems by ensuring the machine is correctly threaded and using quality threads to prevent issues.
Top Thread Tension
When adjusting the top thread tension, the tension dial is key. It controls the thread friction as it passes through the machine.
The default position is 4.5, which is used for straight-stitch sewing.
Loosen the tension for zig-zag stitches or topstitching.
Needle size and thread type also matter. Thicker threads or needles require a higher tension setting.
Always experiment with different settings based on the fabric and thread you are using.
Bobbin Thread Tension
Bobbin thread tension is usually factory-set and rarely adjusted. Drop-in bobbins have inaccessible tension screws, while front-loading bobbins can be adjusted with a screwdriver. You should only adjust the bobbin case spring as a last resort, and usually during machine servicing. It’s unlikely that this is the cause of tension issues.
Troubleshooting Tension Problems
If you’re still facing sewing machine tension problems, it’s time to troubleshoot. Here are some factors to check:
- Inspect your needle for bends or bluntness. A damaged needle can cause thread tension issues.
- Make sure your machine is correctly threaded. Incorrect threading is a common culprit.
- Remove any fluff or debris from the wheels, throat plate, and bobbin.
- Verify all dial settings are correct, including stitch type and length.
- Try a higher-quality thread brand. Cheaper threads may cause more tension issues.
If you’ve tried these sewing machine tension hacks and still can’t get it right, it might be time for a tune-up. Take your machine to a technician for a professional adjustment.
Frequently Asked Questions (FAQs)
How do I know when to adjust the tension on my sewing machine?
You should adjust the tension when you notice uneven, unbalanced stitches, looping, knotting, or puckering. Adjust for thin/thick fabrics and heavy thread. Use a scrap of fabric to test.
What tension should a domestic sewing machine be on?
The ideal tension depends on the fabric and thread. For stretchy fabrics, use a tension level of 2- For cotton, use a medium tension of 3- Test tension with different thread colours. Aim for even stitches with no loops.
What should bobbin tension be set at?
Bobbin tension is part of the sewing machine tension and must work with the needle tension. Correct bobbin tension is usually 180-220 grams, but it depends on your fabric and thread.
What number is higher tension on sewing machine?
A higher number on your sewing machine dial means higher tension and resistance on the top thread. The general setting is 4, but you can go up to 5 for thicker fabrics, and down to 2 or 3 for thinner fabrics.
Whats the ideal tension setting for my domestic machine?
The ideal tension setting for a domestic machine depends on the fabric. For stretchy fabrics, a tension level of 2-3 is recommended. For other fabrics, a setting of 5 for straight stitch sewing is the default. For polyester, the ideal tension is up to
How do I know if my sewing machine tension is too high?
If the bobbin case doesn’t move when you hold it by the thread, the tension is too high. Adjust it by turning the tension dial to a lower number.
What are the signs of low needle tension?
If your needle tension is too low, you may see visible loops on the top side of the fabric, and the spool thread may be visible on the underside.
How do I adjust the tension dials?
Adjusting the tension dials is a delicate art, but you can master it. So, how do you get started? Sew a test on a scrap of fabric, then adjust the top thread tension dial a tiny bit at a time until the stitch is just right.
What else could be causing tension issues?
Dirty or damaged machine parts, lack of maintenance, and using low-quality thread can all cause tension issues.
Conclusion
Adjusting your sewing machine’s tension is critical for achieving professional-looking results.
Understanding the signs of tension imbalance and knowing how to adjust both the top and bobbin thread tension will elevate your sewing projects.

