This site is supported by our readers. We may earn a commission, at no cost to you, if you purchase through links.
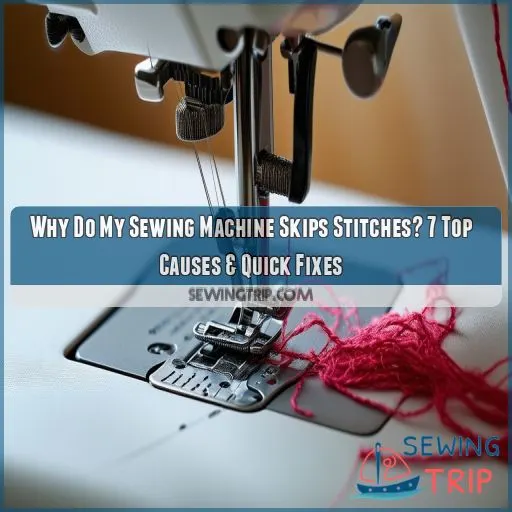
Here’s how to help you solve this problem with the top 7 causes of skipped stitches and quick fixes** right at your fingertips—from threading problems to needle issues, we’ll cover it all.
Table Of Contents
Key Takeaways
- Needle know-how is your secret weapon! A bent, dull, or wrong-sized needle can turn your fabric into Swiss cheese faster than you can say "seam ripper." Keep those needles fresh and fabulous for stitch perfection.
- Thread drama is real, folks. From tension troubles to bobbin battles, your thread game can make or break your stitching. Think of it like a tightrope walker – too loose and you’ll fall, too tight and you’ll snap!
- Your fabric’s got feelings too, you know. Treat it right with the proper presser foot pressure and feed dog finesse. It’s like dancing with a partner – lead gently, and you’ll glide across the dance floor (or sewing machine) smoothly.
- When all else fails, channel your inner detective. Dust off that magnifying glass and get up close and personal with your machine. A little cleaning here, a screw tightening there, and voilà! You’ll be stitching circles around those pesky skipped stitches in no time.
Why Do My Sewing Machine Skips Stitches?
Probably most of the time, there are always three problems that make your sewing machine skip stitches: incorrect threading, issues with the needle, or inconsistency between your fabric and thread.
Make sure that it is threaded correctly by following the correct thread path and engaging the tension disks. Take a closer look at your needle—maybe it’s dulled, bent, or of the wrong type for that kind of fabric. Be sure you are using the proper weight of thread and needle size for your fabric.
The reason for skipped stitches can be a poor quality thread or even a dirty machine. First, change the needle and then re-thread the upper thread. Clean your machine if it has been a little while.
If none of those things work, then check the bobbin and adjust the tension. There’s more to uncover about this pesky problem.
Common Causes of Skipped Stitches
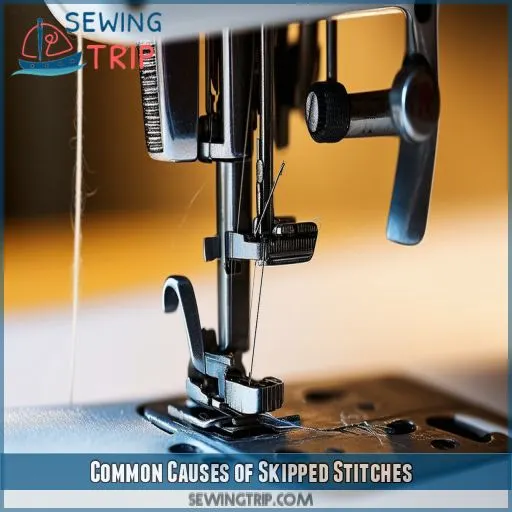
The three culprits for skipped stitches in your sewing machine are generally improper threading, problems with the needle, and incompatibility between your fabric or thread. You’ll have to closely inspect the machine’s threading path, ensure proper quality of your needle, its proper insertion, and that of the right type to go well with both your thread and fabric.
Incorrect Machine Threading Issues
If your sewing machine skips stitches, then you’re probably experiencing problems with incorrect machine threading. Some of the common culprits include:
- Uneven tension in threads
- Incorrect Winding of the Bobbin
- Thread tension disk not properly engaged
Check the position of your presser foot and make sure that your thread path is correct. These might sound like little things, but they’re important!
Needle Problems And Solutions
Your needle can either make or break your sewing. Skipped stitches are generally a wrong type of needle, incorrect insertion, poor timing, and damaged needles. Make sure to have the right length and quality for your fabric, and always check for bent or nicked needles before you start.
Fabric And Thread Compatibility
Now that you have covered the issues with your needles, let’s consider the question of fabric and thread compatibility. Your sewing machine is only as good as the materials you run through it. Here’s what you should pay attention to:
• Fabric weight
- Thread weight
• Fabric type
- Thread type
• Needle sharpness
These elements should be matched to avoid skipped stitches and to ensure smooth sewing.
Needles and Thread
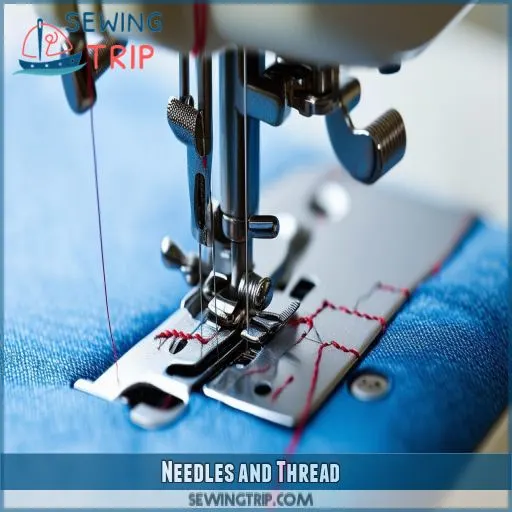
Your needle and thread also have much to do with skipped stitches. Be sure to use good quality needles, which are correctly inserted with the flat side of the needle facing towards the back of the machine, and select quality thread that’s appropriate for your fabric and properly tensioned.
Needle Quality and Correct Insertion
Now that we’ve gone over common causes, let’s talk about the quality of needles and their insertion. Your sewing machine’s needle is what forms your stitches.
Use correct needle length with grooves facing the right direction. Place the flat side in properly and tighten it firmly.
Never use a bent, nicked or dull needle as it will cause skipped stitches. Replace often.
Remember proper care of your needles is key to smooth sewing!
Thread Quality and Adjustment
You’ve got your needle sorted, but the thread quality and adjustment shouldn’t be forgotten either. It makes all the difference when you’re trying to fix some of those pesky skipped stitches. Here’s what you need to know:
- Pick Up Good Quality Thread That Will Match Your Fabric
- Check your thread tension and adjust as necessary
Ensure correct thread path via your machine’s guides.
Troubleshooting Steps
To troubleshoot skipped stitches, start by changing the needle, as a dull or damaged needle is often the culprit. If that doesn’t solve the issue, re-thread the upper thread, check the bobbin for proper insertion and tension, and clean the machine to remove any lint or debris that might be interfering with stitch formation.
Change the Needle
Now, let’s tackle the needle. You’ll want to swap it out, ensuring you’ve got the right type and size. Insert it correctly, with the flat side facing back, and tighten securely.
Re-Thread the Upper Thread
After changing the needle, focus on re-threading the upper thread. Follow your machine’s threading guide carefully, ensuring proper tension. Use high-quality top thread and adjust presser foot pressure. Don’t forget to match needle size to your fabric.
Check the Bobbin
Don’t Forget the Bobbin! It’s another most common culprit for skipped stitches. Check these critical points:
- Even, tight bobbin winding
- The small screw adjusts Bobbin tension.
- Check that the bobbin case is correctly inserted
Clean the Machine
Dirt buildup can wreak havoc on your machine’s performance. Clean the bobbin area, feed dogs, and tension disks regularly. Don’t forget to adjust presser foot pressure and tighten feed dog screws if necessary. Check needle timing too.
Additional Troubleshooting Tips
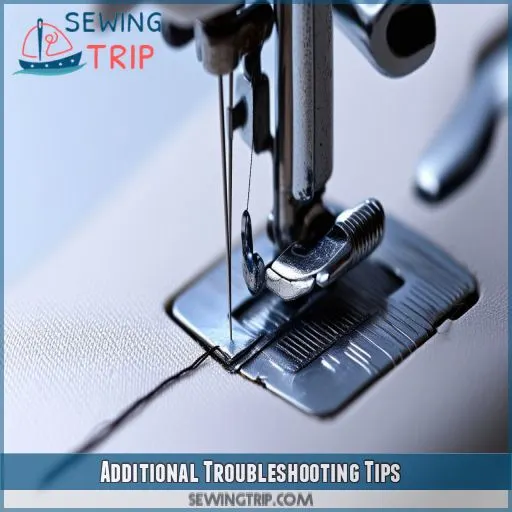
Beyond the basic troubleshooting steps, you’ll want to check a few additional factors that can cause skipped stitches. Examine your thread quality, presser foot condition, tension settings, machine configurations, and sewing techniques to identify and resolve persistent stitch problems.
Check the Thread
Check your thread quality and type. Look for burrs and ensure proper winding. Adjust tension if needed. Poor thread can cause skipped stitches, so choose wisely.
Check the Presser Foot
Check your presser foot alignment and pressure adjustment. Ensure it’s compatible with your fabric thickness. Adjust foot height for variations, maintaining proper needle pressure throughout your sewing project.
Adjust the Tension
After checking your presser foot, it’s time to tackle tension settings. Adjust the upper and lower tension dials, ensuring they’re compatible with your fabric and thread choice.
Check Sewing Machine Settings
Check your machine’s settings for optimal performance. Adjust bed tension, match thread type and needle size to fabric weight, and fine-tune presser foot pressure for smooth stitching.
Check Sewing Habits
It’s your sewing habits that will come out with a huge effect on the quality of stitches. Check your technique, as it may be what’s causing you to skip stitches. Here are some key areas on which to focus:
- Maintain good posture to avoid tugging on fabric
- Handle thread carefully to avoid tension problems
• Stabilize the fabric for smooth feeding
- Guide fabric, but don’t push through.
- Enabling the control of speed to ensure uniform stitch formation
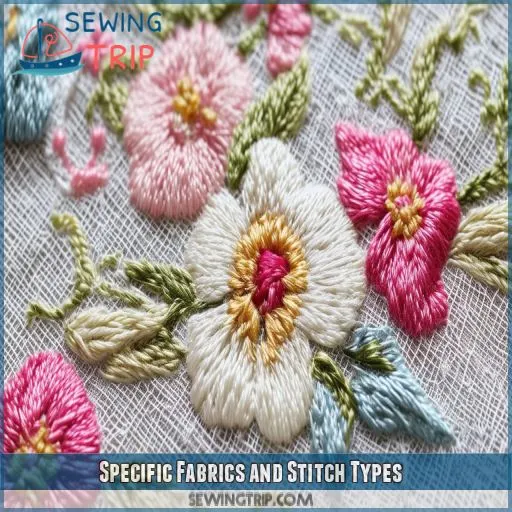
Specific Fabrics and Stitch Types
The various types of fabrics and different stitch varieties will surely pose very unique challenges when it comes to skipped stitches. You’ll want to adjust accordingly for thick fabrics, stretch, knits, or specific stitches such as zigzag or decorative stitches.
Troubleshooting Thick Fabrics
When dealing with thick fabrics, you’ll need to adjust your sewing technique. Here’s a quick guide to help you tackle those hefty materials:
| Issue | Cause | Solution |
|---|---|---|
| Skipped stitches | Low presser foot pressure | Increase pressure |
| Uneven feed | Feed dogs struggle | Use walking foot |
| Thread breakage | Inadequate needle thickness | Switch to larger needle |
| Fabric bunching | Poor stability | Apply stabilizer |
| Tension problems | Thread buildup | Clean machine regularly |
Troubleshooting Stretch Fabrics
When tackling stretch fabrics, you’ll need to adjust your approach. Here’s what to do:
- Increase foot pressure
- Use a ballpoint or stretch needle
- Adjust thread tension
Consider using a walking foot or presser foot with a small hole.
Troubleshooting Knits
Like stretch fabrics are, knits require special care. Use a stretch needle and stabilize it with fusible interfacing. Quick Guide:
| Technique | Purpose |
|---|---|
| Stabilising knit fabric | Prevents distortion |
| Stretch needle selection | Reduces skipped stitches |
| Fusible interfacing application | Adds structure |
| Special stitch patterns | Provides flexibility |
| Trouble-shooting coverstitch | Provides even seams |
Troubleshooting Specific Stitch Types
Moving from knits, let’s tackle specific stitch types. Different stitches can present unique challenges. Here’s what you need to know:
- Zigzag stitches: Check for the same issues as straight stitches
- Twin needle effects: Increase upper tension
- Decorative stitch issues: Try simpler designs
- Stitch design complexity: Work at reduced speed
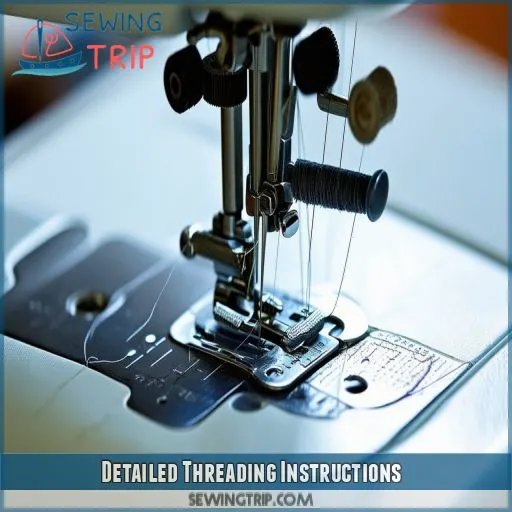
Detailed Threading Instructions
Check your thread path from spool to needle, ensuring it’s correctly routed through all guides and tension discs. Re-thread your machine according to the manual or instructional videos, paying close attention to the proper insertion of the needle with its grooves facing the correct direction.
Check Thread Path
After troubleshooting fabric-specific issues, let’s tackle the thread path. Check that your thread spool’s properly seated and the thread’s correctly passing through the tension disk and bobbin case.
Re-Thread Machine
If you’ve missed a stitch, then re-thread your machine very carefully. The instructions from your manual will help you do this. Assure proper thread tension throughout. Check again for correct bobbin and fabric tension.
Feel the frustration melt away as you master the art of threading.
- Experience the thrill of conquering a stubborn sewing challenge
- Imagine the satisfaction of perfectly balanced stitches.
- Imagine the pride that you’ll have in each of your sewing projects done perfectly.
Feel the confidence building as you become one with your machine.
Correct Needle Insertion
Insert the needle with its flat side facing back. Ensure it’s fully seated and securely tightened. Choose the correct needle type and length for your fabric.
Replace Bent or Damaged Needles
Check your needle for bends or damage. Replace it if needed, ensuring the correct length and groove direction. A faulty needle can wreak havoc on your stitching.
Replace Empty Bobbin
Check your bobbin’s winding and tension. Ensure it’s properly seated in the case. Use high-quality thread that matches your project. Pull 4-5 inches before starting to sew.
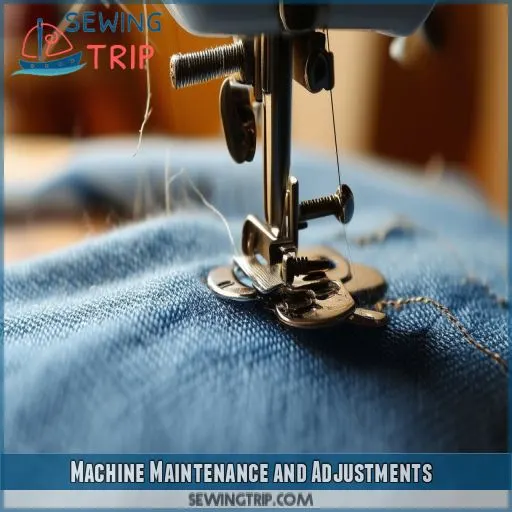
Machine Maintenance and Adjustments
To address skipped stitches, you’ll need to focus on machine maintenance and adjustments. Start by increasing the presser foot pressure and tightening any loose feed dog screws, then check the needle timing in relation to the hook and replace any damaged hook points.
Increase Presser Foot Pressure
Increasing your presser foot pressure can solve feeding issues. If you’re facing insufficient pressure, locate the adjustment screw on your machine. Turn it clockwise to boost foot pressure, ensuring smoother fabric movement during sewing.
Tighten Feed Dog Screws
Check the feed dog alignment and their tension. In case they’re loose, tighten the screws with caution. Clean and grease the feed dogs periodically. If worn out, consider feed dog replacement to get really smooth feeding of the fabric during sewing.
Check Needle Timing
Check your machine’s needle timing. It’s extremely vital for forming correct stitches since the arrangement of the needle and the hook is very critical. If you’re in a fix, seek professional help in order to time your machine or replace your hook, if necessary.
- Panic sets in when your fabric has become a minefield of skipped stitches.
- Frustration mounts with each failed attempt to fix the problem
- Relief washes over you when you discover it’s just a timing issue
- Excitement builds as you learn to check and adjust timing yourself
- Feel a swelling sense of pride when your machine purrs like new after a successful timing check**.
Replace Damaged Hook Point
After checking needle timing, inspect your hook point. If it’s damaged or worn, replace it promptly. A broken hook can cause skipped stitches. Consider hook point sharpening or timing adjustment if replacement isn’t necessary.
Frequently Asked Questions (FAQs)
How do I stop my sewing machine from skipping stitches?
You will have to troubleshoot in a more systematic manner. You’ll want to start first with your needle, then your thread quality, and tensions. Make sure you’re threading properly and that your bobbin is installed correctly. Clean your machine regularly. And if the problems persist, then you really want to get more specific instructions from your manual or professional.
What is the most common cause of skipped stitches?
Threading troubles can tie your machine in knots. The most common culprit behind skipped stitches is incorrect needle insertion. You’re likely using the wrong size, type, or a bent needle. Check and replace it to smooth out your sewing.
Can tension cause skipped stitches?
Yes, skipped stitches can be caused by tension. If it’s too loose, it won’t form proper loops with the thread. Too tight, and it’ll break or pull. You’ll need to adjust both top and bobbin tension for optimal stitch formation.
Why is my sewing machine stuttering?
It could also be stuttering like an engine that’s running out of gas, which your sewing machine does when it has tension issues, a worn needle, or incorrect threading. Check over these elements of your sewing machine and make sure to have the correct thread and fabric for smooth sailing.
Can old or expired thread cause skipped stitches?
Yes, old thread may cause skipped stitches; certainly, it’s going to weaken and eventually turn brittle. It will normally break easily, and you’ll notice the inconsistent tension leading to bad stitch quality. Always use fresh, high-quality threads for the best results in your sewing projects.
Does room temperature affect stitch quality?
Imagine a cold room for sewing, and your fingers are as stiff as possible while you’re trying to manipulate fabric. Indeed, it can be affected by the temperature of a room. Very high or very low temperatures will influence the tension of threads and change the feel of fabrics. Keep your workspace comfortably warm for optimal results.
Can using a magnetic pincushion disrupt sewing machine function?
No, your magnetic pincushion won’t disrupt your sewing machine‘s function. The magnets aren’t strong enough to interfere with the machine’s mechanics. You can safely use it near your machine without worrying about skipped stitches or other issues.
How do different stitch plates impact skipped stitches?
Skipped stitches are influenced a great deal by different-sized stitch plates. A small one will give support for light-weight pieces of fabric, while a large one will accept heavier material. Plate type should match the kind of fabric used so that one can have the best possible formation of stitches.
Can needle threader issues lead to skipped stitches?
Yes, skipped stitches can very well be caused by issues related to the needle threader. When it’s misaligned or even worn out, it won’t thread a needle. You’ll need to look over and correct/replace the threader to see that proper stitches are accomplished.
Conclusion
By now, you’ve discovered why your sewing machine skips stitches and how to fix it. Remember, the key is to identify the issue and apply the appropriate solution.
Whether it’s adjusting your needle, re-threading your machine, or maintaining your equipment, you’re now equipped to handle these challenges. Keep this guide handy for future reference, and you’ll be able to troubleshoot skipped stitches quickly.
With practice, you’ll become more adept at recognizing and resolving these issues, ensuring smooth sewing projects every time.

