This site is supported by our readers. We may earn a commission, at no cost to you, if you purchase through links.
 Tired of breaking threads every other second while sewing? First comes understanding why your sewing machine thread keeps on breaking.
In this article, we’ll give you the most effective nine ways to get it running again. These will relate to the quality and kind of thread used, ensuring all parts of your sewing machine are correctly set up, well-cleaned, lubricated, or replaced at appropriate times.
With these practical solutions, say goodbye to frustrating stitches and hello to smooth ones.
Table Of Contents
- Key Takeaways
- Why Does My Sewing Machine Thread Keep Breaking?
- Common Causes of Thread Breakage
- Threading Issues
- Bobbin Troubles
- Machine Maintenance and Cleanliness
- Thread Quality and Compatibility
- Fabric and Stitch Considerations
- Spool and Thread Guide Issues
- Timing and Mechanical Problems
- Troubleshooting Steps for Thread Breakage
- Frequently Asked Questions (FAQs)
- Conclusion
Key Takeaways
- Keep your thread happy: Old, brittle thread snaps easily. Treat it like a fine wine and store it in a cool, dry place.
- Thread the right way: A misthreaded machine is like a tangled ball of yarn – frustrating and time-consuming to fix. Double-check your threading and make sure it’s smooth sailing all the way through.
- Tension troubles: thread tension is like the Goldilocks of sewing – not too tight, not too loose. Find the perfect balance for your fabric and thread combo to avoid thread breakage.
- Regular maintenance: A clean and well-oiled machine is a happy machine. Give your sewing buddy some TLC regularly to keep it running smoothly and prevent thread breakage.
Why Does My Sewing Machine Thread Keep Breaking?
If your sewing machine thread keeps breaking, it is probably due to several factors. First of all, check the quality of your thread for fraying or aging; old threads snap.
Next, set up your machine perfectly by getting the correct tension settings and a presser foot in its proper place. Bent needles or damaged bobbins can also have problems, so inspect them closely, too.
Wrong threading paths come next in the line of culprits, so try rethreading your machine according to instructions in the manual. Proper maintenance includes cleaning up lint and changing new needles.
With these areas corrected, you will sew more evenly. And if you persevere, there is a lot more to learn.
Common Causes of Thread Breakage
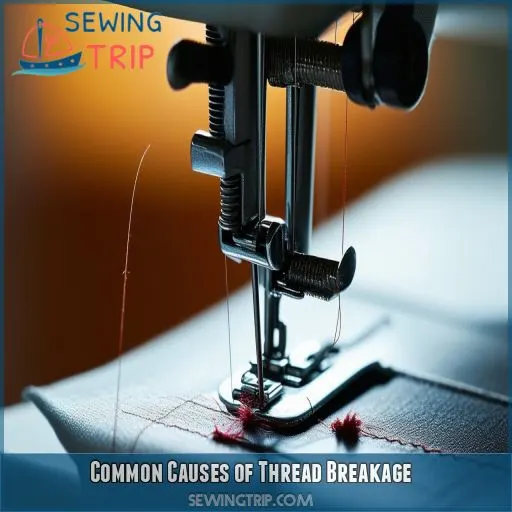
If your sewing machine thread breaks frequently, it’s likely due to one of three prevalent culprits: lousy thread quality, incorrect setup in the machine, or problems with either the needle or the bobbin. First, consider these significant areas to troubleshoot this frustrating problem and see if there’s anything wrong to correct for smooth, continuous sewing.
Thread Quality Issues
Thread quality can make a high degree of difference in any sewing. If you’re having thread breaks over and over, inspect your thread for fraying, knots, or snags anywhere along its length.
Old or brittle threads are very easy to break; thus, always use fresh and high-quality ones. Use the appropriate kind of thread with your fabric and machine.
Make sure you regularly change the needle since a bad one will cause snags on the thread, causing it to break.
Improper Machine Setup
While quality thread is essential, incorrect machine setup will result in breakage. The way your thread travels through the machine is similar to a sensitive dance—if a step goes wrong, everything stops.
Check your tension settings; quite often, these are the culprits. Be sure that presser foot pressure is suitable for the fabric being used.
Not to forget the thread path, as every catch or friction point can mean failure. Besides, be careful with spool placement.
Needle And Bobbin Problems
Your needle and bobbin can be sneaky culprits behind thread breakage. A bent or dull needle won’t pierce fabric smoothly, while a damaged bobbin can cause tension problems. Don’t overlook lint buildup, which can interfere with smooth operation. Here’s what to watch for:
- Burrs or sharp edges on the needle plate or bobbin case
- Needle touching the presser foot or hitting the plate
- Incorrect needle and thread selection for your fabric
Threading Issues
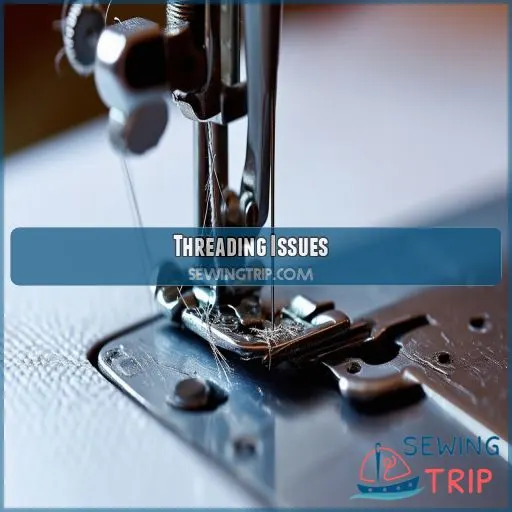
If your thread is breaking, ensure you’re threading the sewing machine correctly through the guides and tension discs. Also, be sure the thread isn’t too tight or too loose in its hole, as incorrect tension might be the cause of thread breaking or tangling while sewing.
Incorrect Threading Path
You’ve checked the thread quality, but your thread’s still breaking? Let’s tackle incorrect threading. A misthreaded machine can wreak havoc on your sewing project. Here’s a quick guide to common threading issues:
| Problem | Cause | Solution |
|---|---|---|
| Thread snags | Incorrect path | Rethread carefully |
| Needle damage | Improper threading | Check needle position |
| Bobbin issues | Wrong installation | Reinsert bobbin correctly |
Always consult your machine’s manual for the correct threading path. Remember, a well-threaded machine is a happy machine!
Tension Problems
Tension problems can potentially throw a monkey wrench into your sewing machine. If your thread is breaking, you should look to the tension settings.
Thread will break if it’s too tight; if it’s too loose, you’ll get messy stitches. Don’t forget about bobbin tension—it’s equally important.
Gradually turn the tension dial and test on a scrap of fabric. Keep in mind that the quality of the thread does matter.
Also, using an appropriately sized spool cap can prevent unwanted tension problems.
Bobbin Troubles
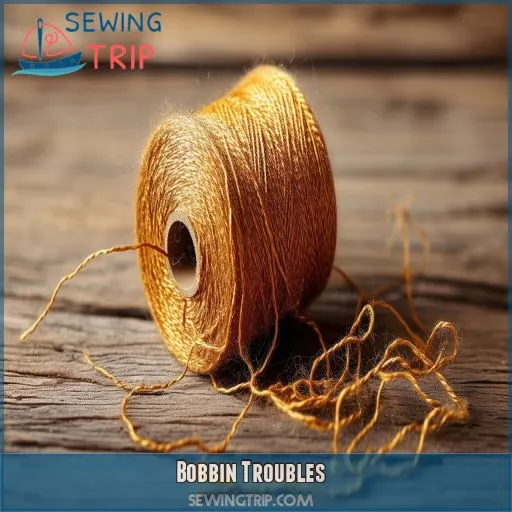
One of the biggest culprits that can cause thread breakage is bobbin trouble, generally due to incorrect winding or mounting. Ensure your thread is wound consistently tight on the bobbin and that the bobbin itself is appropriately set into the case, as your machine instructs.
Improper Winding
Improper bobbin winding can throw the sewing machine out of kilter. You’ll have broken threads if your bobbin is loaded unevenly or with the wrong pressure.
Check for the correct type of bobbin and be sure it isn’t damaged. Also, watch out for lint buildup and use the right thread thickness.
If you find threads catching on the spool or wrapped around the pin, rewind. Proper winding prevents a lot of potential headaches later.
Incorrect Installation
After winding your bobbin, install it properly. Otherwise, you’ll experience frustrating thread breaks while sewing. Here are three critical things for you to remember:
- Proper placing of the bobbin case
- Check the alignment of bobbin for smooth rotation
- Check proper tension in the thread and thread compatibility.
Test the thread merely by pulling on it, not too hard. Clean the throat plate at regular intervals and examine its condition, too. Remember, a little time not spent in installing correctly may result in tears later on down the seam!
Machine Maintenance and Cleanliness
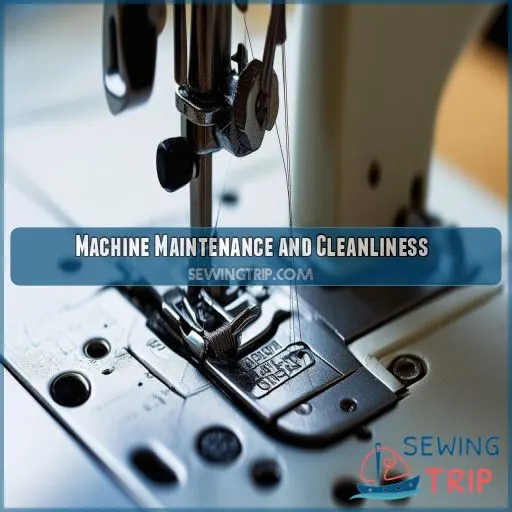
Your sewing machine’s thread may break due to lint buildup or a need for lubrication. Regular cleaning and proper oiling of your machine can prevent these issues, ensuring smooth operation and reducing thread breakage.
Lint Buildup
| Area to Clean | Cleaning Method | Frequency | Tools Needed | Prevention Tips |
|---|---|---|---|---|
| Bobbin Case | Brush gently | After each use | Lint brush | Remove thread scraps |
| Feed Dogs | Vacuum or brush | Weekly | Vacuum attachment | Cover machine when not in use |
| Tension Discs | Floss method | Monthly | Dental floss | Use quality thread |
| Needle Plate | Unscrew and clean | Bi-weekly | Screwdriver | Change needles regularly |
| Thread Path | Air duster | Monthly | Compressed air | Don’t pull thread backward |
Lubrication Needs
Your sewing machine requires periodic lubrication to prevent thread breaks. Apply machine lubricant regularly to certain areas, such as the bobbin case and hook race.
Important: Don’t over-lubricate; a little oil is enough. Take note of the correct type of lubricant to be applied to your machine.
When you do this correctly, you make the operation go smoothly—and with minimal chance that thread breaks will arise from either friction or mechanical problems.
Thread Quality and Compatibility
The quality and compatibility of your thread can contribute to the tendency of it to break while sewing. The older or thin thread will snap easily, and poor matches between the types of thread you’re using for your top and bobbin threads can also cause tension and breakage.
Old or Weak Thread
Is your thread old or weak? Over time, thread can become brittle, frayed, or dry, leading to frequent breakage.
Check your thread’s condition by running it through your fingers. If it feels rough or snaps easily, it’s time for a replacement.
Don’t let old thread ruin your project! Invest in fresh, high-quality thread to keep your sewing machine humming along smoothly.
Mismatched Thread Types
While old threads can cause problems, mismatched thread types are a problem of equal measure. Your thread elasticity, diameter, and weight should be as required by your fabric and the project.
You wouldn’t use a thin string on heavy denim or a heavy upholstery thread on silk. Be sure that you have the correct thread to avoid breakage and frustration.
It’s like finding the perfect dance partner for your fabric!
Fabric and Stitch Considerations
When sewing dense fabrics or using complex stitch patterns, your machine’s thread is under more stress and may break more easily. You’ll need to adjust your machine settings, use the right needle and thread type, and potentially slow down your sewing speed to prevent thread breakage in these situations.
Dense Fabrics
Now, if you’re working with denser fabrics, the breaking of threads may become very severely frustrating.
What counts here is the type and sharpness of your needle. Go higher with the size—the sharper, the better—and consider lubricating your thread to decrease friction.
Adjust your machine tension based on how thick the fabric will be. Don’t forget about the correct bobbin size when working with heavy materials.
All these few changes will make huge differences in avoiding those bad thread breaks.
Complex Stitch Patterns
Complex stitch patterns can challenge your machine and cause thread breakage. Adjust your thread tension, needle size, and stitch length to match your fabric weight and pattern complexity. Don’t forget to switch to the appropriate presser foot for intricate designs.
Here’s what you can do:
- Start with a test swatch
- Slow down your sewing speed
- Use stabilizers for delicate fabrics
- Gradually increase complexity as you gain confidence
Spool and Thread Guide Issues
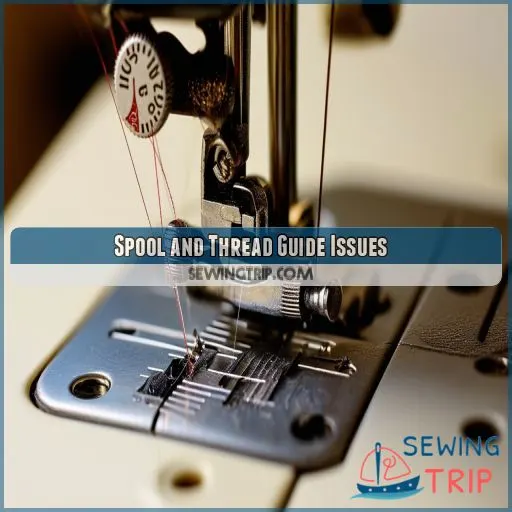
Check that your spool cap is the right size. If too small or large about the spool, it results in thread breakage due to its inability to securely hold the spool in place. Ensure it catches properly on the thread guides with no snags or improper flow.
Incorrect Spool Cap Size
Be sure to fit your spool cap properly. If it’s either too small or too large, the thread may catch on the spool and break.
Also, an improperly fitted spool cap indeed affects not only the smooth feeding of the fabric but also the manner of consistency in the design of your bobbin.
Check for instances of damage on the needle plate occasionally and replace worn parts to prevent catching threads—this makes for easier running of your machine and less frustration.
Thread Catching on Guides
Ensure that your thread isn’t catching on any of the guides.
Ensure proper alignment and spacing of the thread guide, adjusting not to see or pick up lint and other debris—cleaning and maintenance of the thread guide regularly.
Then, equalize thread guide tension all around.
If your issues don’t stop, it’s best that you upgrade your thread guides for improved flow with less breakage during your sewing tasks.
Timing and Mechanical Problems
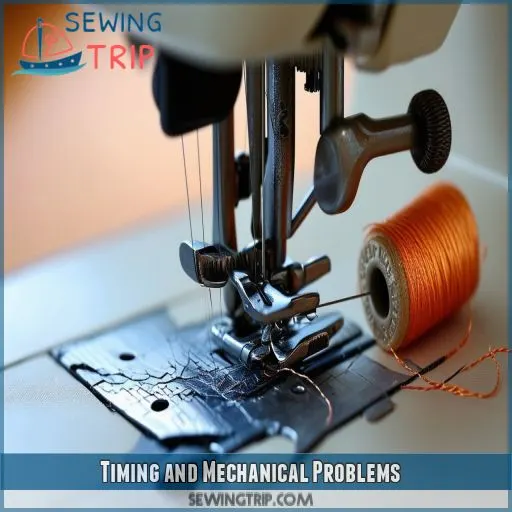
Check your sewing machine’s hook timing, as misalignment can lead to frequent thread breakage. Also, inspect for worn parts that might need replacing to keep your machine running smoothly.
Hook Timing
The timing of the hook is critical. If it weren’t properly aligned, your thread would be a disaster. Proper tensioning, adjustment, and lubrication of the hook will keep things thinly oiled so as not to break easily. A damaged hook may also require replacement.
Check for proper hook timing regularly and make any necessary adjustments.
- Apply lubricant on the hook mechanism to reduce friction.
– Replace worn-out or damaged parts to ensure efficiency.
Worn Parts
Worn parts can cause thread breakage. Regularly check for a worn bobbin, needle, tension spring, hook mechanism, and even the spool cap.
| Part | Symptoms | Solution |
|---|---|---|
| Worn Bobbin | Thread tension issues | Replace bobbin |
| Worn Needle | Stitch skipping, thread breaking | Replace needle |
| Worn Tension Spring | Inconsistent thread tension | Replace tension spring |
Keeping your machine in top shape prevents these common problems.
Troubleshooting Steps for Thread Breakage
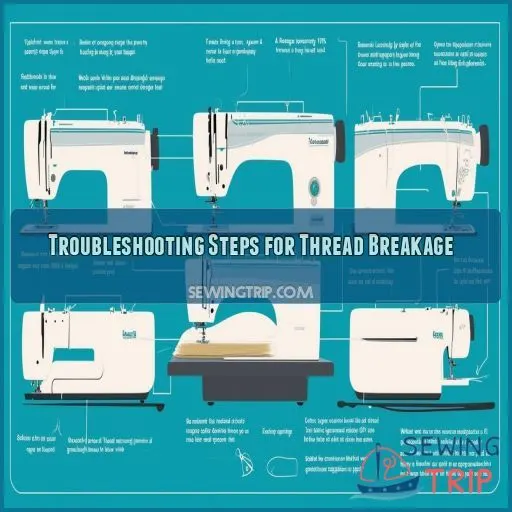
To fix thread breakage, let’s troubleshoot step by step. First of all, check your bobbin tension: it shouldn’t be too loose or too tight. Then look for needle damage: a bent or dull needle is quickly going to give you thread problems. If so, replace it. If thread loops are forming during stitching, this may indicate a threading error or tension problem.
- Re-thread your machine — Remove and re-thread both the upper thread and bobbin to make sure they’re positioned correctly.
- Spool Cap Fit – Check to be sure it’s the right size. This prevents the thread from catching and breaking.
- Check for fraying: Good thread won’t fray or break easily, so use good thread suited to your fabric.
Frequently Asked Questions (FAQs)
How do you fix a sewing machine that keeps breaking the thread?
Check for correct threading, tension troubles, and burrs. Inspect the bobbin and needle for issues. Clean thoroughly, change the needle if needed, and use quality thread for seamless sewing success.
What is the remedy when the upper thread breaks?
Check for any snags in the threading path. Ensure proper threading and tension adjustment. Inspect the needle for damage and wear and replace it when necessary. Check for burrs on the presser foot or needle plate or tension assembly.
What tension should my sewing machine be on?
Your sewing machine’s tension depends on the fabric and thread you’re using. Generally, setting it between 4-5 works for most projects. Test on a scrap piece first, then adjust until stitches look balanced.
How do you prevent thread breaks?
Imagine you’re smoothly threading a needle: proper threading without burrs or sharp edges on the needles, matching your bobbin and upper thread, adjusting tension, a clean machine, and last but not least, good-quality thread to be used at all times so that it won’t break.
Why is my sewing machine thread breaking?
This will constantly break your sewing machine thread, including the improper threading of thread guides with burrs or issues with your needle, like being bent or not correctly installed. Check thread tension, guide path inspection, and quality thread.
What can cause a sewing machine to break?
Your sewing machine thread might be breaking due to improperly threaded machine, incorrect needle type, damaged needle, poor thread quality, tension issues, or burrs and rough edges on any part of the thread path.
Does a sewing machine thread break first?
Think of your sewing machine like a well-oiled symphony. Thread breakage often stems from incorrect threading, burrs, or worn-out needles. Carefully inspect each component, ensuring the path is smooth, tension balanced, and parts undamaged.
Why does my elastic thread keep breaking?
The elastic thread continues to break because it has been threaded improperly, the tension is too tight, or your needle is blunt. Also, check out the type of thread to use with the kind of fabric and for burrs and sharp edges in your thread path.
How does thread humidity affect performance?
Who knew that one of the biggest enemies of thread performance would be moisture? Water absorption in a thread may make it swell, weaken, and fray. If the threads are too dry, they become brittle and may break. Balance is everything for smooth sewing.
Are thread lubricants effective in preventing breaks?
Yes, they can. Thread lubricants reduce friction to a great extent and hence contribute toward preventing breaks by providing smoother passage through your machine and not putting undue stress on your thread. Use good-quality lubricant specifically made for sewing machines for the best results.
When should I replace my sewing machine needle?
A stitch in time saves nine." Replace your sewing machine needle after eight hours of use. Check for bends or damage before each project to ensure smooth sewing and not breaking threads.
How to store thread to maintain quality?
Store your thread in a cool, dry place away from direct sunlight. Keep it in airtight containers or zippered bags to prevent dust and moisture buildup, ensuring it stays in top condition for your sewing projects.
Can alternative fabrics impact thread tension?
Think of fabric tension as the heartbeat of your sewing. Alternative fabrics can impact thread tension by stretching or compressing differently. Adjust your tension settings to match the fabric type to avoid thread breaking.
Conclusion
Chances are, if you face any of the typical sewing machine problems, around 80% of them are issues to do with threads.
Knowing why your sewing machine thread keeps breaking will save you time and frustration. It’s all about mending the quality of your thread, tensioning, bobbin issues, or proper machine maintenance that will have you back to smooth stitching in no time—well, not forgetting dense fabrics and mechanical hitches.
Get these nine areas fixed, and you’ll answer that nagging question: why does my sewing machine thread keep breaking? Say goodbye to thread breakage and hello to seamless sewing!

