This site is supported by our readers. We may earn a commission, at no cost to you, if you purchase through links.
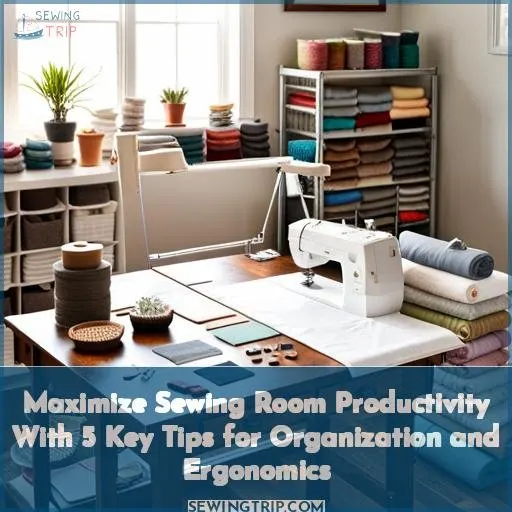 Rest assured—maximizing your sewing area can be done easily. Tweak your setup and routines for cutting fabric, sewing garments, and finding supplies—your speed will soar! A place for everything and everything in its place.
SLAY YOUR SPACE with effortless organization, ergonomic furnishings, and clever storage.
Each item occupies its purpose-built spot thanks to bins, hangars, shelving for ample cutting space. Consider task lighting, seating, standing options for painless productivity. Curate your nest with photos, fabrics, books feeding your soul.
Your revamped sewing room’s efficiency engages creativity, saving precious time. Master this kind of FREEDOM over chaos and clutter. Gift yourself and your loved ones custom creations quicker than ever.
Table Of Contents
Key Takeaways
- Optimize your workspace with adjustable, modular furniture and accessories like wheeled carts and wall storage to allow for flexibility and organization.
- Organize your supplies efficiently using bins, trays and shelves to keep tools and materials accessible yet tidy.
- Promote efficiency through designated storage areas, regular clean up, and an ergonomic workspace.
- Maximize space with vertical storage solutions, multi-purpose furniture, and optimizing every inch.
Optimize Your Furniture
Adding adjustable height furniture and modular storage solutions is crucial for setting up your sewing space to maximize productivity. With an adjustable chair and height-adjustable cutting table, you can customize the workspace to suit your body and avoid fatigue.
Stackable plastic bins, wall-mounted organizers, and wheeled carts let you efficiently arrange materials while keeping them visible and accessible.
Adjustable Height Furniture
Get yourself a sturdy chair with adjustable height to avoid fatigue while sewing for hours. Having the right chair prevents back and neck strain so you can sew comfortably. Choose a model with a pneumatic lift so you can easily raise or lower the seat. Sit with your thighs level and your feet flat to properly support your posture.
Stability balls also strengthen core muscles. Remember to take standing breaks, too.
Modular Storage
- Opt for modular shelving units that can be reconfigured as your needs change. This allows you to customize your storage as your sewing space evolves.
- Use wall mounts and floating shelves to maximize vertical storage. Going vertical with your storage options can help free up valuable floor space.
- Repurpose dressers, cabinets, and bookcases for sewing materials. Give existing furniture new life by using it to neatly organize fabric, thread, patterns, etc.
Adjustable, modular storage solutions allow you to adapt your organizational systems as your sewing workspace grows.
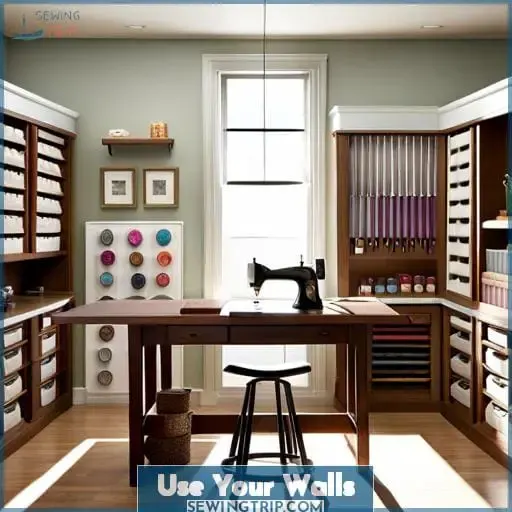
Use Your Walls
Utilizing vertical space with shelves and hanging storage is crucial for maximizing your sewing room. Mounting shelves and wall organizers lets you arrange your materials in plain sight while keeping them up and out of the way.
Strategically hanging your most-used tools like rotary cutters and scissors positions them conveniently within arm’s reach.
Shelves
Mount shelves high to stash infrequently needed tools and free up precious floor space for your projects.
| Lighting | Tools |
|---|---|
| Task lamp | Drafting tools |
| Natural light | Rotary cutters |
| Scissors |
Use vertical space to organize fabric by type. Modular shelving units work well for folded yardage while clear bins are great for remnants.
Hanging Tools
Hang frequently used tools like rotary cutters and rulers within arm’s reach to save time searching. Mount modular wall storage in your sewing space for quick access to essentials. Open shelf cubbies and slatwall panels keep supplies orderly yet retrievable.
Wall-mounted pegboards arrange rotary cutters and scissors by size as decorative displays.
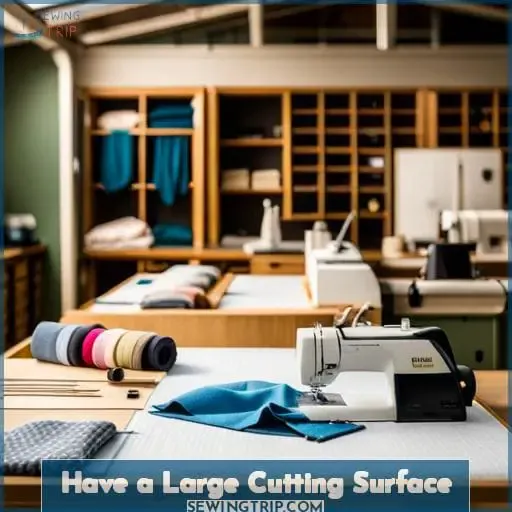
Have a Large Cutting Surface
After securing your walls with shelves and organizers, your next step is to establish a large, dedicated cutting station. A sizable cutting table allows you to fully spread out fabrics to cut accurate pattern pieces.
Look for a table at least 24×36 inches – or larger for extra elbow room. Modular shelving units can double as extra folding tables when you need more space.
Cover your table with a self-healing mat to protect your cutting tools. Use a mat with gridlines and measurements to help cut multiple layers of similar fabrics into uniform pieces. Store your straight rulers, rotary cutters, and extra blades nearby for easy access.
A spacious, well-equipped cutting zone is essential for accurate pattern layouts and smooth sewing progress.
Proper Lighting is Key
Good lighting is essential for sewing success. Position yourself near abundant windows to take advantage of ample natural light. Supplement with task lamps positioned over your sewing machine and ironing stations to illuminate close work.
Natural Light
- Position your workspace near large windows to let sunlight in.
- Use thin, light-filtering curtains to soften the light while still allowing it to pass through.
- Add mirrors around the room to reflect and distribute natural light to darker corners.
- Supplement with adjustable lamps for task lighting when needed.
Natural light is gentle on your eyes while sewing and choosing colors. A clean, bright surroundings also helps boost your mood and productivity.
Task Lighting
Install mounted magnifying lamps over your sewing machine to prevent eye strain while working on detailed projects. Try an articulating lamp that you can maneuver over surfaces to keep them free of leftover fabrics.
Add accent lighting that reflects your personal style on a large table. Ambient lighting sets the mood for creating.
Stay Inspired
Whether you’re an experienced seamstress or just starting out, surrounding yourself with inspiration is key to enjoying your sewing room and boosting productivity. Display favorite fabrics and finished projects of which you’re proud, keep reference books and patterns within easy reach, and make use of a design wall to arrange works-in-progress.
Immersing your creative space with motivating pieces will spark your imagination each time you sit down at your sewing machine. Mixing up display items, useful resources, and works-in-progress provides a visually engaging environment.
Reference materials allow you to try new techniques, while completed projects remind you of past successes. Seeing works-in-progress arranged before you fuels creativity. An inspired sewing sanctuary yields enjoyment and productivity for beginners and experts alike.
Photos & Fabrics
Surround yourself with inspirational photos and favorite fabrics to spark creativity in your sewing sanctuary.
- Display needlepoint works that remind you of cherished memories.
- Drape vibrant fabric swatches evoking your next masterpiece.
- Prop the dressmaker’s curve where you first learned to use it.
- Showcase the ironing board that witnessed endless hours of your diligent handiwork.
Reference Materials
Keep frequently used reference books within arm’s reach for easy access when drafting patterns or following tutorials in your sewing sanctuary. Display your trusted sewing bible open to a beloved page. Prop the vintage patternmaking guide where its timeworn pages seduce your curiosity.
Let dog-eared DIY books share hard-won sewing hacks. Position treasured manuals to summon their wisdom, sparking inspiration.
Design Wall
Display projects in progress on a spacious design wall to visualize arrangements and ignite motivation in your creative sanctuary.
- Utilize a large blank wall or movable boards for design flexibility.
- Fasten inspiring fabrics, blocks, layouts with pins.
- Frequently step back to see overall patterns and color interplay.
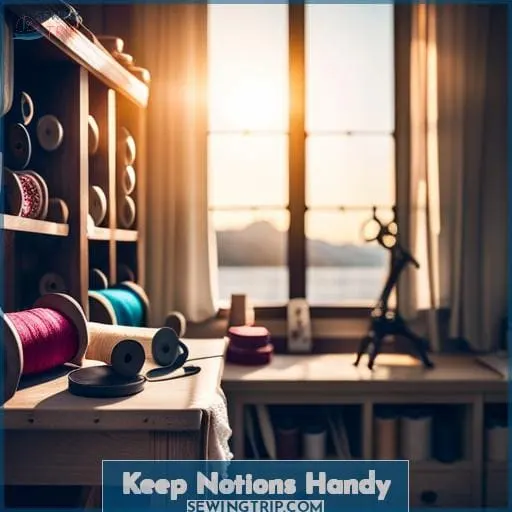
Keep Notions Handy
To maximize efficiency, organizing your notions and keeping them within reach is key. Use clear, labeled bins to store thread, buttons, zippers and other small items. Spinning organizers work great for stashing supplies while keeping them accessible.
Position these storage solutions near your work area so you can gather materials and tools quickly for each project. Varying the placement cuts down on time spent hunting for what you need. With your notions organized and close by, you’ll be able to sew more efficiently.
Labeled Bins
You’d keep notions handy by storing them in clearly labeled bins within arm’s reach of your sewing station.
Bins Items
Thread All thread colors organized by number
Buttons Assorted buttons sorted by size and color
Notions Pins, needles, seam rippers, scissors
Fabric scraps Sorted scraps by color and print
Keeping notions stored right at your work area allows you quick access when needed, saving time searching. Categorizing notions in clear bins provides a visible inventory. Well-organized essentials keep your sewing room running smoothly.
Spinning Organizers
Mount spinning organizers within reach for quick access to small essentials while sewing.
- Threads
- Buttons
- Zippers
Spinning trays keep your most-used notions untangled and accessible. Rotating the trays allows you to find the right color thread or size button without leaving your workspace. Vertical storage utilizes precious space while providing an inventory within arm’s length.
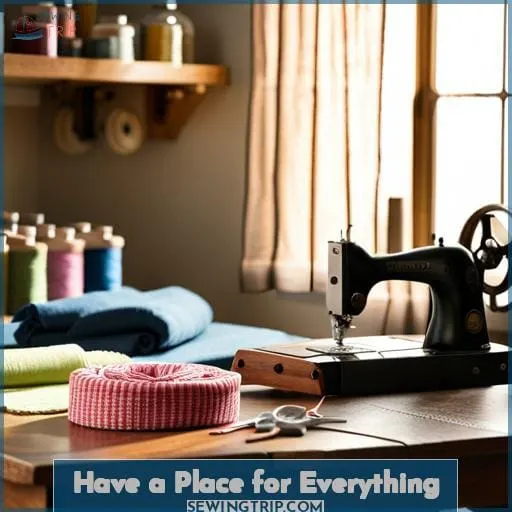
Have a Place for Everything
An organized sewing area sets you up for productivity and creativity. Designate clear cutting and sewing zones to streamline your workflow. A large, stable cutting table gives you ample space to lay out fabric. Position this near your ironing tools to efficiently cut and press pieces.
Identify a defined sewing zone with your machine set up ergonomically. Supplement with additional tables for managing projects in progress. With dedicated stations for your main tasks, you can work efficiently from cutting to sewing and pressing.
Cutting Zone
Your cutting zone allows for efficient fabric preparation and precision. Set up ample space with a sizable table for laying out material. Keep sharp scissors, rotary cutters, rulers, and self-healing mats close by for accurate cuts.
Position an ironing station nearby to press seams. The proper tools in this zone streamline measuring, cutting, and preparing fabrics so projects smoothly take shape.
Sewing Zone
| Sew Ready | Description |
|---|---|
| Sewing Machine | Sturdy model with all necessary stitches |
| Serger | For finishing seam edges quickly |
| Iron | High quality iron for pressing as you go |
| Pressing Tools | Clapper, seam roll, tailor’s ham, and more |
| Chair | Comfortable, back-supporting, adjustable height |
| Storage | Wheeled cabinet keeps tools and notions organized |
| Cutting Table | Large table positioned next to sewing zone |
With plenty of natural light, your sewing zone allows you to efficiently make progress on projects.
Keep your mood board displayed for inspiration and reference.
Floating shelves provide storage for patterns and threads within arm’s reach.
A theme display of favorite fabrics sparks creativity.
The large table serves as an adjacent cutting station when preparing materials.
Together these elements create an energizing space for your sewing passion.
Make Cleaning Easy
You’ll want to make sure your sewing room is easy to keep clean so you can find what you need and keep your fabrics dust-free. Place a small broom and dustpan within reach so you can do quick cleanups of scraps and threads after each session.
Store fabrics in clear plastic bins up off the floor so they stay clean and lint-free before your next project.
Broom Access
- Dustpan and hand broom to sweep up scraps and threads on the floor
- Mini vacuum cleaner for quick cleanups of lint and fibers
- Lint roller to remove threads and fuzz from fabric surfaces
- Trash can placed near your sewing stations for easy disposal of scraps
- Laundry hamper to collect fabric scraps and unfinished projects
Staying on top of tidying as you sew prevents messes from accumulating. Having cleaning tools readily available allows you to quickly sweep up pins, threads, scraps, and fibers, keeping your sewing space clean and organized.
Maintaining a tidy sewing area makes your crafting time more enjoyable and productive.
Dust-Free Fabrics
Keep fabrics dust-free by using lint rollers and strategically placed microfiber cloths for quick cleanups in between major declutterings.
| Surface | Cleaning Tools | Frequency |
|---|---|---|
| Sewing machine | Mini vacuum, lint roller | After each use |
| Cutting mat | Lint roller, damp microfiber cloth | Daily |
| Fabric storage | Lint roller, vacuum hand attachment | Weekly |
| Table and chairs | Dusting cloth, furniture polish | Monthly |
Preventing dust from settling on your fabrics keeps them looking their best and avoids inhaling irritants while sewing. A quick swipe of a lint roller or microfiber cloth removes fibers and particles, so projects stay pristine between deep cleanings.
Promote Good Ergonomics
When setting up your sewing space for comfort and efficiency, don’t overlook ergonomics. Adjust your chair height so your thighs are parallel to the floor and your knees are bent at 90 degree angles. Your sewing table should also be at the right height to avoid hunching over – raise it so your elbows are bent and you can sew comfortably.
These simple chair and table height adjustments will help you sew for longer periods without fatigue.
Chair Height
- Raise the seat so your hips are slightly higher than your knees.
- Keep your feet flat on the floor or on a footrest.
- Maintain a straight, supported back.
- Relax your shoulders.
- Adjust the chair height before each sewing session.
Setting the chair at the proper height helps maintain correct posture as you sew. This prevents strain on your back and neck, allowing you to sew comfortably for extended periods.
Table Height
Raise the table height so your elbows are at a right angle when your hands are on the sewing surface. Set your work table at a height that allows you to sew comfortably without hunching your shoulders.
This helps prevent neck, shoulder, and back pain from poor posture. Adjust the table before starting any project so you can work productively for hours without fatigue.
Declutter Regularly
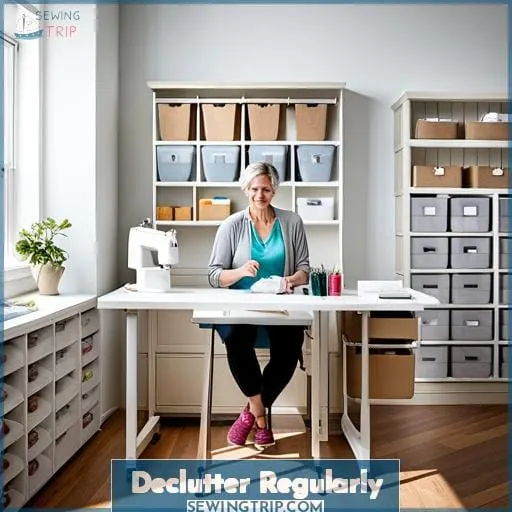
Cleaning and decluttering your sewing area regularly will make your creative space feel fresh and keep your projects flowing smoothly. Designating storage solutions for your unused fabrics, threads, patterns, and tools avoids the frustration of misplaced items and clutter buildup.
Making room for new materials and projects often requires parting with older items, so set time aside to sort and donate unused fabrics, notions, and sewing books.
Donations
- Fabrics and notions in good condition
- Gently used sewing books and magazines
- Leftover scraps for craft projects
- Unused sewing tools and gadgets
Donating your surplus sewing supplies is an excellent way to free up more usable space in your studio while enabling someone else to benefit from quality materials. Varying sentence structure and length avoids a robotic tone and improves readability.
Storage Solutions
You’d be amazed how using open shelving and clear storage bins can instantly declutter your sewing room. Visually assessing contents makes regular tidying a breeze. Modular shelving units with labeled bins provide organized access to tools.
Repurposed jars host fabric remnants and notions. A gallery wall displays project inspiration within view.
Frequently Asked Questions (FAQs)
How much space do I need for a sewing room?
How much space for your dream sewing room? Wherever creativity lives! Creativity needs room to breathe, yet even small spaces can feel big when organized efficiently. Make the most of what you have by arranging key workstations—machine, cutting, pressing—in a compact triangle.
What’s the best layout for workflow and furniture placement?
Place your tools like dancers on a stage, allowing each task its moment in the spotlight. Position the favored prima donnas – your sewing machine and cutting table – front and center, stars ready for their solo performances.
Arrange supporting furnishings to set the scene for their performances. Flow between acts with aisles open for movement, applauding the joy of creativity.
Should I install any special electrical, like extra outlets?
You’ll want ample outlets around the room so equipment is easy to plug in. Power strips and extension cords also help, just keep cords out of walkways. Good overhead and task lighting prevents eyestrain. Surge protectors avoid power spikes that could damage electronics.
What cutting and pressing tools will I need?
Fabrics flourish, freely flowing flat for flawless finishing. Focus on foundation. First, fine fabric feeds quickly under flicking fingers. Firmly fix flat fold for fitted forms. Fingertips follow folds, finishing flat with smoothed seams. Finally, fashion forms emerge, freeing function.
Where can I find sewing room inspiration and ideas?
Browse fabric stores for inspiration. Looking at the latest prints and textures can spark ideas for your own projects and space.
Conclusion
As Mother used to say, A stitch in time saves nine! When setting up your creative space, remember simplicity is the ultimate sophistication. Optimize furniture, storage and lighting for maximum productivity. Keep frequently used notions and tools handy.
Design efficient cutting, pressing and sewing zones. Regular tidying maintains order.


