This site is supported by our readers. We may earn a commission, at no cost to you, if you purchase through links.
 Looking to master the perfect overlock stitch on your sewing machine? You’re in luck! With a few simple steps, you can achieve professional-looking results without having to invest in an expensive serger.
This article will show you exactly how to take control of your projects and ensure that every seam has a beautiful overlock finish. Learn just how easy it is for sewers of any skill level to create stunningly neat seams with an impressive overlock stitch.
To start, be sure you have the right presser foot. An overlock foot specifically designed for your machine model will help feed the fabric edges through smoothly and evenly. Check your manual to see which foot is recommended. Next, pay close attention to thread tension.
The key is balancing the tensions so that the threads wrap the edges just right without getting too tight or loose. Don’t be afraid to experiment with the settings until you get the look you want.
When threading, trace the path carefully and refer to diagrams in your manual as needed to make sure the threads are following the proper channels. Any mis-threading can cause tangled messes. Check for snags along the thread path as well.
If you run into any puckering issues on the seams, the likely culprit is differential feed. Adjusting this setting helps feed the layers through at the same rate. Set it to a lower number for lighter fabrics, or increase it for heavier materials.
With a few simple tips, tricks and test runs, you’ll be finishing fabric edges like a pro on your regular sewing machine in no time. Don’t let overlocking intimidate you. Consistent practice and paying attention to tensions, feet and settings will give you perfect seams to showcase your handmade projects.
Table Of Contents
Key Takeaways
- Use the right presser foot for smooth fabric feeding.
- Adjust thread tension and differential feed for even and tidy stitches.
- Make use of an overcast presser foot and side cutter foot for a professional finish.
- Secure threads and apply fray block for sturdy seams.
How to Do an Overlock Stitch on a Sewing Machine
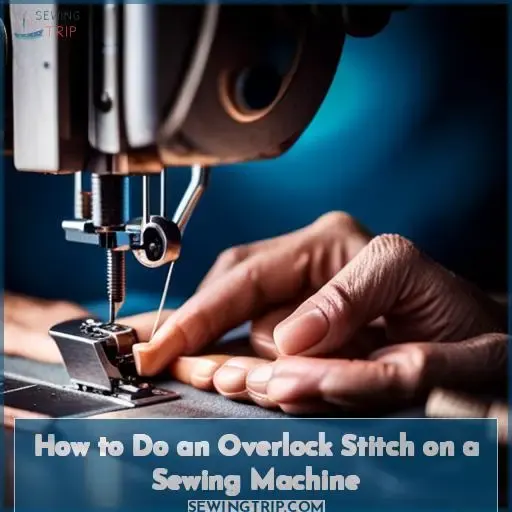
Using the overcast stitches and overcast presser foot on your sewing machine will allow you to mimic an overlock stitch for seam finishing. While not identical to a serger’s side cutting and precise stitch formation, overcast stitches neatly enclose edges to prevent fraying on most fabrics without requiring additional equipment.
Utilizing the overcast stitches and overcast presser foot on your sewing machine enables you to simulate an overlock stitch for finishing seams. Although not the same as a serger’s side cutting and exact stitch creation, overcast stitches cleanly bind edges to stop unraveling on the majority of fabrics without needing extra tools.
Using the Overcast Stitches
You’ll find the overcast stitch creates a tidy finish along curved seams to avert fraying. Fine-tune tension to prevent tunneling. Test on fabric scraps first since stitch suitability varies. Compare overcast results against serged samples. Adjust length and width until achieving the desired appearance without distortion.
Focus on preventing raw edges from unraveling, not imitating a serger’s flat seam.
Using the Overcast Presser Foot
So spool that thread and find the storage spot for the overcast presser foot because all those raw edges are about to vanish like magic!
- Thread the machine with preferred thread color(s).
- Attach the overcast presser foot.
- Adjust stitch length and tension for the fabric.
- Test on scrap first.
- Slow down on curves and pivots.
The overcast presser foot guides the fabric edge neatly under the zigzag stitch for a professional finish in no time. With some tension tweaking and test stitches, you’ll get clean enclosed seams and flawless finishes.
Differences Between Side Cutter Foot and Serger
Next, you’ll see the side cutter foot differs from a serger by only trimming one edge of the seam allowance. A side cutter foot can trim and stitch only one side of the raw fabric edge. In contrast, a serger simultaneously sews a seam while encasing the raw edges with thread.
| Feature | Side Cutter Foot | Serger |
|---|---|---|
| Trims Fabric | One Side | Both Sides |
| Overlocks Edges | No | Yes |
| Seam Width | Regular | Narrow |
Evaluate your project budget and desired results when selecting between these two seam finishing options.
Overlocking Without an Overlocker
Finding yourself without an overlocker needn’t prevent a polished finish, as an overlock stitch can be mimicked by hand for seam allowances. Try a whip stitch or blanket stitch along the raw edge using strong thread. Heavier fabrics like denim may hold your stitches better than lightweight material prone to fraying.
Flat felled seams encase raw edges between folded fabric. Talk to your sewing community about their favorite stitches and seam finishes done by hand for inspiration. With a bit of practice, you can emulate tidy, professional results without a serger.
Experiment with stitch direction, spacing, and thread colors to customize your look.
Choosing the Best Overlock Machine
Choosing the right overlock machine for your sewing needs doesn’t have to be complicated. Consider popular brands like Singer, Brother, and Janome, and key features to compare such as stitch options, number of threads, and ease of threading when weighing the pros and cons.
Some things to think about are the number of stitch options you’ll need, how many threads you want to work with, and how easy the machine will be for you to thread. Popular brands often have multiple overlock models to choose from with varying features.
Look at reviews and product details as you compare brands and models to determine what combination of stitch options, threads, and ease of use fits your needs best. With some research on the top products, you’ll be able to find the overlock machine that’s just right for your projects.
Popular overlock machine brands
Sing their successes with Singer’s seams and shining stitches! When it comes to overlock machines, there are several top brands that stand out.
- Brother – Known for its reliability and versatility.
- Janome – Offers a wide range of options for different skill levels.
- Juki – Renowned for its industrial-grade performance.
- Baby Lock – Provides innovative features like automatic thread tension control.
- Bernina – Loved by professionals for its precision stitching.
Consider your needs and budget when choosing an overlock machine that suits you best!
Key features to consider
when feeling overwhelmed comparing overlock machines. Focus first on stitch quality. Test drive machines using varied fabrics to examine the evenness of stitches. Also evaluate ease of threading, number of threads, and stitch width options based on typical sewing projects.
Don’t overlook maintenance tips from reviewers on changing needles, oiling, and cleaning to keep the machine running smoothly for years. Choosing an overlocker with multiple stitch variations will allow creativity on future decorative stitches too as skills grow.
Pros and cons comparison
You’ve hemmed and hawed over which overlocker to buy, scrutinizing each feature like an eagle-eyed seamstress, but don’t get sewn up just yet – weighing the pros and cons for your sewing style will help cut through the clutter.
- Price vs. Stitch Options – Consider both budget and versatility in stitch options for your projects. An overlocker with fewer stitches may be more affordable, while one with more options allows you to create various seam finishes.
- Built-in vs. Convertible – Built-in overlockers are designed for overlocking only, while convertible models allow switching to a regular sewing machine.
- Number of Threads – Overlockers can handle 2 to 8 threads. More threads allow more stitch options but may increase complexity.
- Ease of Use – Look for easy threading, tension adjustment, and helpful features like color-coded threading guides.
Carefully weighing the key pros and cons for your sewing needs and style will help guide you to the best overlocker.
Fine-tuning and Troubleshooting the Overlock Stitch
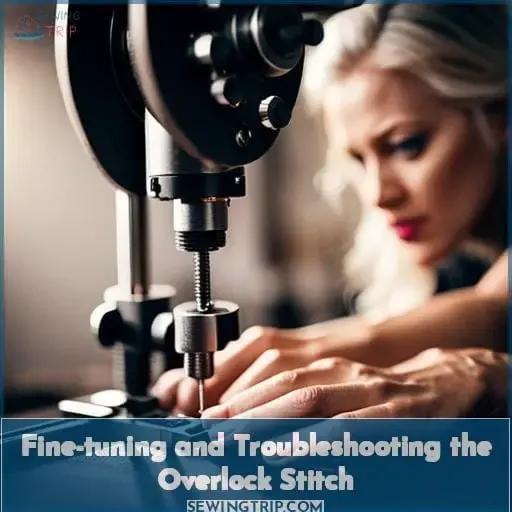
When troubleshooting stitch tension, start by checking your thread paths. Make certain each thread is following the correct color-coded path according to your machine’s manual. Then begin adjusting tensions, starting with the needle tension before moving to the loopers.
Minor changes can have big effects on stitch appearance, so turn dials incrementally. When dealing with tunneling issues, adjust micro thread control settings carefully; too little mtc can cause looping, while too much pulls fabric into the stitch.
Adjusting Tensions for Balanced Stitches
Don’t let tension issues get you down when fine-tuning your stitches; a few quick adjustments will have those threads balanced perfectly in no time. Take a peek at your overlocked sample seams – if the needle thread’s lying flat while the looper’s popping to the surface, loosen those looper threads and tighten the needle for balanced stitching.
Reading your machine’s tension diagram helps with making the perfect tension tweaks for flawless stitches.
Troubleshooting Thread Path Issues
Well la dee da, the machine’s loopy interventionists don’t care which color goes through whom; you’ve got to babysit those roguish threads like an eagle-eyed prison guard.
- Check thread paths match tension dial colors
- Inspect tension discs for trapped threads
- Re-thread completely if unsure
With some thread counseling and an attentive eye, you can whip those unruly threads into shape for balanced, professional-looking stitches every time.
Dealing With Tunneling and Micro Thread Control
Glancing up reveals those pesky fabric tunnels forming around the looper threads.
The key to conquering tunneling lies in your machine’s Micro Thread Control (MTC). MTC adjusts looper thread tension. Increase MTC if the needle thread lies on top of the looper threads. Decrease MTC if looper threads override the needle. Test on scraps first. Stitch appearance reveals the ideal MTC setting.
| Lower MTC | Higher MTC |
|---|---|
| Loose top thread | Tight top thread |
| Looper threads override | Top thread overrides |
| Tunneling | Ruffling |
Conquer tunneling through smart MTC tweaks for beautifully balanced tension.
Finishing Touches for Overlock Seams
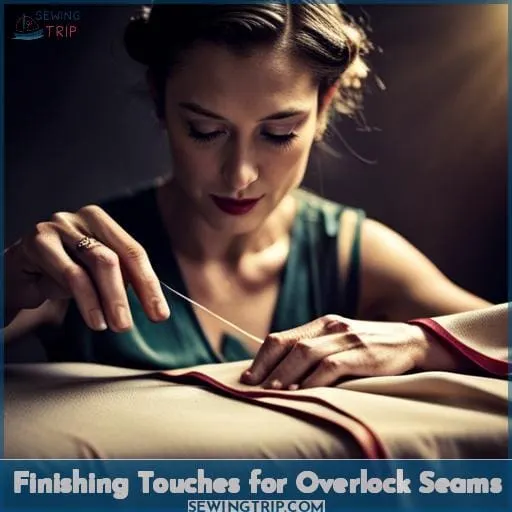
Invite tranquility by finishing your overlock seams with care, like a mother bird weaving a nest patiently and precisely for her hatchlings. Though your project’s almost done, don’t rush these last steps. Secure all threads by backstitching before you clip them.
Put a dab of fray block on the raw edges as insurance against unraveling. Insert a tapestry needle through each loopy thread chain, then tuck tails to the wrong side. This prevents annoying snagging when you wear your handiwork. Chaining off and thoughtfully hiding threads gives durability.
Your garment will withstand repeated washing and wearing. Feel proud mastering each skill contributing to a polished finish. With practice, overlocking’s rhythmic motion becomes meditative, bringing calm. You’ll find satisfaction creating something durable and beautiful.
Conclusion
With the right information, learning how to overlock sew can be quite simple. Take Mark, for example. He recently bought an overlock machine. Using this article, Mark quickly became proficient. He learned the basics of using the overcast stitches, the overcast presser foot, and the differences between the side cutter foot and a serger.
He also learned how to overlock without an overlocker, choose the best overlock machine, fine-tune and troubleshoot the overlock stitch, and finish off his seams perfectly.

