This site is supported by our readers. We may earn a commission, at no cost to you, if you purchase through links.
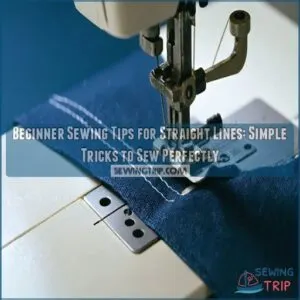
Start by using the seam allowance guide on your sewing machine—it’s like your road map. Focus on that guide, not the needle, to stay on track.
A presser foot with a built-in guide is another lifesaver. Prep is key, so make sure your fabric’s edges are clean and straight.
Drawing a line on your fabric or even practicing on paper can help steady your hand. Sew slowly, control the fabric with light pressure, and soon straight stitches will feel second nature!
Table Of Contents
Key Takeaways
- Use the seam allowance guide or painter’s tape on your sewing machine to keep your lines straight and consistent.
- Practice on scrap fabric or even paper to build muscle memory and sharpen your hand-eye coordination.
- Match your thread, needle, and fabric type to avoid snags, skipped stitches, or tension issues.
- Let the feed dogs guide the fabric and apply light hand pressure to prevent distortion or wavy lines.
Essential Sewing Tools
Having the right tools makes sewing straighter lines so much easier. From sharp fabric shears to a reliable sewing machine, each tool plays an important role.
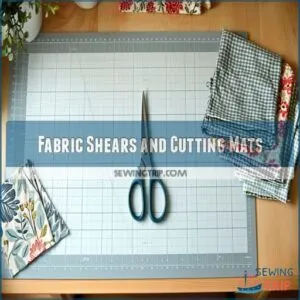
Fabric Shears and Cutting Mats
In the context of fabric cutting, precision is key.
High-quality fabric shears and cutting mats make smooth cuts manageable and layers easy to handle. Keep these in top shape: For perfect seams, use sewing tools to guide your stitches.
- Trim edges with sharp scissors for clean sewing measurements.
- Protect mats by rotating usage spots.
- Match tools to fabric types for accurate seam allowance.
Cut smart, prep right!
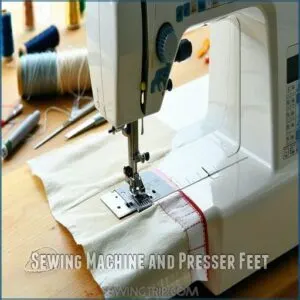
Sewing Machine and Presser Feet
Your sewing machine is only as good as its setup.
Mastering sewing machine feet like the straight stitch foot simplifies precise stitching. Use a presser foot guide or markings to stay straight.
Pay attention to tension control and stitch regulation for clean results.
Small tweaks, like foot adjustments or placing a sewing machine guide, can transform frustrating mistakes into polished stitches.
For more information on sewing straight lines, visit a sewing guide to improve your skills.
| Pro Tip | Why It Matters |
|---|---|
| Use a straight stitch foot | Keeps lines uniform and steady |
| Check tension control | Prevents skipped or messy stitches |
| Attach a presser foot guide | Nails consistent seam allowances easily |
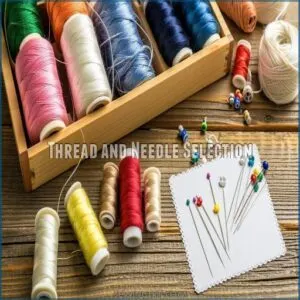
Thread and Needle Selection
Picking the right thread and needle is like pairing peanut butter and jelly—essential for smooth stitching.
Match thread types and needle sizes to your fabric for polished results. Avoid mismatches that cause snags or breakage.
- Thread Types: Use polyester for versatility; cotton for natural fibers.
- Needle Sizes: Smaller for delicate fabrics, larger for thicker materials.
- Color Matching: Blend thread with fabric or pick complementary tones.
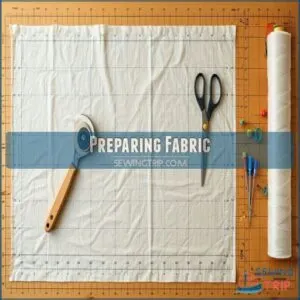
Preparing Fabric
Preparing your fabric properly sets the foundation for neat, straight stitches. Start by smoothing, trimming, and pre-washing it to avoid common sewing mishaps.
Laying and Smoothing Fabric
Laying fabric flat before cutting saves you from sewing headaches later.
Smooth wrinkles with your hands, keeping an eye on the grain lines for proper fabric alignment.
Trimming uneven edges guarantees fabric straight lines every time.
Think of it as yoga for your fabric—relax it for better results and precision.
| Step | Tools Needed | Why It Helps |
|---|---|---|
| Lay Flat | Table/Flat Surface | Prepares fabric evenly |
| Smooth Wrinkles | Hands/Iron | Ensures wrinkle removal |
| Check Grain Lines | Visual Inspection | Aligns fabric correctly |
| Trim Edges | Fabric Shears | Promotes clean cutting |
| Practice Patience | Focus | Boosts sewing accuracy |
Pre-Washing and Ironing Fabric
Before stitching, reduce fabric shrinkage by pre-washing your fabric.
It’s annoying to have perfect lines ruined after the first wash! Once clean, grab your iron or try steaming methods for wrinkle removal and fabric smoothing.
Beginner sewing tips: ironing techniques go a long way in fabric preparation, making straight lines easier. Smooth fabric equals smooth stitches.
Trimming Uneven Edges
Wrinkles gone? Now tackle uneven edges to keep things smooth.
Clean cuts make straight stitches easier and prevent fabric fraying. Grab sharp fabric shears and follow these steps:
- Trim edges for cutting accuracy—no shortcuts here.
- Snip frayed threads to avoid wavy lines.
- Use a ruler for guidance—keep it straight.
- Press edges flat before starting.
Setting Up Sewing Machine
Getting your sewing machine ready is easier than it sounds, but skipping any steps can lead to frustration later.
Take your time to thread the machine properly, adjust the tension, and choose the right needle for smooth sewing.
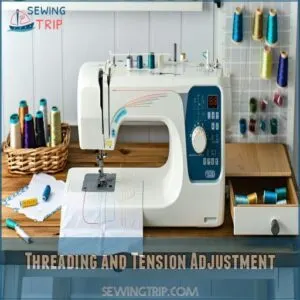
Threading and Tension Adjustment
Threading your sewing machine correctly isn’t optional—it’s the foundation of great stitch quality.
Always double-check threading techniques to dodge thread breakage or tension issues. Uneven stitches? It’s usually a tension problem—adjust the dial slightly.
Proper thread tension management is essential for achieving balanced stitches.
Bobbin management matters too; mismatched threads cause chaos.
Sewing basics like balanced tension and proper threading are key to mastering sewing techniques beginners can trust for straight stitch practice.
Stitch Length and Speed Control
Straight stitch practice starts with mastering stitch length and speed control.
Short stitches (2-2.5) work great for stability, while longer ones (3-3.5) glide smoothly for topstitching.
Need slower speed? Use the "turtle" setting or ease off the foot pedal.
Keep fabric flow steady and watch the tension adjustment.
These sewing tips for beginners make fabrics behave like pros!
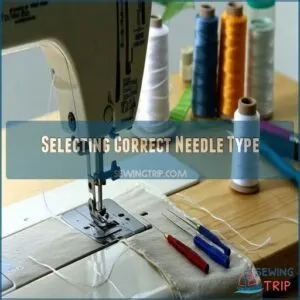
Selecting Correct Needle Type
Want smooth stitching? Your needle choice makes all the difference.
Sewing machine needles should match fabric types, thread compatibility, and sewing speeds.
A dull or wrong-sized needle creates puckers or crooked stitches—no thanks!
- Use sharp needles and change them often.
- Match needle sizes to fabric thickness.
- Choose appropriate needle materials (e.g., ballpoint for knits).
- Keep spares handy.
Basic Sewing Techniques
Learning basic sewing techniques is the foundation for stitching straight and even lines. When you master fabric feeding, steady pressure, and seam guides, sewing becomes much easier.
Feeding Fabric Through Machine
Once your sewing machine is set, focus on fabric flow control.
Let the feed dogs pull the fabric—don’t push or tug, or you’ll risk fabric bunching or thread breakage.
Understanding proper thread tension is important for smooth fabric feeding.
Keep your hands steady near the presser foot for sewing alignment.
Watch the seam guide instead of the needle to master sewing straight lines with ease.
Maintaining Consistent Pressure
Consistent hand guidance and foot pedal control are pressure points for sewing accuracy.
Keep fabric tension steady to avoid wavy lines and guarantee precision.
Follow these sewing tips and tricks:
- Apply even hand pressure for smooth, straight movement.
- Use slow foot pedal control to maintain steady fabric flow.
- Check fabric tension regularly for clean, sharp stitching.
Using Seam Allowance Guides
Seam guides are lifesavers for straight lines, especially when sewing for beginners.
Use tools like magnetic seam guides or masking tape to keep fabric alignment on point. Place your guide snugly along the edge for precise seam allowance.
Mark fabric edges for stitch accuracy with tailor’s chalk. These simple sewing tips make straight-line stitching a breeze with beginner-friendly sewing tools!
Straight Stitching Tips
Sewing straight lines can feel tricky, but with the right techniques, it’s easier than you think.
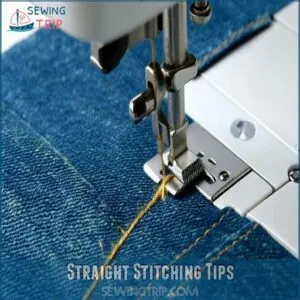
Focus on guiding your fabric steadily and use helpful tools like seam guides or painter’s tape for perfect results.
Controlling Fabric Movement
Don’t wrestle with the fabric—let the feed dogs handle it.
Your hands are there for gentle movement guidance and edge control, not pushing or pulling.
Keep fabric tension steady to avoid wavy lines.
Watch your seam guide for sewing precision, not the needle.
Feed management and stitch regulation make sewing straight lines feel like second nature with practice.
Avoiding Puckering and Distortion
Keeping fabric tension even is key to avoiding puckering and distortion.
Let the feed dogs guide the material—pushing or pulling causes uneven stitching.
For smooth, straight seam control, watch the seam guide instead of the needle.
A slow pace allows sewing precision and pucker prevention.
Practice this straight seam tutorial to master sewing straight lines without wavy or stretched results.
Using Rulers and Guides
Using ruler techniques and sewing machine guides keeps your straight stitching on track.
A seam guide or painter’s tape creates a visual edge alignment, so you’re not eyeballing it.
Fabric marking tools help define precision cutting lines for stitching paths.
For accurate results, utilizing sewing ruler guides is essential.
Straight line quilting? A quilting ruler is your best friend.
Small tweaks like these make sewing straight lines a breeze!
Common Sewing Mistakes
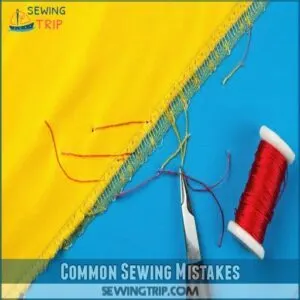
Even the best plans can go sideways when small mistakes sneak in, but don’t let them ruin your progress.
From loose tension to rushing through practice, spotting these errors early can save you time and frustration.
Incorrect Thread Tension
Thread tension keeps your sewing machine running smoothly, but if it’s too tight or loose, expect thread breakage or skipped stitches.
Tension issues can ruin stitch quality and cause wavy lines when straight stitch quilting.
Test on scrap fabric first. Adjust slowly to avoid sewing delays. Sewing tutorials for beginners often stress this—fixing tension is a game-changer for straight lines!
Improper Fabric Handling
Tugging or stretching fabric while sewing? That’s a recipe for disaster!
Focus on fabric tension and fold management to keep it smooth and steady.
Poor edge control leads to fraying issues, while stretch factors can cause wavy lines.
Let feed dogs do the work—don’t fight the machine. Mastering straight lines starts with relaxed, guided sewing techniques.
Insufficient Practice
Skipping sewing practice is like expecting to ace a test without studying.
Set realistic practice schedules to build muscle memory and stitch consistency, and also to help with skill building.
Regular sewing frequency sharpens skill building, helps avoid wavy lines, and boosts confidence.
Analyze errors, then tweak your technique, understanding sewing mistakes is essential for improvement.
Remember, a sewing machine doesn’t magically guarantee mastery—practice sewing daily to focus on mastering straight lines.
Practicing Sewing Skills
Practicing your sewing skills is the best way to build confidence and improve accuracy. Start with simple projects and scrap fabric to develop consistency and control over your stitches.
Using Scrap Fabric for Practice
Sewing mishaps? Grab fabric scraps to up your game! They’re perfect for practice exercises without the stress of ruining good fabric.
Here’s how:
- Stitch straight lines, zigzags, or curves to build control.
- Try sewing drills on paper first to steady your hand.
- Practice seam allowance on fabric remnants—you’ll master precision in no time!
Starting With Simple Projects
Start with easy sewing projects like pillowcases or tote bags—simple patterns that build confidence without overwhelming you.
Focus on fabric selection; choose sturdy, non-stretchy fabrics for smoother stitching.
For more inspiration, explore these simple sewing projects designed for beginners.
Use basic sewing skills, and plan your project carefully, organizing sewing tools beginners need ahead of time.
These beginner sewing projects help you master Sewing Basics while learning at your own pace.
Gradually Increasing Complexity
Think of pattern progression like climbing stairs—each step builds confidence.
Move from beginner sewing projects, like pillowcases, to sewing challenges with new complexity levels, like tote bags.
Try fabric variety to build skills, mastering straight lines while avoiding wavy lines.
Use sewing tools beginners love, like seam guides, to stay steady.
Practice guarantees growth with every stitch.
Mastering Straight Lines
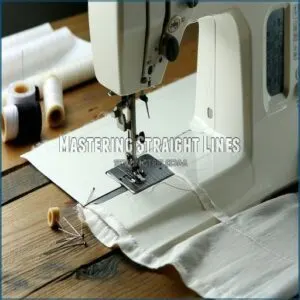
Getting perfectly straight stitches takes practice, patience, and a few smart techniques. With steady hands and the right tools, you’ll sew straight lines like a pro in no time.
Focusing on Seam Allowance
Nailing seam allowances is like coloring within the lines—it’s all about precision.
Use seam allowance guides to keep fabric margins even and boost stitch accuracy.
Here’s how:
- Painter’s tape makes a quick DIY guide on your machine.
- Magnetic seam guides help beginners stay on track.
- Mark seam lines with tailor’s chalk for edge finishing and seam quality.
Controlling Stitch Length and Speed
Matching your seam allowance is great, but stitch control and speed adjustment are equally key.
Set your sewing machine to a stitch length between 2.5-3.0 for smoother lines.
Keep speed steady—imagine driving a car in city traffic, and use slower settings to balance fabric flow and thread tension, which involves machine calibration.
With practice, machine calibration feels less intimidating.
Developing Muscle Memory
Building muscle memory takes consistent training and a lot of repetitive practice.
Start with Muscle Memory Exercises—sew straight lines on paper, focusing on hand-eye coordination rather than the needle.
This sharpens your fine motor skills over time, which is crucial for improving your sewing abilities.
Follow sewing tutorials and practice sewing with your machine daily, as this will significantly impact your progress.
The more you do it, the steadier your straight lines will become, and fine motor skills will be enhanced over time.
Frequently Asked Questions (FAQs)
How to sew in a straight line for beginners?
Did you know most beginners struggle with straight stitches?
Start by marking lines on fabric with chalk, go slow, and watch the seam guide, not the needle.
Practice on scraps—think of it as sewing warm-ups!
Why can’t I sew a straight line?
You’re likely struggling with straight lines because of uneven fabric tension, improper guidance, or sewing too fast.
Slow down, focus on the seam guide instead of the needle, and let the machine feed the fabric naturally.
What is the first thing a beginner should sew?
Think of your first sewing project as your training wheels—start with a simple pillowcase.
It’s all straight lines, forgiving fabric, and practical use.
Plus, it’s a confidence boost when your stitches finally “click.”
What are the best sewing machine settings for straight stitch?
Set your machine to a straight stitch with a length of 5-
Adjust thread tension for smooth stitches, test on scrap fabric, and verify proper needle and presser foot for your fabric type.
How do I choose beginner-friendly sewing patterns?
Go for patterns labeled "beginner" or "easy".
Start with simple projects like pillowcases, tote bags, or elastic-waist skirts.
Look for minimal pieces, straight seams, and clear instructions—no fancy curves or tricky techniques yet!
What are the best fabrics for practice projects?
Don’t stress about ruining expensive materials—start with cotton or linen.
They’re sturdy, don’t stretch, and are super forgiving.
Avoid slippery fabrics like satin; they’re the sewing equivalent of ice-skating uphill!
Practice makes perfect, so experiment freely.
How can I troubleshoot skipped stitches in sewing?
Skipped stitches? Check your needle—dull, bent, or mismatched needles are the usual suspects.
Re-thread your machine carefully, and clean out lint.
Adjust tension settings if needed, and make sure your fabric matches your needle.
What safety tips should I follow while sewing?
Always keep fingers clear of the needle and presser foot.
Avoid sewing over pins, and work in a well-lit area to prevent mistakes.
Unplug your sewing machine when adjusting parts or changing needles.
How do I maintain and clean a sewing machine?
Think your machine doesn’t need cleaning?
Dust and lint love building up inside.
Wipe surfaces, oil moving parts per the manual, and clean the bobbin case regularly.
A clean machine stitches better and lasts longer.
Conclusion
Sewing straight lines might feel challenging at first, but with practice and these beginner sewing tips for straight lines, you’ll improve in no time.
Focus on tools like your presser foot and seam allowance guide, go slow, and don’t skip practicing on scrap fabric.
Perfecting your stitches takes patience, but every straight seam you sew boosts your confidence.
Keep at it, stay steady, and soon straight stitching will become second nature—almost like riding a bike, but quieter, with practice.
- https://madamsew.com/blogs/sewing-blog/top-9-tools-to-sew-straight-lines
- https://threadistry.com/blog/how-sew-straight-lines/
- https://www.reddit.com/r/sewhelp/comments/hxuf7m/i_cant_sew_a_straight_line_to_save_my_life/
- https://www.ageberry.com/how-to-sew-straight/
- https://static.icansewthis.com/2021/01/straight-lines.pdf

