This site is supported by our readers. We may earn a commission, at no cost to you, if you purchase through links.
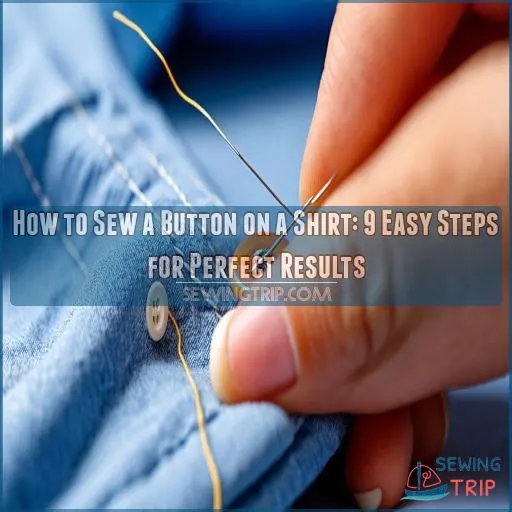
Grab a needle, thread that matches your shirt, and the button. Thread your needle, tie a knot, and position the button where it belongs.
Push the needle up through the fabric and button hole, then back down through another hole. Repeat this pattern 6-8 times, creating an ‘X’ or parallel lines.
use a toothpick under the stitches to create a shank, giving your button some breathing room.
Finish by wrapping the thread around the stitches underneath and tie it off. You’ll be buttoned up in no time, with skills that’ll make even your grandma proud.
Table Of Contents
- Key Takeaways
- Essential Tools for Sewing a Button on Shirt
- Preparing Your Shirt for Button Attachment
- Threading the Needle and Knotting Techniques
- Positioning the Button on the Shirt
- Step-by-Step Guide to Sewing Two-Hole Buttons
- Techniques for Attaching Four-Hole Buttons
- Creating a Shank for Secure Button Attachment
- Finishing Touches and Securing the Button
- Troubleshooting Common Button Sewing Issues
- Frequently Asked Questions (FAQs)
- Conclusion
Key Takeaways
- You’ll need the right tools for the job: a needle, thread that matches your shirt, scissors, and the button itself. Think of it as assembling your sewing superhero kit – with these in hand, you’re ready to tackle any button emergency that comes your way.
- Positioning is key – align your button with existing buttonholes and mark the spot with chalk or a pin. It’s like playing a game of button Tetris, ensuring everything lines up perfectly for a polished look.
- When you’re sewing, create a shank by slipping a toothpick under the threads. This tiny trick gives your button some breathing room and prevents fabric puckering, which helps avoid loose stitches on the underside
. It’s like giving your button its own little elevator.
- Don’t forget the finishing touches – tie off your thread securely and trim any excess. Then, give your button a gentle tug to test its strength. If it holds up to your Superman shirt-opening impression, you’ve nailed it.
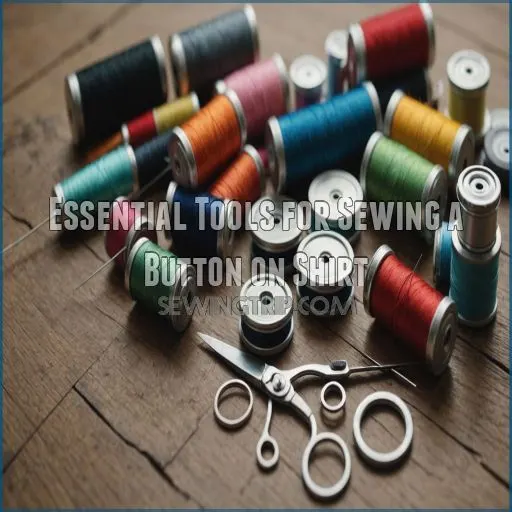
Essential Tools for Sewing a Button on Shirt
You’ll need a few key tools to sew that button back on your favorite shirt.
From the right needle and thread to scissors and maybe even a thimble, having these essentials on hand will make the task a breeze.
This preparation will save you from any fashion emergencies.
Needle Types and Sizes
Ever wondered why choosing the right needle is like picking the perfect dance partner?
For sewing buttons, you’ll want a sharp needle with a medium-sized eye. Opt for sizes 7-9 in sharps or embroidery needles.
They’re the Goldilocks of button-sewing: not too thick, not too thin.
Remember, the right needle can make your sewing feel like a breeze, turning a chore into a chance to flex your DIY.
Thread Selection and Color Matching
The thread you choose can make or break your button-sewing game.
Don’t sweat it, though! You’ll want to match your thread to the fabric, not the button. For a polished look, opt for a color that blends seamlessly.
If you’re feeling adventurous, try a contrasting hue for a pop of personality.
Remember, thread weight and sheen matter too. Light fabrics? Go for a finer thread to avoid buildup.
Button Styles and Sizes
Buttons come in a dizzying array of styles and sizes, like a buffet for your shirt!
You’ll find flat buttons with 2 or 4 holes, perfect for beginners, and shank buttons for a raised look.
Sizes range from tiny 12L (7.5mm) collar buttons to hefty 40L (25mm) coat fasteners (Source).
Choose plastic for affordability, or splurge on metal, wood, or mother of pearl for a touch of luxury.
Scissors and Cutting Tools
Wielding the right cutting tools can make or break your button-sewing game. You’ll need sharp fabric scissors for precise cuts and thread snipping. Keep ’em away from paper to maintain their edge – no one wants to wrestle with dull blades.
A good pair of scissors is also essential for cutting the right type of fabric, such as lighter fabrics like cotton or linen, which are easier to work with for beginners.
Using the right thread, like cotton thread for light fabrics, can also help you achieve a seamless look hand sewing lessons for beginners. For a neat finish, consider pinking shears to prevent fraying.
Remember, a well-maintained cutting arsenal is your ticket to clothing repair mastery.
Optional Tools for Easier Sewing
While sharp scissors are handy, let’s explore some nifty gadgets that’ll make button-sewing a breeze.
Ever fumbled with threading a needle? A needle threader‘s your new best friend.
For butter-smooth stitching, try an ergonomic needle or thimble – your fingers will thank you! And if you’re all thumbs, button pliers can be a game-changer.
These sewing hacks for dummies will have you feeling like a pro in no time!
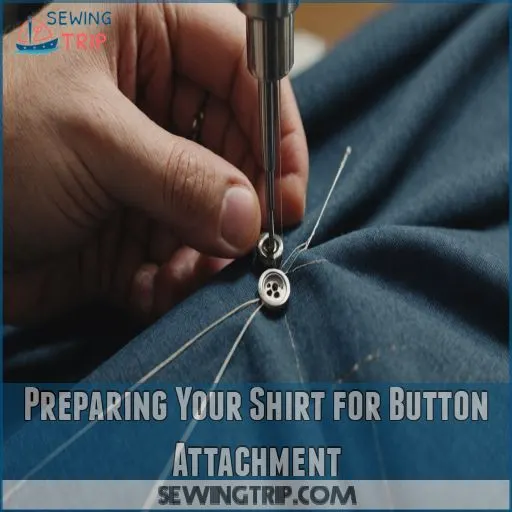
Preparing Your Shirt for Button Attachment
Before you start sewing, you’ll need to prep your shirt for its new button.
Find the right spot, mark it clearly, and give the area a quick once-over.
This is to remove any loose threads or wrinkles that might mess with your stitching.
Identifying the Correct Button Placement
Your shirt’s sartorial success hinges on perfect button placement. Don’t let your garment become a fashion faux pas!
Aim for symmetry and consider your style.
For a classic look, place the top button 2 7/8" below the collar.
Spacing between buttons is important – it’s the difference between looking polished and like you’re wearing dad’s hand-me-downs.
Remember, button stance can make or break your shirt.
Marking the Sewing Spot
Now that you’ve pinpointed where your button belongs, it’s time to leave your mark!
Grab your favorite fabric-marking tool and get ready to play connect-the-dots with your shirt.
For sewing newbies, here are some nifty options to make your mark:
- Tailor’s chalk: The OG of fabric marking
- Water-soluble pen: Perfect for light fabrics
- Chalk wheel: Fun to use and long-lasting
- Thread marking: Ideal for delicate or tricky fabrics
Choose your weapon and make your mark with confidence!
Removing Any Loose Threads
Once you’ve marked the spot, it’s time to play thread detective!
Grab those sharp scissors and start snipping away any loose threads around the button area.
It’s like giving your shirt a mini-makeover.
Don’t be shy – get in there and remove all those pesky stragglers.
You’re not just prepping for sewing; you’re performing fabric CPR, breathing new life into your favorite shirt.
Ironing the Shirt Area if Necessary
Wrinkle-free fabric is the secret sauce for button-sewing success.
Set your iron to the appropriate temperature for your shirt’s fabric type.
For stubborn creases, employ the "bundle and soak" technique: spritz the area, roll it up, and let it sit.
Then, using smooth, long motions, press firmly from the reverse side.
Remember, ironing isn’t just a chore—it’s your ticket to sewing mastery!
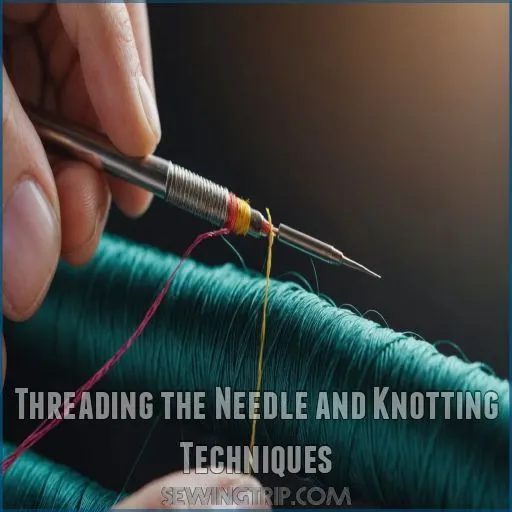
Threading the Needle and Knotting Techniques
You’re almost ready to sew, but first, let’s tackle the tricky part: threading that needle.
We’ll cover the ins and outs of choosing the right thread length.
Knotting like a pro, and a nifty beeswax trick that’ll make your sewing smooth sailing.
Proper Thread Length for Button Sewing
Getting the thread length just right is like finding your Goldilocks zone in sewing.
You’ll want about 24 inches of thread to give yourself plenty of wiggle room. For button novices, this length is your safety net – no more frantically rethreading mid-project!
Before you start, run your thread through some beeswax. This little hack keeps your thread from tangling, making your sewing journey smoother than a well-pressed shirt, and it’s a great way to find your safety net and reach a state of well-pressed tranquility.
Threading Single Vs. Double Strand
Threading your needle can be a game-changer for your sewing project with the right sewing needle threaders
.
For beginners, a single strand offers more control and less tangling. However, if you’re feeling bold, try the double-strand technique. It’s like hitting two birds with one stone – increased thread strength and faster sewing.
Just remember, your choice depends on fabric thickness and project complexity. Whichever you pick, you’ll be threading like a pro in no time!
Creating a Secure Starting Knot
Now that you’ve got your thread in place, it’s time to secure it like a pro.
For a knot that won’t come undone, try this nifty trick: loop the thread over your needle, wind it around 3-4 times, then slide the coils down to form a tight knot.
It’s a technique that works like magic every time, and it will make you feel like a sewing wizard in no time!
Using Beeswax for Smoother Threading
You’ve heard of the birds and the bees, but what about the beeswax and the threads?
This age-old sewing hack is a game-changer for beginners. Simply run your thread through 100% beeswax to strengthen it and prevent tangling.
It’s like giving your thread superpowers! The wax darkens the thread slightly, but it’s worth it for the smooth sailing ahead.
Say goodbye to frustrating knots and hello to sewing mastery!
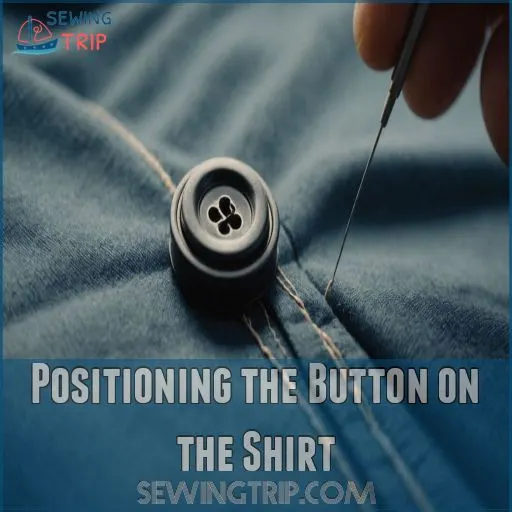
Positioning the Button on the Shirt
Positioning your button correctly is like finding the sweet spot on a guitar—it’s all about precision and alignment.
You’ll want to line it up with the buttonhole and other buttons, then use a fabric marker or pin to mark the spot before you start stitching the button.
Aligning With Existing Buttonholes
Let’s play button matchmaker! With your needle threaded, it’s time to find the perfect spot for your button. Align it with the existing buttonhole like you’re solving a puzzle. Remember, proper placement is key to avoiding any wardrobe malfunctions!
- Use the buttonhole as your guide, poking through its center
- Factor in fabric thickness and button size for a snug fit
- Try on the shirt to adjust for comfort, especially at the bust
- Consider using alignment tools for precision sewing
Marking Button Placement With Chalk
Three words: chalk is your friend. Grab a piece in a color that contrasts with your fabric – white for dark shirts, blue for light ones.
Hold your shirt taut and make a small "x" where you want your button. For perfect spacing, use a button hole gauge .
No chalk? Try a hera marker or the edge of a credit card. Just remember, you’re not writing a novel – a small mark will do with a small "x".
Using Pins to Temporarily Secure Button
Pins are your secret weapon for button placement precision. After marking, grab a few thin pins to temporarily secure that button.
Slide them through the holes and into the fabric, keeping everything in place like a pro. It’s like giving your button a mini hug before the big sewing showdown.
Don’t fret if it’s not perfect – you’re already nailing this sewing for beginners gig! And remember, it’s all about the little details that make a big difference, like using pins to keep things in place with a mini hug.
Checking Button Alignment Before Sewing
Everyone’s been there – you’re about to sew a button, and suddenly you’re second-guessing its placement.
Don’t sweat it! Before you stitch, double-check your button alignment. Hold the shirt closed and make sure the button lines up perfectly with the buttonhole.
For a pro tip, use a ruler to guarantee even spacing between buttons. Trust me, this extra step will save you from wonky-looking shirts!
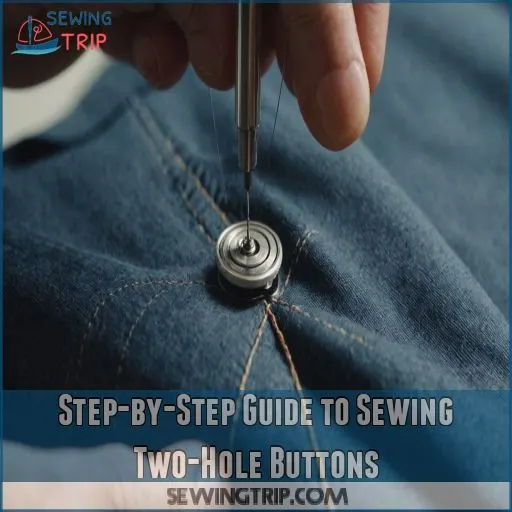
Step-by-Step Guide to Sewing Two-Hole Buttons
Ready to tackle that loose button? You’re about to become a pro at sewing two-hole buttons, with a step-by-step guide that’ll have you stitching like a tailor in no time.
Creating the First Stitch
You’ve got your button in place, so let’s get stitching!
Thread your needle with about 24 inches of thread, doubling it over for extra strength. Create a sturdy starting knot to anchor your work.
Now, here’s where the magic happens: push your needle up through the fabric from underneath, right where you want your button to sit.
Ready to take control of your wardrobe repairs? Let’s make that first stitch count, and take control of your wardrobe repairs!
Sewing Through Button Holes
Two holes, one mission: let’s conquer button sewing! Start by pushing your needle up through the fabric and one buttonhole (Source). Pull the thread tight, then dive down through the other hole.
Don’t sweat the buttonhole size; your needle will guide you. Keep your stitches snug but not too tight.
Repeat this dance about seven times for a secure hold. Remember, you’re the puppet master of this thread show!
Creating a Thread Shank
After threading through the buttonholes, slip a toothpick under the threads to create a thread shank, a technique also known as anchoring the thread.
This method involves threading the needle under the button and through the fabric only, then pinching the thread near the button and twisting it around itself several times. This creates space for your thread shank, a tiny yet mighty hero lifting buttons above fabric.
Adjust the shank size based on fabric thickness. Secure threads by wrapping them around the shank. Voilà, button types with shank strength enhance any sewing for beginners project
!
Securing the Button With Multiple Passes
Now it’s time to secure that button with multiple passes.
Stab the needle up through the fabric and back down through one of the button holes. Repeat this process 3-4 times, creating a tight, secure grid of threads underneath the button.
This "button shank" allows the button to float freely on the fabric without puckering.
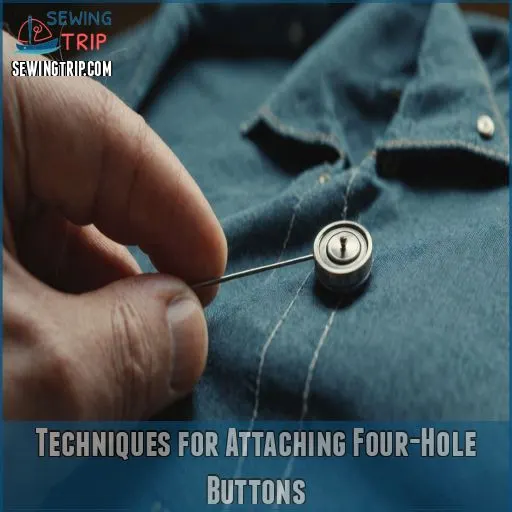
Techniques for Attaching Four-Hole Buttons
Sewing a four-hole button might sound like a puzzle, but it’s really just a fun game of connecting the dots.
With a steady hand and a bit of patience, you’ll have these buttons secured before your next coffee break.
Choosing Sewing Pattern (Parallel or Cross)
You’ve mastered two-hole buttons, so let’s tackle the four-hole variety.
Think of button sewing patterns like choosing paths: Parallel stitches march neatly, while cross stitches create a playful X. Each technique offers unique flair.
Consider your shirt’s personality before you thread that needle.
Remember, maintaining proper thread tension helps create a pro look, even for sewing dummies fast.
Balancing Thread Distribution Across Holes
Balancing thread distribution across four-hole buttons helps your masterpiece shine like a pro. Maintain consistent thread tension by using the stitch selector for different stitch types for even stitches and perfect hole alignment
. Keep the button size and fabric type in mind for perfect sewing machine basics —every stitch counts
! Remember, sewing isn’t rocket science; it’s like orchestrating a tiny symphony.
- Check thread tension regularly
- Aim for even stitches
- Align holes precisely
- Consider button size and fabric type
Creating a Sturdy Base for Four-Hole Buttons
Securing four-hole buttons begins with using the right stitch pattern.
Align your four holes with precision, remembering that thread tension plays a key role in strength and durability.
Consider the button size and fabric type to match your stitch patterns, using the right needles and thread for specific sewing terms explained
.
For sewing beginners, sewing for dummies on TikTok offers great visuals to make button sewing as easy as pie.
Reinforcing Four-Hole Button Attachment
Four-hole buttons can be a tricky beast, but don’t let them push your buttons!
To reinforce these little devils, follow these steps for button security that’ll make even a seasoned tailor tip their hat:
- Choose your pattern: criss-cross or parallel
- Create a thread shank for breathing room
- Wrap thread around base 6 times for extra strength
- Tie off with a sturdy knot, snug against the fabric
Remember, sewing’s not just for dummies – it’s your ticket to fashion freedom!
Creating a Shank for Secure Button Attachment
Ever wondered why some buttons on your favorite shirt feel loose?
Creating a shank is the secret to keeping buttons securely fastened, and it’s easier than you’d think.
You’ll learn how to add this pro touch to your button-sewing game, ensuring your shirts look sharp and stay buttoned up through countless wears and washes.
Benefits of Adding a Button Shank
You’ve mastered four-hole buttons, but let’s take your sewing skills up a notch!
Adding a button shank is like giving your shirt a secret superpower.
It’ll prevent button pull, boost durability, and keep your look crisp.
Plus, it’s a game-changer for thick fabrics.
Think of it as a tiny elevator, lifting your button just enough to create that polished, professional finish, a polished, professional finish.
Your shirts will thank you!
Using a Toothpick or Matchstick Method
Now that you know why a shank’s important, let’s create one using a simple household item.
Grab a toothpick or matchstick – it’s your secret weapon for button mastery!
Place it over the button as you sew, creating a perfect spacer.
This neat trick makes sure your button sits just right, giving you that professional finish.
It’s like magic for beginners and sewing veterans alike!
Adjusting Shank Length for Fabric Thickness
The secret to button-sewing mastery lies in adjusting your shank length. Like a tailor with X-ray vision, you’ll need to think about your fabric’s thickness.
- Thick fabrics: Create a longer shank for that cozy winter coat.
- Thin fabrics: Keep it short and sweet for your breezy summer shirt.
- Button size matters: Bigger buttons need more wiggle room.
Remember, a well-adjusted shank is the unsung hero of a perfectly buttoned shirt!
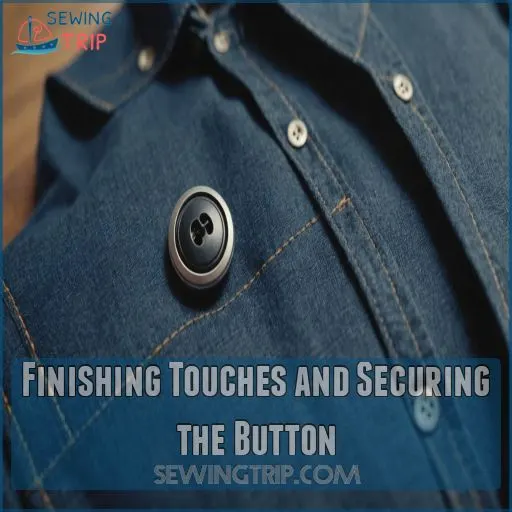
Finishing Touches and Securing the Button
You’re in the home stretch of button-sewing success!
Let’s lock in your hard work with some final touches that’ll keep that button snug as a bug, ready to face whatever your day throws at it.
Tying Off the Thread
After creating a sturdy shank, it’s time to lock in your handiwork. Imagine you’re tying the perfect bow on a gift – that’s the finesse you’ll need here. Bring your needle to the back of the fabric and create a small, hidden knot.
| Knot Type | Difficulty | Security |
|---|---|---|
| Overhand | Easy | Good |
| Square | Medium | Better |
| Surgeon’s | Hard | Best |
Choose your knot wisely – it’s the unsung hero of button security!
Trimming Excess Thread
You’ve secured your button, but don’t put away those scissors just yet! It’s time to give your handiwork a clean finish. Snip those loose ends like a pro, leaving just enough thread to keep things snug. Think of it as giving your button a tidy haircut – not too short, not too long.
- Grab your trusty scissors, the unsung heroes of sewing
- Aim for about 1/4 inch of thread tail – the Goldilocks zone
- Snip at a slight angle for a neat appearance
- Double-check for any sneaky stray threads
Testing Button Security
Now that you’ve sewn your button, it’s time for the moment of truth: the button pull test.
Give it a gentle tug to check its strength. Don’t be shy – pretend you’re Superman opening your shirt.
To further make sure your button is secure, consider using a medium-weight thread that matches the fabric composition and double-checking the thread tension for an even stitch.
If it holds, you’re golden! For a real-world durability test, wear your shirt and see how it fares.
Remember, a secure button is your ticket to sartorial confidence.
Reinforcing Weak Areas if Necessary
Great job testing that button! But hey, don’t put away your sewing kit just yet. Let’s give your handiwork some extra oomph. Think of it as giving your button a superhero cape for.
- Double up on thread layers for bulletproof button strength
- Add a fabric patch behind thin areas for extra support
- Use a dab of clear nail polish on knots for a weather-resistant seal
Remember, a stitch in time saves nine. Your future self will thank you!
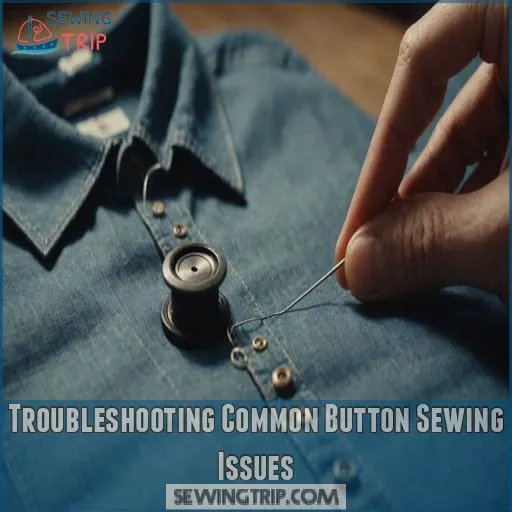
Troubleshooting Common Button Sewing Issues
Even the most skilled button-sewers encounter hiccups now and then.
Let’s tackle those pesky problems like loose buttons, wonky placement, tangled threads, and fabric tears.
Because a perfectly sewn button is the cherry on top of your shirt-mending sundae.
Dealing With Loose Buttons
Loose buttons can be a real pain, but don’t let them unravel your style!
To extend your button’s lifespan, reinforce it with a quick DIY button fix.
Thread your needle with a double strand for extra strength. Sew through the existing holes, creating a sturdy shank to keep the button from wobbling.
With a few clever stitches, you’ll have that button back in action, ready to keep your shirt together through thick and thin.
Fixing Uneven Button Placement
Crooked buttons can make your shirt look like it’s had one too many.
Don’t worry, you’ve got this! To fix uneven placement, grab a ruler and mark new spots.
Unpick the old stitches carefully, then re-sew using our earlier tips.
For a pro touch, use a button placement tool to make sure perfect alignment.
Remember, even Coco Chanel probably had a few wonky buttons in her day.
Addressing Thread Tangles and Knots
Thread tangles can turn your button-sewing adventure into a knotty nightmare. Don’t panic – you’ve got this. When you spot a tangle forming, stop and gently pull the thread away from the fabric.
Mastering the art of threading a needle, including techniques like cutting your thread at a 45-degree angle, can also help minimize tangles. Additionally, choosing the right needle, such as one with a larger eye, can make a big difference top hand sewing techniques.
This simple move can prevent knots from solidifying. If you’re dealing with a loop knot, take a deep breath and handle it with care. Remember, patience is your best friend in the battle against pesky knots!
Repairing Torn Fabric Around Button Area
Buttons often leave battle scars on your favorite shirts.
But don’t throw in the towel just yet!
To mend fabric tears around buttons, start by fusing interfacing slightly smaller than the button on both sides of the fabric.
Then, go wild with a small straight stitch, zig-zagging all over the patch.
This reinforcement technique will have your shirt ready for action in no time!
Frequently Asked Questions (FAQs)
Can you sew a button on a shirt?
With a needle, thread, and a dash of patience, you’ll be buttoning up like a pro in no time.
It’s a handy skill that’ll save you from wardrobe malfunctions and keep you looking sharp.
How do you sew a button on a dress?
Grab your needle and thread, it’s time to give that dress a facelift!
Mark the spot, thread your needle, and secure it with a knot.
Sew through the button holes, creating a shank for flexibility.
Tie it off snugly.
How do you replace a button on a shirt?
Ironically, shirts don’t mend themselves.
Thread your needle, knot it, and position the new button.
Sew through holes, creating a shank for flexibility. Secure with loops underneath, then tie off.
You’ve mastered the art of button resurrection!
How do you attach a button to a shirt?
Mastering button attachment is a breeze.
Thread your needle, double-knot the end. Position the button, stitch through holes six times.
Create a shank by wrapping thread underneath. Tie off securely.
You’ll be buttoned up in no time!
How to sew a button onto a shirt?
Like threading a needle through life’s fabric, you’ll master this skill.
Mark the spot, thread your needle, and secure the button with crisscrossing stitches.
Create a shank, tie off, and voila – you’ve stitched up success!
How do you hand sew a buttonhole on a shirt?
Ready to tackle a buttonhole? Mark the spot, cut carefully, then work magic with a needle and thread.
Create a blanket stitch around the opening, fanning out at the ends. Voila! You’ve mastered the art of hand-sewn buttonholes.
Is it difficult to sew on a button?
Don’t let the tiny size fool you!
Sewing on a button is actually a breeze. With a bit of practice, you’ll be stitching like a pro in no time.
It’s simpler than you think and oddly satisfying.
How to sew one hole button?
Sewing a one-hole button’s a breeze!
Thread your needle, tie a knot, and push through the fabric.
Loop through the button’s shank, then back into the fabric. Repeat several times, securing it tightly.
You’ll be buttoned up in no time!
How do I replace a button with a different size?
Swapping out buttons? It’s a cinch!
Remove the old one, measure the new size, and adjust the buttonhole if needed.
Thread your needle, secure the new button, and voila! You’ve just given your shirt a fresh, custom look.
Can I use dental floss instead of thread?
Threading the needle of resourcefulness, you can indeed use dental floss as a button-sewing superhero.
It’s strong, durable, and readily available in your bathroom.
Just be prepared for a minty-fresh wardrobe upgrade that’ll leave you grinning.
How many times should I pass through button holes?
Aim for 3-4 passes through each button hole to guarantee durability.
This golden rule, courtesy of Channel, creates a sturdy foundation that’ll withstand years of wear and tear.
You’re not just attaching; you’re building a button fortress!
Whats the best way to match button colors?
Finding the secret to perfect button harmony is easier than threading a needle in the dark.
Test contrasting and matching threads on scrap fabric. Consider your fabric’s color, topstitching, and overall design.
You’ll nail that polished look in no time with the right polished look.
How do I add buttons to a pullover shirt?
You’ll need to make a few tweaks to transform your pullover into a button-up.
Cut the front piece in half, add a placket, and sew on buttons.
It’s like giving your shirt a stylish upgrade (Source).
Conclusion
Imagine this: you’re about to nail that job interview, but your shirt button pops off.
Panic? Not anymore! Now you know how to sew a button on a shirt like a pro. With these 9 easy steps, you’ll breeze through button repairs, saving time and money.
Remember, practice makes perfect, so don’t be discouraged if your first attempt isn’t seamless. Keep at it, and soon you’ll be buttoning up with confidence, impressing everyone with your newfound sewing skills.
Who knew a simple button could be so empowering?

