This site is supported by our readers. We may earn a commission, at no cost to you, if you purchase through links.
Pin the tape to your fabric’s edge, right sides together, and stitch close to the fold. Flip the tape over, encasing the raw edge, and topstitch to secure. For a polished look, miter corners and tuck in raw ends.
Remember to maintain even tension to avoid puckering. You can use bias tape to finish edges, embellish hems, or enhance necklines on both woven and knit fabrics.
With practice, you’ll master this versatile technique and elevate your sewing projects. Let’s explore the process in more detail.
Table Of Contents
Key Takeaways
- Master the art of sewing bias tape and elevate your sewing projects to new heights.
- Follow the 8 steps in the guide to achieve professional-looking finishes with ease.
- Experiment with different fabrics, widths, and decorative elements to add a personal touch to your creations.
- Embrace the satisfaction of transforming raw edges into polished, beautiful details.
How to Sew Bias Tape?
To learn how to sew bias tape, start by cutting fabric on the bias, joining strips, and attaching the tape to your fabric edge, then master essential sewing techniques like stitching close to the fold and mitering corners. With practice, you’ll be able to customize bias tape for various applications, from finishing raw edges to embellishing hems and pockets.
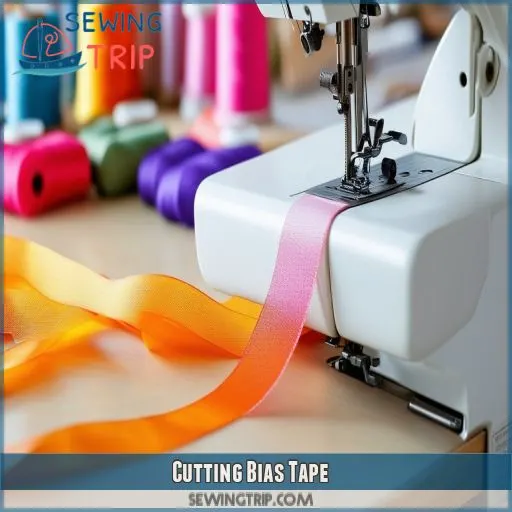
Cutting Bias Tape
To start cutting bias tape, you’ll need to cut your fabric on a 45-degree angle to the grain. Determine the desired width of your bias tape, typically 1 to 2 inches, and use a ruler and rotary cutter to create strips, ensuring you square off the ends for clean joins.
Cutting Fabric on the Bias
To cut fabric on the bias, you’ll need to master the art of working with the bias grain. This diagonal cut allows for maximum stretch and flexibility in your bias tape. Here’s how to get started:
- Fold your fabric diagonally, aligning selvage edges
- Press the fold with an iron set to the appropriate temperature
- Cut along the fold line using sharp scissors
- Trim selvages and straighten edges for clean strips
Determining Bias Tape Width
Now that you’ve cut your fabric on the bias, it’s time to determine your bias tape width. The width you choose depends on your project’s needs.
For single-fold bias tape, cut strips twice the desired finished width. For double-fold, cut strips four times wider.
Wider tapes work well for thicker fabrics, while narrower ones suit delicate materials.
Squaring Off Bias Tape Ends
Once you’ve cut your bias tape strips, it’s time to square off the ends. This step guarantees clean, precise edges for a professional finish. Here’s how to do it:
- Align your ruler perpendicular to the strip’s edge
- Trim any uneven edges with sharp scissors
- Create a 90-degree angle at each end
- Press the newly cut ends for a crisp finish
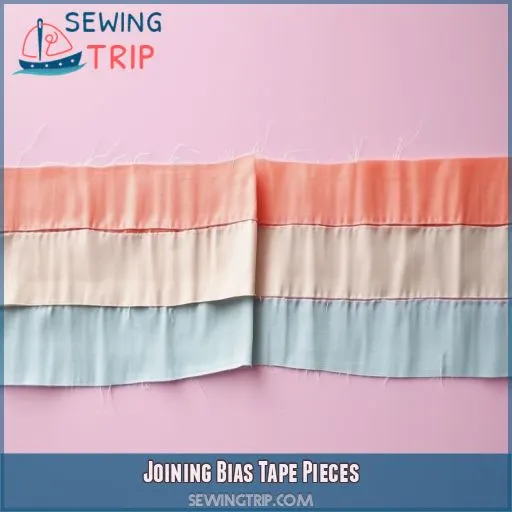
Joining Bias Tape Pieces
To join bias tape pieces, you’ll need to align the strips at a 90-degree angle and sew them together with a diagonal seam. After sewing, trim the excess fabric and press the seam open to create a smooth, continuous length of bias tape.
Aligning Bias Tape Strips
Now that you’ve cut your bias tape strips, it’s time to align them for joining. This step is essential for creating continuous bias tape. Here’s a handy guide to help you align your strips like a pro:
| Step | Action | Tip |
|---|---|---|
| 1 | Overlap ends | 90-degree angle |
| 2 | Match right sides | Use bias tape clips |
| 3 | Align raw edges | Bias tape guide helps |
| 4 | Pin in place | Bias tape holder steadies |
Sewing Bias Tape Seams
Once you’ve aligned your bias tape strips, it’s time to sew them together. Here’s how to create seamless joins:
- Use a small stitch length (1.5-2mm) for strength
- Sew along the marked diagonal line precisely
- Backstitch at the beginning and end for security
- Trim excess seam allowance to 1/4 inch
- Check for any puckering or misalignment before moving on
Pressing Bias Tape Seams Open
After sewing your bias tape seams, it’s time to press them open. This essential step creates a smooth, professional finish. Set your iron to the appropriate temperature for your fabric and use a pressing surface. Here’s a quick guide to pressing bias tape seams:
| Fabric Type | Iron Temperature | Steam or No Steam | Pressing Time |
|---|---|---|---|
| Cotton | High | Steam | 3-5 seconds |
| Silk | Low | No Steam | 1-2 seconds |
| Polyester | Medium | Light Steam | 2-3 seconds |
| Wool | Medium | Steam | 3-4 seconds |
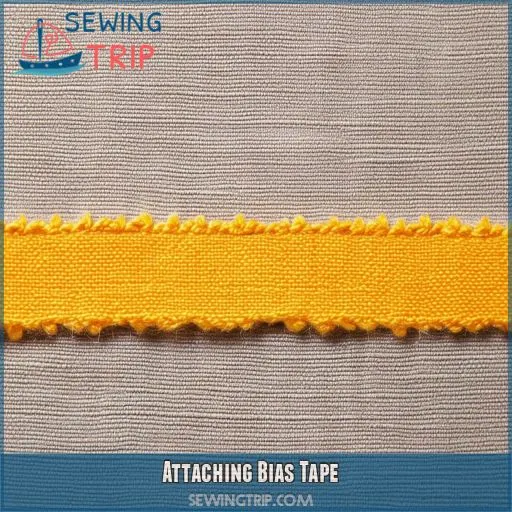
Attaching Bias Tape
Once you’ve joined your bias tape pieces, it’s time to attach the tape to your fabric. You’ll start by measuring the edge you’re binding, cutting your bias tape to length, and then carefully aligning and pinning it to the fabric’s edge before stitching.
Measuring Edge Length
Now that you’ve joined your bias tape pieces, it’s time to measure the edge you’ll be binding. Estimating length correctly is essential for a polished finish.
For straight edges, use a ruler or measuring tape. Curved edges? Try the continuous method with a flexible tape measure.
Don’t forget to add extra length for seam allowance and overlap.
This step guarantees you’ll have enough bias tape to beautifully finish your hems and raw edges.
Cutting Bias Tape to Length
Now that you’ve measured your edge, it’s time to cut your bias tape to length. You’ll want to:
- Add an extra inch to your measurement for seam allowance
- Cut your bias strip at a 45-degree angle to the fabric’s grain
- Consider making your own bias tape to reduce fabric waste
Aligning Bias Tape to Fabric Edge
When aligning bias tape to your fabric edge, you’re setting the stage for a polished finish. Open up the tape and place the narrower side against the right side of your fabric. Match the raw edges carefully, paying attention to corners and curves.
For a decorative touch, consider pattern matching or using contrasting colors.
Pinning Bias Tape in Place
Now that you’ve aligned your bias tape, it’s time to secure it. Pin the tape along the fabric edge, matching raw edges.
Space pins every few inches, ensuring the tape’s width remains consistent. For curves, use more pins to prevent shifting.
If you’re using a bias tape maker, feed the tape through as you pin.
This step sets you up for smooth sailing when stitching.
Stitching the First Fold
Now it’s time to stitch the first fold of your bias tape. This essential step attaches the tape to your fabric. To do this, align the bias tape with the raw edge of your fabric, right sides together, and pin in place. Then, stitch along the first fold of the tape, close to the crease.
- Make sure to maintain a consistent stitch length and tension to avoid puckering.
- Use a walking foot or Teflon foot to help guide the tape smoothly.
- Take your time, as this step sets the stage for a professional-looking finish.
Folding and Stitching the Second Fold
Now that you’ve stitched the first fold, it’s time to wrap things up.
Fold the bias tape over the raw edge, encasing it completely. Your trusty bias tape foot can be a game-changer here, but don’t fret if you don’t have one.
Carefully pin or use clips, matching spaces as you go. Stitch close to the edge, catching both layers.
You’re mastering this essential skill with every stitch!
Sewing Techniques
When sewing bias tape, you’ll need to master a few key techniques to achieve professional results. These include stitching close to the fold to create a neat finish, avoiding puckering by maintaining even tension, mitering corners for a crisp look, and securing the ends to prevent fraying.
Stitching Close to the Fold
When stitching close to the fold, you’ll achieve a professional finish that enhances your bias tape application. Here’s how to nail it:
- Set your machine to a straight stitch with medium length
- Position the needle about 1/8 inch from the fold’s edge
- Guide the fabric smoothly, maintaining consistent seam allowance
- Use the bias direction to your advantage for a crisp raw edge finish
Avoiding Puckering
Now that you’re stitching close to the fold, let’s tackle a common issue: puckering.
To avoid this pesky problem, maintain even bias tension as you sew. Iron folding and starching tape beforehand can work wonders.
When easing fullness around curves, adjust your bias width accordingly.
Mitering Corners
Now that you’ve mastered avoiding puckering, let’s tackle mitering corners with bias tape.
When you reach a corner, pause your stitching and fold the bias facing to create a neat 45-degree angle. Pin this double miter in place, ensuring it lies flat.
For curved edges, use plenty of pins to guide the tape smoothly.
These joining techniques will give your project a professional finish, boosting your sewing confidence.
Securing Ends
When you’ve reached the end of your project, it’s time to secure your bias tape join. Trim any excess fabric and tuck the raw edges under** for a clean finish. You can use decorative stitches or contrasting colors to add flair. Here are some tips to master this final step:
- Feel the satisfaction of a perfectly aligned join
- Embrace the thrill of experimenting with custom widths
- Enjoy the creative freedom of mixing patterns and colors
- Experience the pride of a professional-looking finish
- Delight in the subtle elegance of a well-secured bias tape
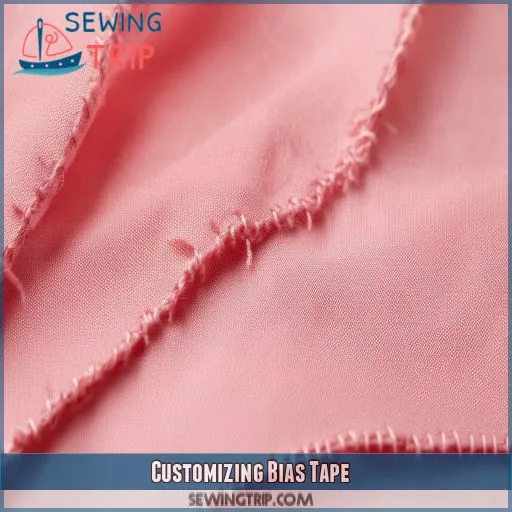
Customizing Bias Tape
You can customize your bias tape to add a unique touch to your sewing projects. Try using contrasting fabrics for visual interest, experiment with different tape widths for varied effects, or incorporate decorative elements like embroidery or trims to make your bias tape truly one-of-a-kind.
Using Contrasting Fabrics
Now that you’ve mastered basic sewing techniques, let’s explore using contrasting fabrics for your bias tape. This creative approach can transform your projects, adding visual impact and personality. Here’s a table to inspire your fabric choices:
| Garment Color | Bias Tape Color | Effect |
|---|---|---|
| Navy Blue | Bright Yellow | Bold |
| Pastel Pink | Floral Print | Playful |
| Gray | Metallic Silver | Elegant |
| White | Polka Dot | Quirky |
Varying Tape Width
Now that you’ve experimented with contrasting fabrics, let’s explore the versatility of bias tape width. You’re not limited to standard sizes!
By varying your bias tape width, you’ll unleash a world of decorative effects. Narrow tape works wonders for delicate finishes, while wider tape makes bold statements.
Plus, you’ll save money by customizing widths to fit your project’s needs. It’s all about finding that perfect balance between function and style.
Incorporating Decorative Elements
While varying tape width offers customization, you can take your bias tape to the next level with decorative elements. Get creative and make your projects stand out with these eye-catching ideas:
- Use custom fabrics with unique patterns or prints
- Add embroidered embellishments along the tape’s edge
- Incorporate contrasting textures like velvet or satin
- Enhance with shimmering effects using metallic thread or beaded accents
These touches will transform your bias tape from functional to fabulous, giving your creations a personalized flair.
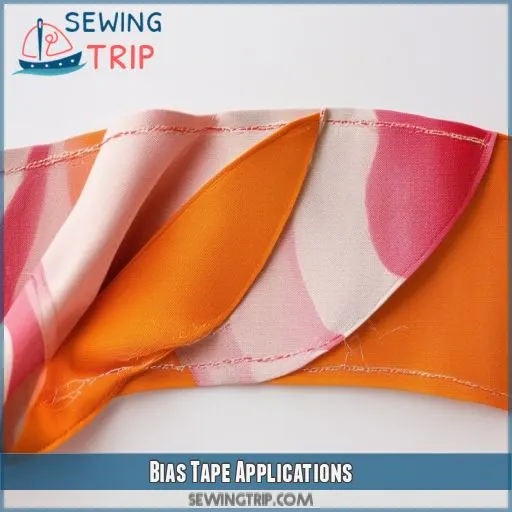
Bias Tape Applications
Bias tape is a versatile tool that can elevate your sewing projects in various ways. You’ll find it invaluable for finishing raw edges, adding a polished look to necklines and armholes, creating decorative accents on hems and pockets, and even working with both woven and knit fabrics.
Finishing Raw Edges
Finishing raw edges with bias tape is a game-changer for your sewing projects.
You’ll love how it gives your work a polished look while preventing fraying.
Simply align the tape’s wider side with the raw edge, pin in place, and stitch along the first fold.
Then, wrap the tape around to the back, encasing the raw edge, and topstitch for a clean finish.
It’s like giving your fabric a stylish hug!
Enhancing Necklines and Armholes
Enhance your necklines and armholes with bias tape for a polished, decorative finish. You’ll love how it tames those tricky curved edges!
Whether you opt for single or double edge tape, it’ll give your garment a professional touch. Applying bias tape to these areas not only looks great but also adds stability.
Embellishing Hems and Pockets
You can add a decorative touch to your hems and pockets using bias tape. Try using contrasting bias tape to create a pop of color or add a subtle accent with matching tape. You can also experiment with different bias tape styles, such as decorative bias tape or bias tape embellishments, to give your project a unique look.
- Use bias tape to create a decorative hem on a skirt or dress
- Add a pop of color to your pockets with contrasting bias tape
- Experiment with different bias tape styles, such as scalloped or ruffled tape
- Use bias tape to create a decorative accent on a collar or cuff
- Add a subtle accent to your project with matching bias tape
Applying to Woven and Knit Fabrics
You’ll find bias tape incredibly versatile when working with both woven and knit fabrics.
For wovens, it’s a breeze to apply, adding a clean finish to edges.
With knits, you’ll need to be a bit more careful – use a walking foot to prevent stretching.
Don’t be afraid to get creative! Try contrast tape for a pop of color or use decorative bias tape to add a unique touch to your projects.
Tips for Success
To guarantee success when sewing bias tape, you’ll want to focus on a few key techniques. Press your creases firmly, cut your fabric on the true bias for flexibility, use a bias tape maker for consistency, and sew slowly and carefully to maintain precision throughout the process.
Pressing Creases Firmly
To achieve crisp, professional-looking bias tape finishes, pressing creases firmly is essential. You’ll want to set your iron to the appropriate heat for your bias tape fabrics.
As you fold the tape, use steady pressure to create sharp edges. This step is especially important for decorative bias tape applications.
Cutting on the True Bias
Now that you’ve mastered pressing creases, let’s tackle cutting on the true bias.
This essential step guarantees your tape has the ideal stretch and drape.
To find the bias grain, fold your fabric diagonally, aligning the selvages. This 45-degree angle is your true bias.
It offers maximum fabric strength and flexibility, allowing for smooth curves and pattern matching.
Plus, it broadens design options for your projects!
Using a Bias Tape Maker
Using a bias tape maker can streamline your sewing process and guarantee consistent results. Here’s how to make the most of this handy tool:
- Feed your fabric strip into the wide end, ensuring even tension throughout.
- Use an iron to press the folds as they emerge from the narrow end.
- Store your freshly made bias tape on a spool to prevent wrinkles and maintain its shape.
Remember to account for fabric shrinkage and curved seam allowances when planning your projects.
Sewing Slowly and Carefully
When sewing bias tape, patience is your best friend. Take your time, especially with thicker tapes or stiffer fabrics.
Slow down to make sure your angles are spot-on and your stitches are even. You’ll find it easier to manage the tape’s length and maintain flexibility in curves.
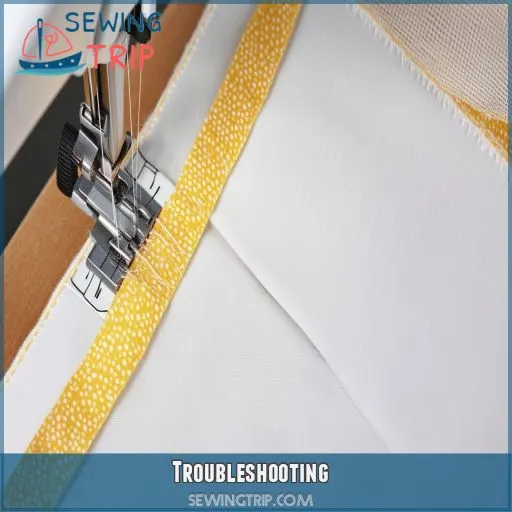
Troubleshooting
Even with careful preparation, you might encounter issues like uneven stitching, puckered fabric, misaligned folds, or fraying edges when sewing bias tape. Let’s address these common problems and explore solutions to help you achieve a professional finish on your bias tape projects.
Uneven Stitching
If you’re facing uneven stitches on your bias tape, don’t fret!
Check your machine’s tension settings and adjust as needed. Make sure you’re using the right needle size for your fabric.
Properly prepare your fabric by pressing it before sewing.
When tackling curved edges, take it slow and steady.
Puckered Fabric
While uneven stitching can be frustrating, puckered fabric is another common issue you might face. This problem often stems from uneven tension or pulling as you sew.
To prevent puckering, make sure you’re using the right needle size and thread tension. Always sew with a relaxed grip, letting the feed dogs guide the fabric.
Misaligned Folds
If you’re struggling with misaligned folds, don’t fret! It’s a common hiccup when working with bias tape.
First, check your bias tape width and material. Make sure you’re using the right size for your project.
When folding, take your time to line up the edges precisely. Proper bias tape placement is key.
Fraying Edges
Fraying edges can ruin your hard work, but don’t fret!
To prevent fraying, try these techniques: use pinking shears when cutting your fabric, apply a small amount of clear nail polish to the edges, or run a line of stitching close to the raw edge.
Understanding fraying causes, like loose weaves or rough handling, helps you tackle the problem head-on.
With these fraying solutions, you’ll keep your bias tape looking crisp and professional.
Frequently Asked Questions (FAQs)
How do you sew bias tape neatly?
You might think sewing bias tape is tricky, but it’s not! Pin it carefully, stitch close to the fold, and take your time. Use a walking foot for even feeding, and press as you go for crisp edges.
Do you sew bias tape to the right side of the fabric?
Yes, you’ll typically sew bias tape to the right side of your fabric first. Open the tape, align its raw edge with your fabric’s edge, pin it in place, and stitch along the first fold line.
How to join two pieces of bias tape?
Like weaving two threads into a seamless tapestry, you’ll join bias tape pieces. Overlap the ends at a right angle, pin, and draw a diagonal line. Sew along this line, trim excess, and press open for a smooth connection.
How do you hide seams with bias tape?
You can hide seams with bias tape by folding it over the seam and stitching it in place. This technique covers the raw edges, creating a clean finish. It’s perfect for curved seams and adds a decorative touch to your project.
How to sew double fold bias tape?
You’ll unfold the tape, pin its narrower side to your fabric’s right side, and stitch along the crease. Then, wrap the wider side around the edge, fold under, and topstitch. It’s like embracing your project with a fabric hug.
How do you sew straight lines on bias tape?
To sew straight lines on bias tape, pin it securely to your fabric. Use a seam guide or masking tape as a guide. Sew slowly, keeping the tape’s edge aligned with your guide. You’ll create neat, professional-looking results.
How do you make your own bias tape?
Like a tailor’s secret weapon, you’ll create bias tape magic. Cut fabric strips diagonally, sew ends together, then press folds. You’re crafting your own trim, ready to elevate any sewing project with a professional touch.
Can you use contrasting fabric to sew bias tape?
Yes, you can use contrasting fabric for bias tape. It’s a great way to add visual interest to your projects. You’ll cut strips on the bias from your chosen fabric, then fold and press them into tape.
Do you need special equipment to sew bias tape?
You don’t necessarily need special equipment to sew bias tape, but a bias tape maker can be helpful for precise results. A basic sewing kit, fabric, and a ruler will get you started.
Should you sew only one side of bias tape?
Like a tightrope walker’s balance, you’ll need both sides for stability. Don’t stop at one – sew both sides of your bias tape. It’ll secure your edges, prevent fraying, and give your project a polished, professional look.
Can bias tape be used on stretchy fabrics?
Yes, you can use bias tape on stretchy fabrics. It’ll stabilize edges and add structure. Choose a lightweight, flexible bias tape and sew with a zigzag stitch to maintain stretch. Be careful not to stretch the fabric while sewing.
How do I calculate bias tape length needed?
You’ll need to measure the edge you’re binding and add a few extra inches for overlap. Multiply this length by 25 for single-fold tape or 25 for double-fold tape. Don’t forget to account for corners!
Whats the difference between bias binding and facing?
You’ll notice bias binding wraps around the raw edge, creating a visible border on both sides, whereas facing folds inward, hiding the raw edge, making it a more discreet finish, perfect for garments where a clean interior is essential.
Is there a quick way to make bias tape?
You can make bias tape quickly by cutting 1 1/2" wide strips on the bias, squaring off the ends, and sewing two pieces together at a 90-degree angle, then pressing open to create a continuous tape.
Can I use bias tape for invisible hems?
You can use bias tape for invisible hems by attaching it to the wrong side of the fabric, folding it over the raw edge, and stitching in place, creating a nearly invisible finish that’s perfect for garments and home decor projects.
Conclusion
As you gain mastery in the art of sewing bias tape, envision the intricate details of a fine tapestry coming together. With each meticulous stitch, you’re weaving a narrative of elegance and sophistication.
By following these 8 steps, you’ve discovered the key to adding a professional finish to your sewing projects.
Now, go forth and sew bias tape with confidence, knowing that this essential skill will elevate your creations to new heights.

