This site is supported by our readers. We may earn a commission, at no cost to you, if you purchase through links.
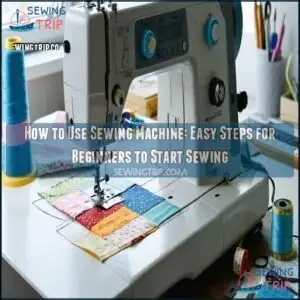 To use a sewing machine effectively, you’ll first need to thread both the upper thread and bobbin.
Place your fabric under the presser foot, lower it, and select your stitch type and length. Hold thread tails as you begin to prevent tangling.
Control speed with the foot pedal—start slow until you get the feel of it. Guide fabric gently without pushing or pulling.
When turning corners, stop with the needle down in the fabric. Remember to backstitch at the beginning and end of seams for security.
The right tension makes all the difference between professional-looking stitches and a frustrating mess of thread.
Table Of Contents
Key Takeaways
- You’ll need to properly thread both the upper thread and bobbin before sewing, ensuring correct tension for professional-looking stitches without tangles or breaks.
- Control your sewing speed with the foot pedal, starting slowly until you’re comfortable, and always remember to backstitch at the beginning and end of seams for security.
- Choose the right needle for your fabric type (universal, ballpoint, leather) and adjust stitch length accordingly – shorter stitches for delicate fabrics, longer ones for thicker materials.
- Maintain your machine regularly by cleaning lint from the bobbin area and feed dogs, lubricating as recommended, and replacing needles after 6-8 hours of use to prevent damage and ensure smooth operation.
Sewing Machine Basics
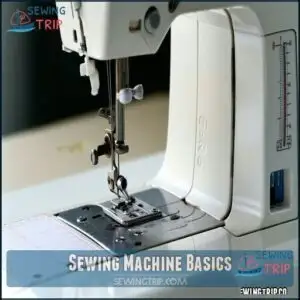
Understanding your sewing machine’s components and functions is the first step to confident sewing.
Master your sewing machine’s parts and unlock the key to effortless, confident stitching every time.
By learning how each part works, you’ll be able to operate the machine efficiently and troubleshoot basic issues with ease.
Components and Parts
Understanding sewing machine components is key.
The spool pin holds thread, while the bobbin system supplies the lower thread.
Needle mechanics handle fabric piercing, guided by the presser foot.
The feed dog advances fabric steadily.
Each sewing machine part, from thread guides to stitch dials, plays a role, ensuring smooth stitching.
Understanding the arm that houses the needle driving mechanisms is also helpful.
Knowing these parts simplifies your sewing journey and helps you understand the importance of the sewing machine components.
Machine Types and Market
While sewing machines vary, here’s what you need to know about their types and market.
- Home vs. Industrial: Home models suit daily tasks. Industrial ones handle heavier fabrics at faster speeds.
- Automation Levels: From manual to computerized, options vary by automation.
- Market Growth: Brands like Brother and JUKI dominate as demand rises, driven by evolving operator statistics and innovative drive mechanisms. Many consumers explore the various machine types before making a purchase.
Safety Precautions
Before sewing, prioritize safety. Use eye protection to shield against loose needles or fabric threads.
Finger guards are handy for precision and avoiding injuries. Always maintain a safe speed when you sew—faster isn’t always better.
Check cord management to prevent tripping hazards. Keep your workspace tidy, ensuring all sewing machine safety precautions promote a seamless, injury-free experience.
Using Sewing Machine Effectively
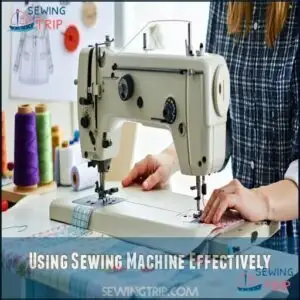
Getting the hang of sewing machine operation takes practice, but it’s rewarding. Here’s how to use it effectively and refine your technique:
- Plan Your Project: Start with a clear idea. Match fabric selection to your design, considering thickness and texture. A structured plan guarantees efficient workflow.
- Adjust Settings Thoughtfully: Use appropriate sewing machine settings like stitch length, type, and tension for your fabric. Test on scraps to prevent mistakes.
- Mind Your Posture: Good ergonomics matter. Sit with your back straight, arms level, and keep both hands guiding the fabric. Let the feed dogs work!
Experiment with creative embellishments once you’re comfortable. Consider starting with simple clothing projects like tote bags to hone your skills. Over time, sewing machine techniques will feel second nature, freeing endless potential for crafting unique creations.
Setting Up Sewing Machine
To set up your sewing machine, start by placing it on a stable surface and ensuring it’s unplugged for safety.
Place your sewing machine on a stable surface, unplugged, to ensure safety and a smooth start to your sewing journey.
Familiarize yourself with the key parts, like the spool pin, thread guides, and bobbin winder, as these will help you prepare the machine for use.
Threading The Machine
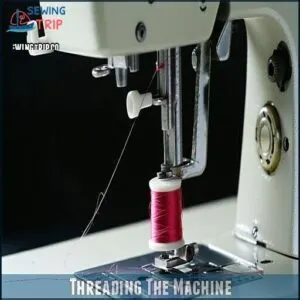
Before stitching mastery, threading is key.
Position your thread on the spool pin, following the thread path through guides and tension settings.
Lift the take-up lever, ensuring even tension.
Finally, pass it through the needle’s eye from front to back.
Refer to this table for clarity:
| Component | Action | Purpose |
|---|---|---|
| Spool Pin | Place thread | Holds thread roll securely |
| Thread Guides | Direct thread | Prevents tangling |
| Needle Eye | Thread front-to-back | Prepares for stitching |
The process involves understanding the role of each component and its action to achieve the desired outcome, ensuring that the thread is properly secured and guided through the needle’s eye.
Installing The Bobbin
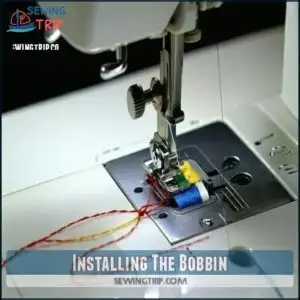
Installing the bobbin correctly is essential for smooth sewing.
Follow these steps:
- Choose the correct bobbin size and type for your machine.
- Load the sewing machine bobbin into the bobbin case, guaranteeing proper bobbin thread tension.
- Insert the bobbin case securely into its housing.
- Check for bobbin material impact; metal bobbins suit heavier fabrics, while plastic matches lightweight materials.
Correct insertion guarantees proper bobbin unwinding to prevent tangles and ensure the machine operates with minimal issues.
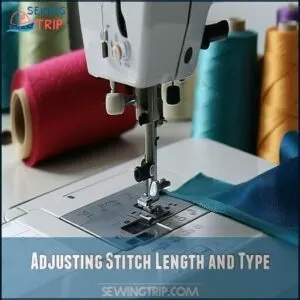
Adjusting Stitch Length and Type
Once the bobbin is ready, it’s time to tackle stitch settings.
Adjust stitch length and type using your sewing machine’s stitch adjustments dial or button.
Shorter stitches suit delicate fabrics, while longer ones handle thicker materials.
Explore Decorative Stitch Options and Specialty Stitch Functions for creative projects.
Always match Fabric Stitch Compatibility to guarantee smooth stitching and proper Tension and Stitches balance.
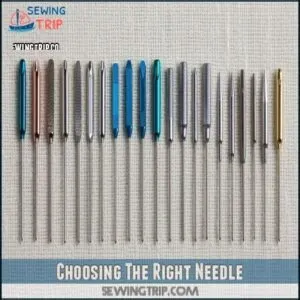
Choosing The Right Needle
Choosing the right needle can make or break your sewing project.
Consider these key factors:
- Needle Types: Match fabric with universal, ballpoint, or leather needle varieties for compatibility.
- Needle Sizes: Use smaller needles for fine fabrics, larger ones for heavy materials. You may also want to consult a comprehensive needle guide for specific projects.
- Point Styles & Brands: Opt for SCHMETZ or Organ for durable, smooth stitches. Always test before sewing!
Mastering Sewing Techniques
To master sewing techniques, start by practicing essential stitches like straight and zigzag to build a strong foundation.
Focus on maintaining even tension, controlling speed with the foot pedal, and using proper seam allowances for clean, professional results, which will help achieve professional results.
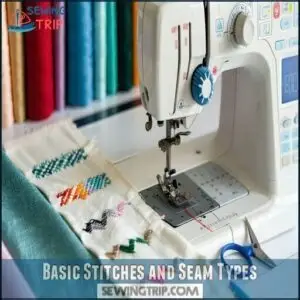
Basic Stitches and Seam Types
Mastering sewing techniques starts with understanding stitch types. The Straight Stitch is your go-to for general sewing, while Zigzag Stitch works for finishing edges or adding stretch.
Blind Hems are great for invisible finishes, and Buttonholes complete garments neatly. Always use a proper seam allowance, backstitching at ends to secure threads.
Experiment with seam finishes to improve durability.
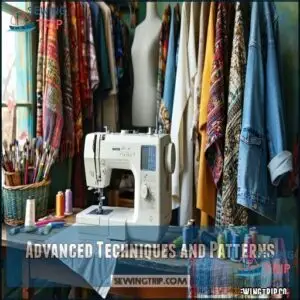
Advanced Techniques and Patterns
After practicing basic stitches, explore advanced techniques to expand your skills.
Experiment with:
- Pattern alterations: Adjust sewing patterns for custom fits in garment construction.
- Embroidery designs and quilting techniques: Add intricate, eye-catching details.
- Serger mastery and stitch types: Perfect edges and create professional finishes.
These advanced sewing methods transform fabric manipulation into polished, stunning sewing machine projects!
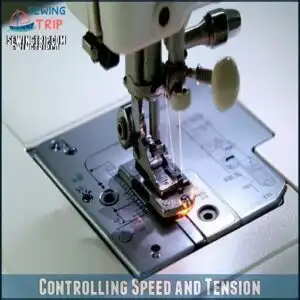
Controlling Speed and Tension
Start by mastering foot pedal control to adjust your sewing speed smoothly.
For consistent stitches, balance the fabric feed rate and use the tension dial to fine-tune thread tension balance.
When precision matters, rely on the handwheel for careful positioning.
Proper sewing machine tension guarantees even stitching, so adjust slowly for better stitch consistency without tangles or breaks, ensuring proper sewing machine tension.
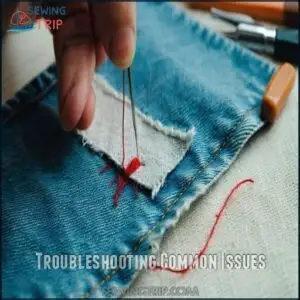
Troubleshooting Common Issues
If you’re mastering speed and tension but run into thread breaks, skipped stitches, or fabric bunching, don’t panic.
Re-thread the machine, adjust tension, and verify the needle suits your fabric.
Needle snapping? Replace it with the correct type.
Persistent issues might need sewing machine repair.
Regular sewing machine maintenance is your best troubleshooting guide for avoiding future sewing machine problems.
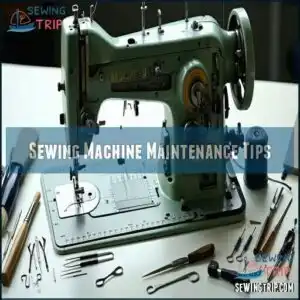
Sewing Machine Maintenance Tips
Keeping your sewing machine in top shape is essential for smooth and accurate stitching. Regular maintenance, like cleaning and checking parts, prevents damage and extends your machine’s life.
Regular Cleaning and Lubrication
Regular sewing machine cleaning keeps it running smoothly.
Remove lint regularly, especially around the bobbin, feed dog, and needle areas.
Follow needle maintenance guidelines by replacing dull needles.
For proper motor lubrication, use sewing machine oiling practices as per the manual’s oiling frequency.
These sewing machine maintenance tips are essential for longevity. Prioritize sewing machine care tips to avoid issues.
Checking and Replacing Parts
Once cleaning’s done, check sewing machine parts for wear. Replace sewing machine needles after 6-8 hours to avoid skips. Look for frayed bobbin winders or loose motor belts.
DIY repairs work well if you spot issues early. To find the correct type, consider various needle sizes.
Use these tips:
- Inspect thread path for tangles or damage.
- Test stitch quality during sewing machine troubleshooting.
- Keep spare parts like needles handy.
Storage and Transportation
Protect your sewing machine with dust covers or travel cases.
When storing, keep it in a dry spot for humidity control. Use safe lifting techniques to avoid accidents.
For transport, secure placement in sewing machine travel cases is key. Proper storage can also involve utilizing vertical space to maximize your sewing area.
Always check the table below for tools:
| Item | Purpose | Notes |
|---|---|---|
| Dust Covers | Keep dust off | Use breathable materials |
| Travel Cases | Safe transport | Make sure it’s cushioned |
| Humidity Displays | Control moisture | Place in storage area |
| Cleaning Tools | Remove debris | Use brushes and cloths |
| Protective Pads | Stability in storage | Prevent scratches |
This will help ensure your sewing machine remains in good condition and is ready for use when needed, with proper storage and safe transport being crucial.
Preventing Machine Damage
To avoid damage, always use high-quality thread and fabric suited for your machine. Keep needles sharp and replace bent ones promptly.
Regular servicing and applying sewing machine oil prevent wear. Follow sewing machine safety precautions, like unplugging before maintenance.
Proper storage shields it from dust. A sewing machine troubleshooting guide can help, but seek sewing machine repair services for complex issues.
Frequently Asked Questions (FAQs)
What is a sewing machine?
A sewing machine is your fabric-joining companion, using a needle and thread to create stitches through materials.
It’s a mechanical or electronic device that automates the sewing process for quicker, more precise results.
How to prepare the sewing machine for sewing?
To prepare your sewing machine, unplug it first.
Then, insert the proper needle, wind and install your bobbin, thread the machine following the guides.
Finally, plug it in before positioning your fabric.
This step is crucial for the safe and proper operation of your sewing machine.
What are the main uses of a sewing machine?
Like a Swiss Army knife in your creative arsenal, your sewing machine can create garments, mend clothes, craft home décor, quilt blankets, and tackle upholstery projects—you’ll transform fabric into functional art with each stitch.
Why should you learn how a sewing machine works?
Understanding a sewing machine’s mechanics helps you troubleshoot problems, perform maintenance, and customize stitches confidently.
You’ll save money on repairs and feel empowered to tackle more complex projects with your newfound knowledge.
This will help you troubleshoot problems in a more efficient manner.
Can a beginner use a sewing machine?
Yes, you can absolutely use a sewing machine as a beginner.
Sarah learned in just one afternoon by starting with simple straight stitches.
You’ll want to practice basic techniques before tackling complex projects.
Is it difficult to learn to sew?
Learning to sew isn’t difficult, but it takes practice.
You’ll need patience as you master threading, stitching, and fabric handling.
Start with simple projects and you’ll build confidence quickly with each completed item.
How to sew buttonholes?
Hit the nail on the head with buttonholes by using your machine’s buttonhole foot.
Mark fabric, select buttonhole stitch, lower presser foot, and sew slowly.
Most machines complete buttonholes automatically with one motion.
Which fabrics require special needles?
You’ll need special needles for stretch fabrics (ballpoint), denim (jeans needles), leather (leather needles), and delicate fabrics like silk or chiffon (microtex needles).
Always match your needle to your fabric type.
Why does thread keep breaking?
Thread breaking occurs due to incorrect tension, dull needles, improper threading, or low-quality thread.
Check your tension settings, replace worn needles, rethread your machine, and use good quality thread for smoother sewing.
Can children use sewing machines?
Ever wonder if kids can safely sew?
Yes, they can!
Just choose a kid-friendly machine with safety features, supervise closely, and teach proper techniques.
Starting simple builds skills, confidence, and inspires creativity!
Conclusion
Ready to tackle your next sewing project?
With these basics on how to use a sewing machine under your belt, you’re well-equipped to start creating.
Remember, practice makes perfect—don’t get discouraged by initial hiccups.
Regular maintenance, proper threading, and controlling your speed will keep your machine running smoothly for years.
Soon, you’ll wonder how you ever lived without your trusty sewing machine! The satisfaction of creating something with your own hands is truly unmatched.

