This site is supported by our readers. We may earn a commission, at no cost to you, if you purchase through links.

From selecting fabrics to creating precise gathers with elastic thread, we’ll walk you through each step to achieve flawless gathers.
Whether you’re a seasoned sewer or a beginner, this detailed, concise, and professional guide ensures you have the tools you need for impeccable shirring every time.
Table Of Contents
- Key Takeaways
- Understanding the Basics of Shirring
- Choosing the Right Fabric for Shirring
- Setting Up Your Sewing Machine for Shirring
- Shirring Techniques and Tools
- Preparing the Fabric for Shirring
- Marking and Stitching for Shirring
- Creating Gathers and Pleats With Elastic Thread
- Finishing Touches for Shirred Garments
- Shirring Patterns and Modifications
- Troubleshooting Tips for Perfect Shirring
- Frequently Asked Questions (FAQs)
- Conclusion
Key Takeaways
- Get ready to transform your fabric into a masterpiece with the art of shirring!
- Dive into the world of elastic thread and watch your garments come to life with beautiful gathers.
- Experiment with different fabrics, stitch lengths, and patterns to create unique and stunning effects.
- Master the finishing touches and troubleshooting tips to elevate your shirred creations to perfection.
Understanding the Basics of Shirring
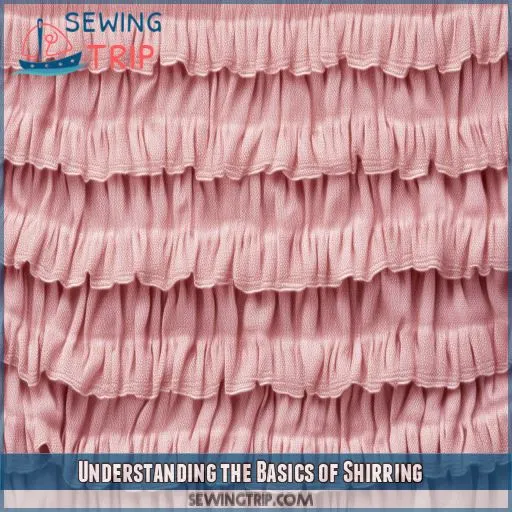
You’ve likely admired shirring on garments without realizing it. This fabric manipulation technique creates those beautiful, stretchy gathers that add both texture and function to clothing. Shirring’s history dates back centuries, with applications ranging from simple peasant blouses to haute couture gowns. At its core, shirring involves using elastic thread in your bobbin to create rows of gathered fabric. It’s like magic – transforming flat cloth into a flexible, form-fitting masterpiece.
Advanced shirring techniques can elevate your sewing game, allowing you to experiment with different thread types and creative designs. Whether you’re aiming for a subtle texture or dramatic ruching, mastering elastic shirring opens up a world of possibilities. From lightweight cotton to flowy rayon, shirring adapts to various fabrics, each yielding unique results.
As you delve into the world of shirring, you’ll discover it’s not just a technique – it’s an art form that puts you in control of your fabric’s destiny.
Choosing the Right Fabric for Shirring
To achieve flawless shirring results, you’ll need to carefully select the right fabric for your project. Consider the weight, stretch, drape, texture, and print of your chosen material, as these factors will significantly impact the final look and feel of your shirred garment.
Lightweight Vs. Medium Weight
When choosing fabric for shirring, consider the weight. Lightweight fabrics like cotton voile or silk chiffon create delicate gathers, perfect for a flowing peasant top. Medium-weight fabrics such as linen or poplin offer more structure. Remember, fabric opacity affects the final look. Always test shirring thread on a scrap before committing to your project.
Stretch And Drape Properties
When choosing fabric for shirring, consider its stretch and drape properties. You’ll want to select materials that offer the right balance for your project. Here are three key points to remember:
- Stretch fabrics provide flexibility
- Drapey fabrics create elegant gathers
- Sheer fabrics yield delicate shirring
Experiment with different options to find your perfect match. The differential feed on your machine can help adjust for fabric differences.
Texture And Print Considerations
When choosing fabric for shirring, consider texture and print carefully. Here’s a quick guide:
| Texture | Effect | |
|---|---|---|
| Smooth | Solid | Classic |
| Textured | Small | Subtle |
| Shiny | Large | Bold |
Opt for fabrics that complement your shirring technique, whether you’re using a zigzag stitch or chain stitch. Remember, texture and print can create a mock shirred look without specialized tools.
Setting Up Your Sewing Machine for Shirring
To master shirring for perfect results, you’ll need to set up your sewing machine correctly. Start by winding elastic thread onto your bobbin, ensuring it’s not too tight. Thread your machine as usual, but use the elastic thread in the lower looper. Adjust your machine’s settings for optimal shirring:
- Set the stitch to a chain stitch or a long straight stitch
- Increase the upper thread tension slightly
- Adjust the differential feed to create even gathers
Test these settings on a scrap piece of fabric before diving into your project. You’ll want to experiment with tension settings to achieve the desired effect. Remember, every fabric behaves differently, so what works for one mightn’t work for another. As you become more comfortable with shirring, you’ll develop an intuitive feel for how to adjust your machine. Don’t be afraid to play around – that’s how you’ll truly master the art of shirring dresses and other garments.
Shirring Techniques and Tools
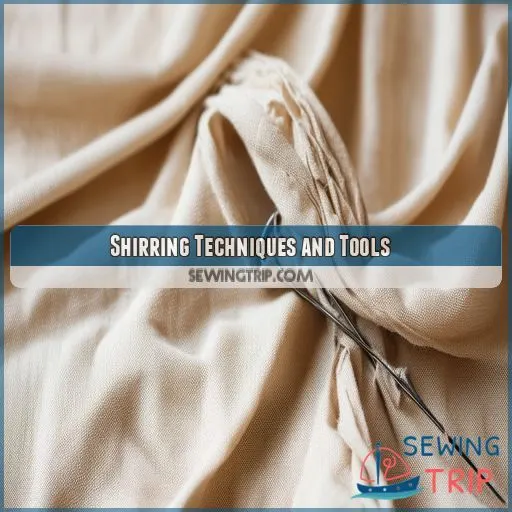
You’ll need the right tools and techniques to master shirring. Start with a shirring foot for your sewing machine—it’s a game-changer for creating even pleats. Gathering stitches are your bread and butter, allowing you to control the fabric’s fullness. Don’t forget elastic thread; it’s the secret weapon for that perfect stretch and gather. If you’re after a delicate touch, try hand gathering. It’s time-consuming but gives you unparalleled control.
For a quick fix, steam segments of fabric and pin them into tiny pleats on your ironing board. This method works wonders for skirts and sleeves. As you explore shirring techniques, you’ll discover a world of patterns—from simple rows to intricate designs. Remember, practice makes perfect. Start with basic shirring tips and gradually tackle more complex patterns. Soon, you’ll be shirring skirts like a pro, creating stunning garments that fit like a glove.
Preparing the Fabric for Shirring
Before you dive into shirring, proper fabric preparation is crucial for achieving flawless results. Start by selecting the right material for your project, considering factors like weight, stretch, and drape. Once you’ve chosen your fabric, it’s time to get it ready for the magic of shirring.
Here’s what you need to do:
- Pre-wash your fabric to prevent shrinkage and remove any sizing
- Press the material with a hot iron, ensuring it’s wrinkle-free
- Check for any imperfections or flaws that might affect your shirring
- Cut your fabric to size, allowing extra for seam allowances and hems
When ironing, pay special attention to creating crisp edges and smooth surfaces. This will make pinning accuracy much easier later on. For shirring tops, consider adjusting the upper thread tension on your machine to accommodate the fabric’s properties. Remember, Burda patterns often require precise fabric preparation, so take your time and be meticulous. Your efforts now will pay off in stunning shirred garments later.
Marking and Stitching for Shirring
To achieve flawless shirring, start by marking your fabric with precision. Use tailor’s chalk or disappearing ink to create guidelines for your stitches. Pin placement is crucial – space them evenly along your marked lines to keep the fabric taut.
Next, set your machine for shirring success. Adjust the stitch length to about 3-4mm and tweak the tension for optimal results. Remember, practice makes perfect, so test your settings on a scrap piece first.
When you’re ready to stitch, maintain consistent spacing between rows. A quilting foot can be your best friend here, ensuring even stitch spacing throughout. As you sew, gently guide the fabric without pulling or pushing.
For steam manipulation, use a spray bottle to lightly dampen the fabric between rows. This helps the gathers settle into place. Don’t forget your gathering tools – a bodkin or safety pin can help distribute gathers evenly for that picture-perfect shirred look.
Creating Gathers and Pleats With Elastic Thread
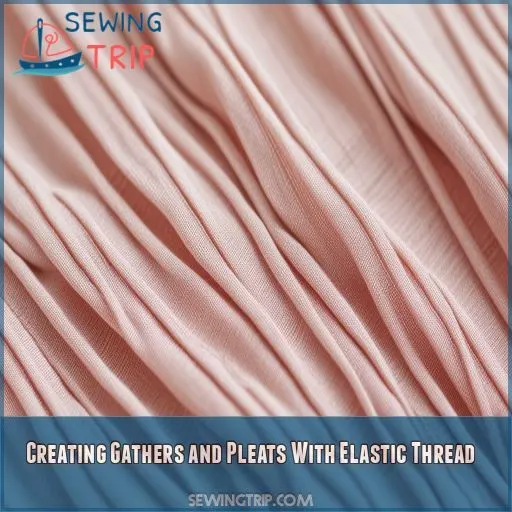
Now that you’ve marked and stitched your fabric, it’s time to bring those gathers to life! Creating gathers and pleats with elastic thread is where the magic happens. You’ll want to pay close attention to your elastic thread tension – it’s the key to achieving those perfect, bouncy gathers.
Don’t be afraid to experiment with different thread colors; they can add a subtle pop or blend seamlessly with your fabric. Vary your stitch length to create diverse effects, from tight, uniform gathers to more relaxed, flowing pleats. Adjusting your bobbin tension is crucial for controlling the shirring’s intensity.
As you work, try experimenting with different fabrics to see how they respond to the elastic thread. Some fabrics will gather more easily than others, so be patient and persistent.
Finishing Touches for Shirred Garments
Once you’ve mastered the art of shirring, it’s time to add those finishing touches that’ll elevate your garment from homemade to haute couture. Let’s dive into some pro tips to make your creation shine!
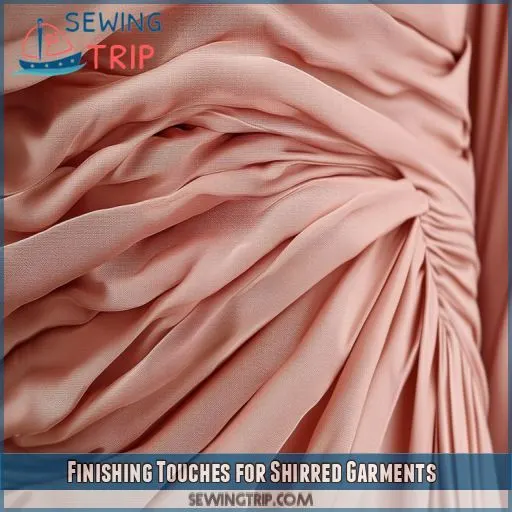
First, give your shirred fabric a good press. Use a gentle touch and a steam iron to set those gathers in place. Remember, less is more when it comes to pressing – you don’t want to flatten out all your hard work!
Next, consider adding some decorative accents. A delicate lace trim or ribbon along the shirred edges can add a touch of elegance. For a bohemian vibe, try attaching small beads or sequins sparingly.
Don’t forget about the power of strategic embellishments. A well-placed brooch or a row of covered buttons can draw the eye and create a focal point on your shirred masterpiece.
Lastly, give your garment a final once-over. Snip any loose threads and make sure everything’s picture-perfect. You’ve earned those oohs and aahs!
Shirring Patterns and Modifications
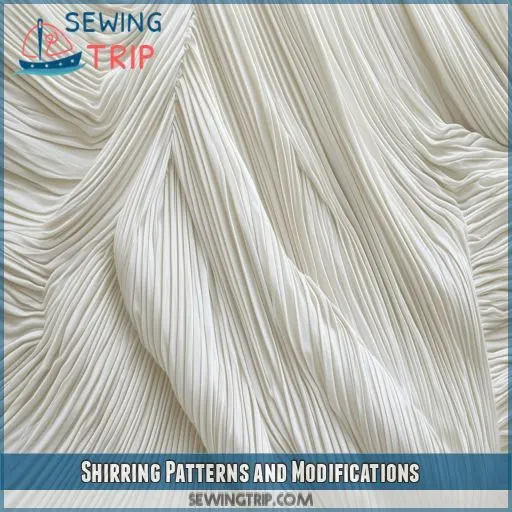
Now that you’ve mastered the finishing touches, let’s explore shirring patterns and fabric modifications to elevate your creations. You’ll find that shirring patterns can transform a simple garment into a work of art.
Try alternating wide and narrow rows of shirring for a unique texture, or create diamond patterns by shirring diagonally. Don’t be afraid to experiment with curved shirring lines to accentuate body contours.
When it comes to fabric modifications, consider pre-washing your material to prevent unexpected shrinkage. You can also combine shirring with other techniques like pintucks or pleats for added dimension. For a bold statement, try shirring different colored fabrics together.
Troubleshooting Tips for Perfect Shirring
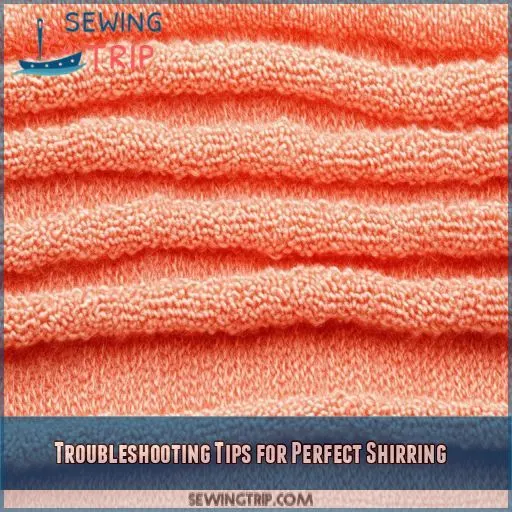
- Shorter stitches create tighter gathers
- Longer stitches produce a looser, more relaxed effect
- Medium-length stitches offer versatility for most projects
- Vary stitch length for unique texture and visual interest
Frequently Asked Questions (FAQs)
How do I clean shirred clothing?
Gently hand wash shirred clothing in cold water with mild detergent. Avoid wringing or twisting the fabric. Lay it flat on a towel to air dry. For a polished finish, lightly steam the fabric.
Can shirring be used on home décor?
Shirring can breathe new life into home decor. From curtains to cushions, this versatile technique adds texture, dimension, and a touch of elegance. Embrace the power of shirring to elevate your interior design.
What are alternative uses for shirring?
You can use shirring to add texture and elasticity to accessories like headbands, belts, and tote bags, create decorative pillow covers, enhance curtain panels, and even craft unique home accents like lampshade covers and tablecloth trims.
How to repair damaged shirring?
To repair damaged shirring, gently unpick the stitches around the affected area, pull out the elastic thread, and re-stitch, ensuring consistent tension and even spacing. Test on scrap fabric to ensure proper corrections.
Can shirring be done by hand?
Yes, you can absolutely shirr fabric by hand! Just gather the fabric into tiny pleats, secure with pins, and stitch along the pleated area using a needle and thread. It takes a bit more time, but the results can be just as lovely.
Conclusion
You’ll marvel at your newfound ability to master shirring for perfect results.
With these techniques, materials, and tips, you’re equipped to create impeccable gathers every time.
From understanding fabric choices to stitching with precision, each step ensures flawless results.
Remember to adjust your machine settings, mark accurately, and be patient with elastic thread.
Dive into patterns, make modifications, and troubleshoot with confidence.
Ready to transform your sewing projects? Let’s get shirring!

