This site is supported by our readers. We may earn a commission, at no cost to you, if you purchase through links.
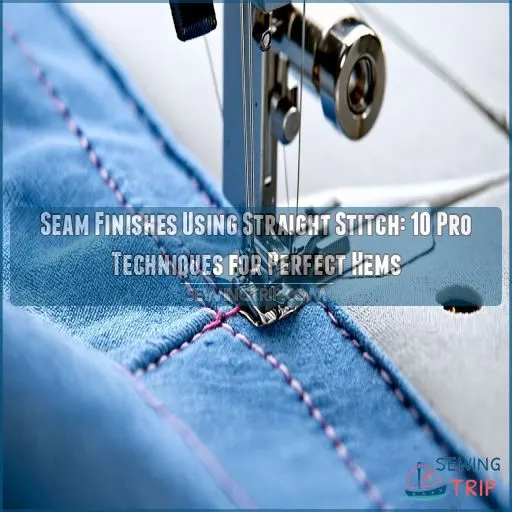
A simple clean finish—turning and stitching down raw edges—is perfect for most fabrics.
For extra strength, try a double stitched seam.
Pinking shears and a stitch create a neat, fray-resistant edge.
Remember, the right seam finish depends on your fabric.
Heavy fabrics might need a different approach than lightweight ones.
Choosing the wrong finish is like wearing mismatched socks—it’s noticeable!
Learn more about mastering different techniques and discover which one’s your new best friend.
Table Of Contents
- Key Takeaways
- Basic Straight Stitch Seam Finish Techniques
- Turned and Stitched Seam Finish
- Self-bound Seam Finish
- Flat Felled Seam Using Straight Stitch
- French Seam With Straight Stitch
- Hong Kong Finish Using Straight Stitch
- Bound Seam Finish With Straight Stitch
- Hairline Seam Finish for Delicate Fabrics
- Faced Seam Finish for Heavier Fabrics
- Choosing The Right Straight Stitch Seam Finish
- Frequently Asked Questions (FAQs)
- Conclusion
Key Takeaways
- You can achieve professional-looking seams with just a straight stitch by mastering techniques like clean finish, pinked seams, and flat felled seams.
- Choosing the right seam finish depends on your fabric type: heavy fabrics need stronger finishes, while light ones benefit from techniques like the French seam.
- If you’re handling stretchy fabrics, avoid straight stitches; opt for a narrow zigzag to maintain flexibility without breaking.
- For durability, consider using double-stitched seams or a Hong Kong finish to reinforce garments that endure more wear and tear.
Basic Straight Stitch Seam Finish Techniques
You’ll be amazed at how much you can do with just a straight stitch on your sewing machine, especially when combined with other essential techniques from your sewing machine stitches library like blind hem stitch.
From clean finishes to pinked edges, these basic techniques will give your seams a polished look without any fancy equipment.
Clean Finish
The clean finish technique is your secret weapon for a polished look without fancy equipment.
You’ll love how it transforms your seams from frayed to fabulous!
Simply turn back the raw edges of your seam allowance and stitch them down.
It’s perfect for straight seams on most fabrics, giving you that professional touch.
Just be careful with heavy fabrics – you don’t want bulky seams cramping your style!
Double Stitched Seam
Ready to level up your seam game?
Double stitched seams are your ticket to stronger, more durable garments.
You’ll stitch once, then again 1/8" inside the first line.
It’s like giving your seams a workout – they’ll be able to handle whatever you throw at them!
This technique works wonders on stretchy fabrics, preventing those annoying popped stitches when you’re rocking your latest creation.
Pinked and Stitched Seam
Stepping up your seam game? Try the pinked and stitched seam for a neat finish that’s a cut above the rest. You’ll stitch about 1/4" from the edge, then use pinking shears to create a zigzag edge. It’s like giving your fabric a fancy haircut that prevents fraying!
- Ideal for tightly woven fabrics
- Perfect for curved edges
- Adds a touch of reinforcement
- Reduces bulk in heavier fabrics
- Quick and easy to execute
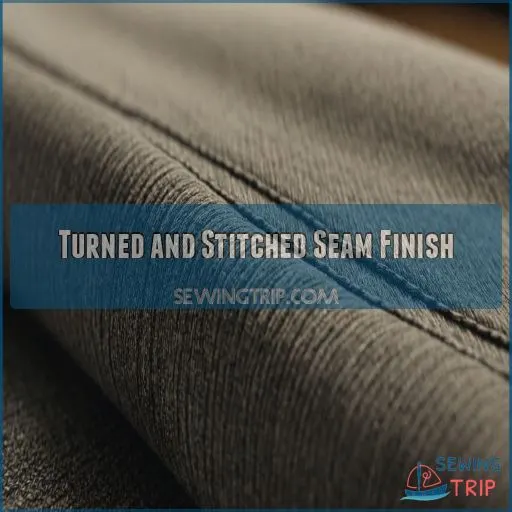
Turned and Stitched Seam Finish
Ever wondered how to achieve a polished look on your seams without fancy equipment? To prevent fraying and strengthen seams, learning finishing raw edges of fabric without a serger is a valuable skill. Enter the turned and stitched seam finish – your secret weapon for crisp, professional-looking garments.
You’ll love this technique for stable fabrics that hold a crease well, like cotton or taffeta.
Additionally, to add a vintage touch to your garments, consider using pinking shears for inner curves.
Start by pressing your seam allowances open, then fold under each raw edge about 1/4 inch and press in place.
Next, stitch close to the folded edge on both sides. This creates a mini-hem that’s both tidy and durable.
For curved seams, consider serging or zigzagging the raw edges first to prevent fraying.
The turned and stitched finish works wonders on medium-weight fabrics and dry-clean-only garments like dresses and jackets.
With a bit of practice, you’ll be turning out garments with interiors as beautiful as their exteriors!
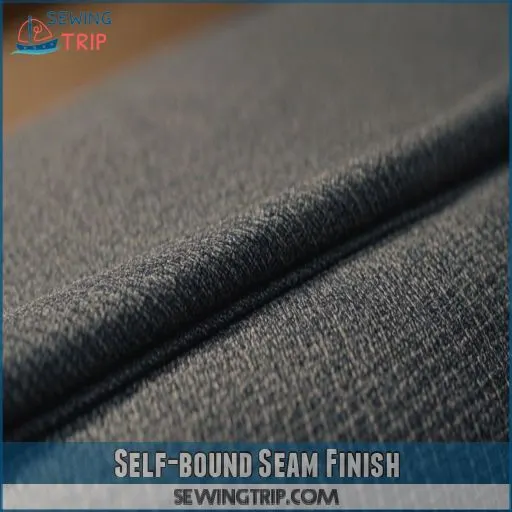
Self-bound Seam Finish
You’ll love the self-bound seam finish for its neat, professional look.
It’s a versatile technique that works well for both light and medium-weight fabrics.
Giving your projects a polished edge without the need for special equipment.
Single Fold Method
The single fold method is your secret weapon for a sleek, self-bound seam finish.
First, stitch your seam as usual, then trim one side to 1/8" .
This technique is especially effective when combined with a Straight Stitch Finish to prevent fraying.
Fold the wider edge inward, pressing for a crisp line.
This technique works wonders on lightweight, crisp fabrics that don’t fray easily.
It’s like giving your seams a tidy little hug, keeping everything neat and professional.
You’ll feel like a sewing ninja in no time!
Double Fold Method
Now let’s double down on our hemming skills! The double fold method takes your seam game up a notch. Here’s how to nail it:
- Press fabric edge twice in the direction of the wrong side
- Pin or clip folds in place for stability
- Stitch close to the inside edge
You’ll end up with a clean, durable finish that’s like a secret handshake in the sewing world. It’s perfect for light to medium-weight fabrics, giving your hems a polished look without the bulk.
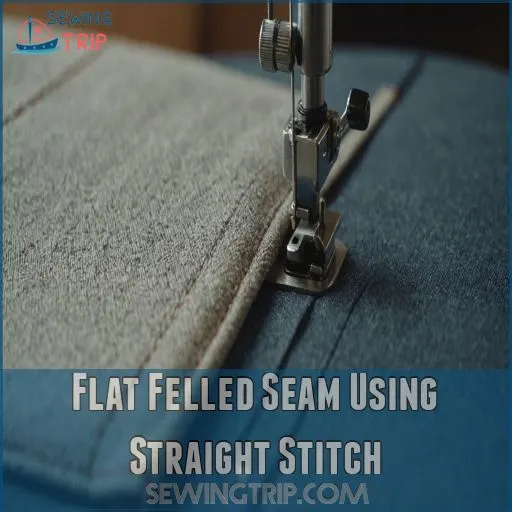
Flat Felled Seam Using Straight Stitch
You’ll love the flat felled seam for its durability and professional look.
With just a straight stitch, you can create this strong finish that’s perfect for jeans, outerwear, and other heavy-duty projects.
Traditional Flat Felled Seam
Ready to tackle the traditional flat-felled seam? This powerhouse technique creates a strong, enclosed finish perfect for jeans and workwear .
Start by sewing right sides together, then trim one side to 1/4" .
Fold the untrimmed edge over the trimmed one, press, and edgestitch. It’s like giving your seams a sturdy hug!
With practice, you’ll master this classic finish and elevate your sewing game.
Mock Flat Felled Seam
When you’re in a time crunch, the mock flat felled seam is your secret weapon.
It’s a quick and easy way to achieve that professional look without the fuss.
You’ll save time and still rock those jeans, jackets, and quilts like a pro.
Here’s why you’ll love this technique:
- Speedier than traditional flat felled seams
- Works wonders on both sturdy and delicate fabrics
- Gives a clean finish without bulky layers
- Perfect for beginners and seasoned sewists alike
French Seam With Straight Stitch
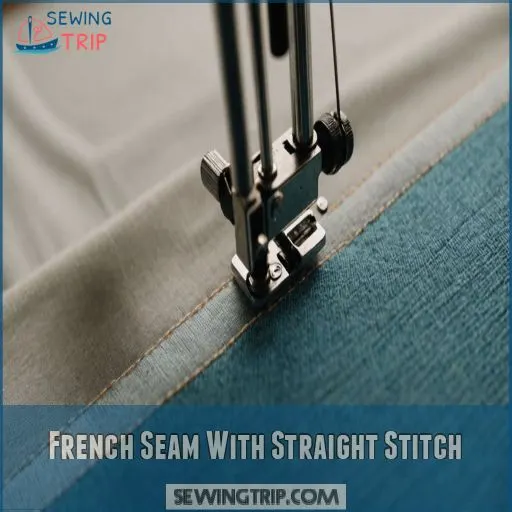
You’ll love French seams for their neat, professional look that hides raw edges inside.
With just a straight stitch, you can create this elegant finish that’s perfect for sheer or lightweight fabrics.
Standard French Seam
Mastering the standard French seam is like learning a secret handshake in the sewing world. You’ll create a neat, enclosed seam that’s perfect for delicate fabrics.
Before starting, make sure to choose the right needle and thread for your fabric, considering factors like smaller needles for lightweight fabrics.
Let’s break it down:
| Step | Action | Result |
|---|---|---|
| 1 | Wrong sides together, sew 1/4" seam | Visible raw edges |
| 2 | Trim close to stitching | Reduced bulk |
| 3 | Press seam open | Flat foundation |
| 4 | Fold right sides together, press | Enclosed raw edges |
| 5 | Stitch 3/8" from fold | Finished French seam |
This technique works wonders on light to medium-weight fabrics. It’s your ticket to professional-looking seams that’ll make you feel like a sewing superhero.
Faux French Seam
Looking for a simpler French seam alternative?
Try the faux French seam!
It’s perfect for tricky curves and beginners who find trimming seam allowances intimidating (Source).
Start by sewing a regular seam, then fold raw edges inward and press.
Pinch folded edges together, pin, and stitch close to the edge.
You’ll get that polished look without the hassle – it’s like magic for your seams!
Hong Kong Finish Using Straight Stitch
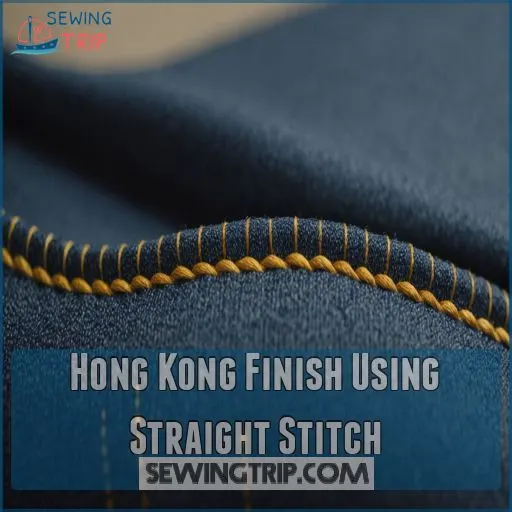
You’ll love the Hong Kong finish for adding a touch of class to your seams.
This technique uses bias tape to enclose raw edges, creating a neat and professional look that’s perfect for unlined garments or anywhere the inside might show.
Single Fold Bias Tape Method
Want to elevate your seam game?
Let’s jazz up those edges with the single fold bias tape method, also known as the Hong Kong finish.
This technique is like giving your seams a stylish makeover.
To master it, consider using it on soft, fluid fabrics like silk or rayon, such as a couture technique for preventing fraying.
You’ll need single fold bias tape in a color that complements your fabric.
Start by aligning the tape with your seam allowance, right sides together.
Stitch, flip, and press for a polished look that’ll make you feel like a sewing pro!
Double Fold Bias Tape Method
The double fold bias tape method takes your Hong Kong finish up a notch.
You’ll wrap both sides of your seam in one go, creating a polished look inside and out.
Choose your bias tape wisely – it can make or break your project!
Align the tape’s edge with the wrong side of your seam, pin in place, and sew along the first fold line.
It’s like giving your seam a stylish jacket!
Bound Seam Finish With Straight Stitch
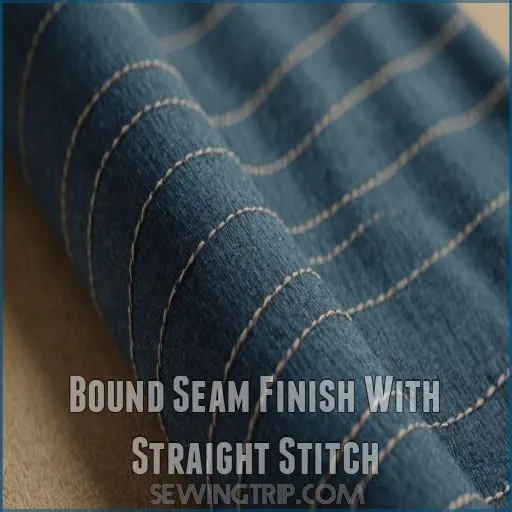
You’ll love the bound seam finish for its polished look and versatility.
Whether you use pre-made bias tape or make your own strips, this technique will give your projects a professional edge that’ll make you feel like a sewing pro.
Pre-made Bias Tape
Pre-made bias tape is your secret weapon for creating polished seam finishes.
This versatile accessory comes in various types, colors, and widths to suit your project.
Here’s why you’ll love it:
- Effortless application: Just unfold and stitch
- Time-saver: No need to cut and press your own strips
- Professional look: Achieve clean, consistent edges every time
Store your bias tape collection neatly, and you’ll always have the perfect finish at your fingertips.
It’s like having a tailor’s touch in your sewing box!
Self-made Bias Strips
Crafting your own bias strips opens up a world of creative possibilities.
Cut 1 to 1¼-inch wide strips from lightweight fabric at a 45-degree angle (Source).
For a fancy touch, try silk.
Press strips open, align with the seam’s visible side, and stitch.
Fold, pin, and edgestitch for a polished look.
You’ll have beautifully bound seams that’ll make you feel like a sewing maestro.
Hairline Seam Finish for Delicate Fabrics
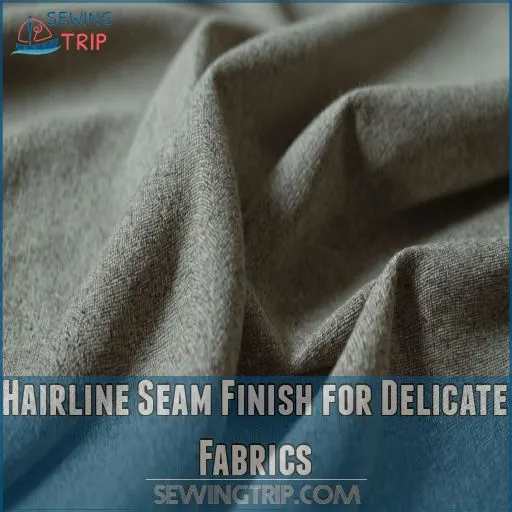
While bound seams work beautifully, tackling a hairline seam on delicate fabrics like chiffons or lightweight silks can feel like wrestling a slippery eel.
These hairline seam challenges are worth it for that nearly invisible finish.
To start:
- Trim Seam Allowance: Cut it as narrow as your zigzag stitch width. This prevents bulkiness and keeps things smooth.
- Machine Settings: Use a narrow, dense zigzag setting on your sewing machine. Keep the finish neat and fray-free.
- Sheer Fabric Tips: Consider hand-basting if your fabric is particularly unruly. It helps keep everything in place.
Remember, patience with your sewing machine and a sprinkle of humor make tackling this invisible seam trick a joyful journey.
Faced Seam Finish for Heavier Fabrics
For heavier fabrics, a faced seam finish provides a clean, professional look and prevents fraying.
You’ll learn how to use single or double-sided facings to create a durable, beautifully finished seam.
Single-sided Facing
Single-sided facing offers a polished seam finish for heavier fabrics, reducing bulk where you need it most.
Choose fabric that complements your garment without adding heft.
Set your seam allowance to allow for neat folding and pressing.
Experiment with straight stitch settings on scraps first to avoid any sewing machine surprises.
It’s a small step for a big impact!
Double-sided Facing
Boost your finishing skills with double-sided facing for heavier fabrics.
Unlike single-sided approaches, this technique doubles the facing layer, providing durability for collars and curved edges, much like a separate facing piece.
Choose sturdy fabric and allow extra seam allowance.
Use a straight stitch on your sewing machine, and consider zigzag or overlock stitches for more strength.
Give your garments that professional edge effortlessly!
Choosing The Right Straight Stitch Seam Finish
When choosing the right straight stitch seam finish, consider your fabric type, garment purpose, and how much wear and tear it’ll endure.
It’s a bit like picking the right shoe for an event—comfort and style matter!
Fabric Type Considerations
Now that you’ve tackled those heavier fabrics with faced seams, consider matching your seam finish to your fabric type.
With woven vs. knit, think of:
- Stretch potential: Knits stretch, wovens don’t.
- Fraying tendency: Wovens fray.
- Weight impact: Consider fabric’s heft.
- Seam visibility: Keep it discreet.
- Seam finishes: Try the Hong Kong seam for finesse.
Garment Type and Purpose
Choosing the right seam finish depends on the garment type and purpose.
Outerwear requires durable finishes, while activewear benefits from flexible seams.
Lingerie calls for smooth, gentle finishes, and formalwear needs a crisp look.
Casualwear, however, is more forgiving.
Check out this handy guide:
| Garment Type | Suggested Seam Finish |
|---|---|
| Outerwear | Bound Seam |
| Activewear | Flat Felled Seam |
| Lingerie | French Seam |
| Formalwear | Hong Kong Finish |
Durability Requirements
When considering garment function, you must stress-test seam finishes for durability.
For a perfect straight stitch, focus on a fixed point near the presser foot for stability and precision while sewing, utilizing reference points such as seam guide markings. Your sewing machine’s straight stitch should fit the fabric weight and project lifespan.
Heavy fabrics like denim see more wear and tear, so consider flat-felled seams for added strength.
Lighter fabrics won’t need such reinforcement, but always match your stitch to the demand.
Frequently Asked Questions (FAQs)
Can you finish seams with a straight stitch?
You can finish seams with a straight stitch by folding the raw edges under and stitching them down.
This technique is economical, works well on straight seams, and gives a tidy finish without special equipment (Source).
What stitch to use for finishing seams?
Isn’t it ironic how a straight stitch seems too basic for seam finishing?
Try zigzag stitches for versatility, or French seams for elegance.
Bias binding adds flair to raw edges, keeping seams neat and beautiful.
What is the best stitch for seam sewing machine?
When sewing seams on stretchy fabrics, understanding the importance of stretch stitches, which include zigzag, lightning, and twin needle stitches, is key to preventing seam breakage, as explained in sewing stretch fabric. Consider using a stretch stitch for sewing seams on stretchy fabrics; it lets seams flex without breaking.
For woven fabrics, a straight stitch is your best bet, holding everything neatly together with strength and simplicity.
Will a straight stitch stop fabric from fraying?
Time machines aside, a straight stitch can limit fabric fraying but won’t completely stop it.
Think of it as a roadblock that slows the unraveling.
For extra fray control, consider a zigzag stitch or bias tape method.
How to prevent fabric fraying without serger?
To stop fabric from fraying without a serger, zigzag stitch can also be used for seam finishing, creating a robust edge and preventing fraying, as discussed in mastering zigzag stitches. Try pinking shears for zigzag edges, or use a zigzag stitch with your sewing machine.
These methods prevent fraying and offer a cleaner finish on your project.
Can straight stitch seams handle stretchy fabrics?
Straight stitches aren’t ideal for stretchy fabrics; they lack give. But don’t worry! A narrow zigzag stitch works wonders, providing the needed flexibility. You’ll get stronger, more resilient seams.
What needle size is best for thick seams?
For sewing thick seams, use a needle size 90/14, 100/16, or 110/ These larger needles handle heavy fabrics like denim and canvas with ease, preventing breaks and ensuring smooth stitching. Happy sewing!
How to troubleshoot puckered seam issues?
Did you know 90% of seam puckering is due to incorrect tension?
Check and adjust your sewing machine’s tension first.
Also, use a finer needle and even feed foot to keep those seams smooth and tidy.
Tips for sewing curves with straight stitches?
Think of curves as tiny straight lines.
Focus on the area right before the needle.
Use smaller stitches and gently guide fabric with your fingers to keep stitches smooth and even.
Practice makes perfect!
Conclusion
A serger can quickly and efficiently finish fabric edges, providing a professional-looking finish with serger vs sewing machines. Did you know 90% of seamstresses find their projects greatly improved with the right seam finishes using a straight stitch sewing machine?
By mastering these 10 pro techniques, you’ll make sure your hems look professional and last longer.
Whether you’re tackling lightweight cotton or heavy denim, there’s a method here for you.
Choose wisely based on fabric and purpose, and don’t shy away from experimenting.
Your stitches hold seams together but also elevate the entire garment.
Happy sewing!

