This site is supported by our readers. We may earn a commission, at no cost to you, if you purchase through links.
Feeling cozy? Whip up a mug warmer to keep your coffee toasty.
For the eco-warriors, stitch some reusable produce bags and say goodbye to plastic.
Craft a snug laptop sleeve to protect your tech buddy, or create adorable fabric key fobs for a personal touch.
Don’t forget the hair enthusiasts – scrunchies are back and better than ever!
These projects are just the beginning of your small-item sewing adventure. Stick around to discover how these tiny creations can make a big impact in your daily life.
Table Of Contents
- Key Takeaways
- Essential Tools for Sewing Machine Small Projects
- Quick Zipper Pouch Tutorial for Beginners
- Crafting Cozy Mug Warmers With Scrap Fabric
- Sewing Machine-friendly Reusable Produce Bags
- DIY Laptop Sleeve With Padding Protection
- Cute and Practical Fabric Key Fobs
- Easy-sew Phone Stand Pillow for Comfort
- Fashionable Scrunchies Using Fun Fabric Prints
- Sewing Machine Project: Compact Travel Organizers
- Miniature Stuffed Animals for Quick Gifts
- Frequently Asked Questions (FAQs)
- Conclusion
Key Takeaways
- You can start small sewing projects with a mini sewing machine, which offers convenience for sewing on the go, whether traveling or tackling quick projects at home, using small portable sewing machines for sewing projects. You can dive into small sewing projects by making zipper pouches, mug warmers, and reusable produce bags, which are both practical and eco-friendly.
- Essential tools like a reliable sewing machine and quality threads will set you up for success; mastering basic features like stitch types and tension control opens a world of creative possibilities.
- Personalizing items like fabric key fobs or scrunchies with embroidery and appliqué adds a unique touch, making them perfect gifts or personal accessories.
- Projects such as laptop sleeves and travel organizers help improve sewing skills while creating useful, protective, and stylish items for everyday use.
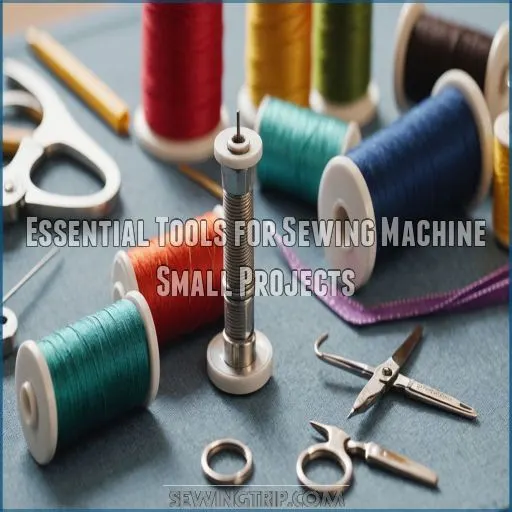
Essential Tools for Sewing Machine Small Projects
Get ready to tackle small sewing projects with confidence by arming yourself with the right tools.
You’ll need a reliable sewing machine, quality threads and needles, precise cutting and measuring tools, and handy pressing accessories to bring your creative ideas to life.
Basic Sewing Machine Features
Mastering your sewing machine’s basic features, such as adjustable stitch length and width, is crucial for various sewing techniques, including what are sewing techniques. Mastering your sewing machine’s basic features is like opening a treasure chest of creative possibilities.
You’ll be whipping up small projects in no time!
Get familiar with these essential tools:
- Stitch types: Straight, zig-zag, and buttonhole stitches are your bread and butter
- Adjustable stitch length: This game-changer lets you fine-tune your seams
- Tension control: Keep your stitches balanced and beautiful
- Foot options: Different feet for different feats, from zippers to buttonholes
Thread Types and Needles
Choosing the right thread and needle is like finding the perfect dance partner for your fabric.
You’ll want to match their strengths for a smooth performance.
Let’s break it down:
| Thread Type | Best For |
|---|---|
| All-purpose | Everyday projects |
| Cotton | Natural fibers |
| Silk | Delicate fabrics |
| Heavy-duty | Denim, canvas |
When working with slippery fabrics like satin, consider installing a non-stick foot on your machine, as discussed in sewing tips for beginners. Remember, your needle size should complement your thread gauge and fabric type.
It’s a bit like Goldilocks – not too big, not too small, but just right for your project!
Cutting Tools and Measuring Equipment
You’re on the cutting edge now!
Grab your trusty rotary cutters and fabric shears – they’re your new best friends for slicing through projects like butter.
Don’t forget your measuring tape and rulers to keep things precise.
A good cutting mat is your workspace superhero, protecting surfaces and making straight cuts a breeze.
With these tools, you’ll be whipping up zipper pouches and sunglass cases faster than you can say "snip snip"!
Pressing Tools and Accessories
Let’s iron out the details of pressing tools!
Your trusty iron is the star, but don’t forget its supporting cast.
A pressing cloth protects delicate fabrics, while a tailor’s ham helps shape curves.
For those hard-to-reach spots, grab a seam roll.
And when you need that crisp edge on your mug cozy or reusable makeup pads, a wooden clapper is your secret weapon.
Happy pressing!
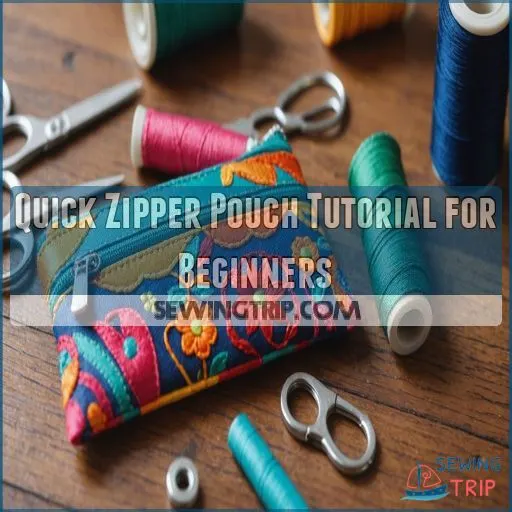
Quick Zipper Pouch Tutorial for Beginners
You’ll love creating your own zippered pouch with this beginner-friendly tutorial.
Get ready to transform fabric scraps into a handy organizer.
It’s perfect for storing small items or giving as a thoughtful gift.
Choosing Fabric and Zipper
Your zipper pouch’s success hinges on smart fabric and zipper choices. Think of it as matchmaking for your sewing project! Here’s your game plan:
- Pick medium-weight fabric (1-3 oz/sqyd) for durability
- Choose a zipper slightly longer than your pouch’s width
- Match zipper color to fabric or go bold for contrast
- Opt for nylon coil zippers – they’re beginner-friendly
Remember, fabric texture matters too. Smooth cotton’s great for a sleek sunglasses case, while textured linen works wonders for a rustic drawstring purse.
Cutting and Preparation Steps
Now that you’ve picked your fabrics, it’s time to cut and prep!
Grab your cutting tools and let’s get started.
Here’s a quick guide to help you measure twice and cut once:
| Step | Action |
|---|---|
| 1. Measure | Cut exterior and lining pieces to size |
| 2. Notch | Remove 1.5" squares from bottom corners |
| 3. Fuse | Apply interfacing to exterior fabric |
Remember, precision is key here.
Think of it like preparing ingredients for a recipe – the better your prep, the tastier your zipper pouch will be!
Sewing The Zipper in Place
With your fabric and zipper ready, it’s time to stitch that zipper in place!
Grab your zipper foot and align the zipper tape along the fabric edge.
Pin it securely, then sew close to the zipper teeth.
Here’s your moment of triumph:
- Feel the excitement as the needle glides smoothly
- Breathe a sigh of relief when both sides match perfectly
- Grin proudly at your professional-looking top stitching
- Marvel at how you’ve conquered the zipper monster!
Finishing Touches and Turning Right Side Out
Let’s put the finishing touches on your zipper pouch! Turn it right side out through the open zipper. Give those corners a gentle poke with a chopstick for crisp edges. Press the seams flat, and you’re ready for some top stitching magic.
Here’s a handy guide to elevate your pouch:
| Step | Action | Pro Tip |
|---|---|---|
| 1 | Turn right side out | Use zipper opening |
| 2 | Shape corners | Chopstick works wonders |
| 3 | Press seams | Iron on low heat |
| 4 | Top stitch | 1/8" from edge |
| 5 | Add embellishments | Get creative! |
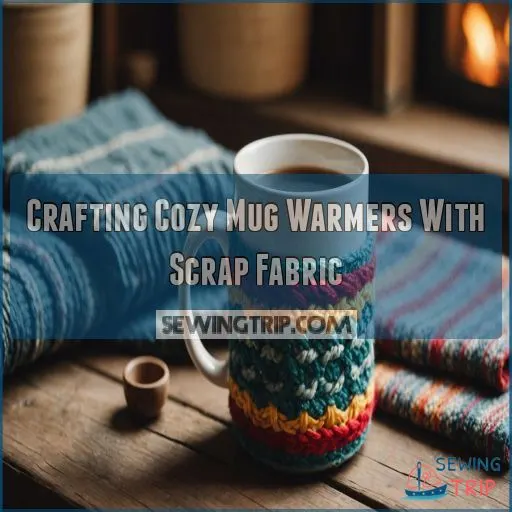
Crafting Cozy Mug Warmers With Scrap Fabric
Transform your leftover fabric scraps into cozy mug warmers that’ll keep your drinks toasty.
You’ll create a practical and cute accessory while giving new life to those fabric bits you’ve been saving.
Selecting Insulating Materials
You’ve mastered zippers, now it’s time to keep your coffee toasty!
Choosing the right insulation for your mug warmer is like picking the perfect sweater for your drink.
Opt for heat-resistant materials like polar fleece or cotton spandex jersey.
These fabrics are like a warm hug for your mug, trapping heat while being eco-friendly.
For extra coziness, consider layering with sweatshirt fleece.
Remember, your mug warmer should be as comforting as that first sip of morning joe!
Creating a Pattern Template
Now that you’ve got your insulating materials ready, it’s time to create your pattern template. Grab some paper and let your creativity flow! Remember, the perfect mug warmer is like a warm hug for your favorite cup.
Here’s why making your own template is so rewarding:
- You’re the boss of your fabric sizing
- Pattern adjustments are a breeze
- It’s a chance to express your inner designer
- You’ll feel like a DIY superstar
Measure your mug’s circumference and height, then add an inch for seam allowance. Sketch your design on paper or use digital templates for precision.
Adding Decorative Elements and Appliqués
With your pattern ready, it’s time to jazz up your mug warmer!
Add personality with decorative elements and appliqués.
Embroidery, fabric painting, and patchwork can transform your cozy creation into a work of art.
Check out this quick guide for inspiration:
| Technique | Difficulty | Wow Factor |
|---|---|---|
| Embroidery | Medium | High |
| Fabric Painting | Easy | Medium |
| Appliqué | Medium | High |
Remember, your mug warmer is like a canvas – let your creativity shine!
Attaching Closures or Ties
The finishing touch on your cozy mug warmer is all about secure closures.
Choose from buttonholes for a classic look, snap closures for quick removal, or hook and loop for adjustability.
Create a drawstring casing for a snug fit, or add ribbon ties for a decorative flair.
Remember, the right closure can turn your mug warmer into a multi-purpose wonder – think dog bandana or gift card holder!
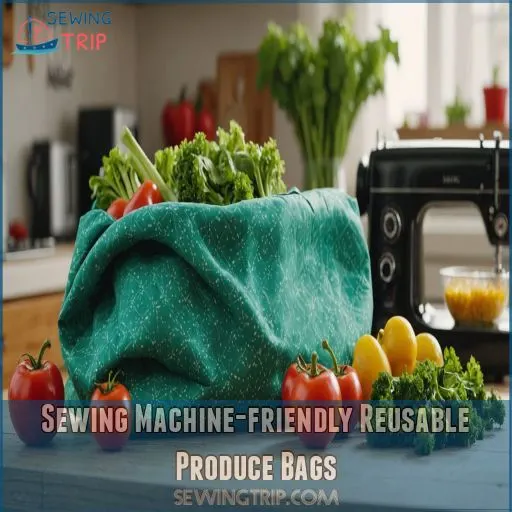
Sewing Machine-friendly Reusable Produce Bags
Say goodbye to single-use plastic bags and hello to eco-friendly shopping with your very own reusable produce bags.
You’ll whip up these handy, breathable bags in no time using your trusty sewing machine.
They’re perfect for storing fruits, veggies, and bulk items.
Selecting Breathable Fabric Options
Let’s swap those cozy mug warmers for eco-friendly produce bags.
Choosing breathable fabric is key, especially when considering the weave and heft of a fabric that determines how well air flows through it check breathable fabrics list.
Cotton mesh is a winner – it’s easy to clean and stretchy, perfect for bulky veggies.
Natural fibers like cotton or bamboo are breathable champs.
For a blend of durability and airflow, consider cotton-poly mixes.
Remember, your produce needs to breathe too!
Pick fabrics that’ll keep your greens fresh and your conscience clear.
Constructing Drawstring Casings
Ready to create a nifty drawstring casing for your produce bag?
Fold the top edge down 1.5 inches and stitch 1.25 inches from the fold.
For a snug fit, adjust the casing size to your drawstring width.
No free-arm machine? No problem!
Loop the fabric above the machine bed for easier sewing.
Remember, practice makes perfect – you’ll be cinching those bags shut in no time!
Adding Reinforced Seams for Durability
While creating your eco-friendly produce bags, don’t let flimsy seams spoil your zero-waste efforts!
Reinforce those stress points for bags that’ll last through countless shopping trips.
Here’s how to beef up your seams:
- Double-stitch seam lines for extra strength
- Apply seam reinforcing tape for a professional touch
- Add bar tack stitches at high-stress areas
These mindful stitching techniques will transform your bags into durable, ethical shopping companions.
Remember, a stitch in time saves nine – and a whole lot of plastic!
Incorporating Mesh Panels for Visibility
Now that you’ve reinforced your produce bags, it’s time to add a window to your world!
Incorporating mesh panels lets you peek at your goodies without unpacking.
Sew these see-through sections strategically for a bag that’s both functional and fabulous.
You’ll be the talk of the farmer’s market with your crystal-clear creations!
| Mesh Type | Visibility | Durability |
|---|---|---|
| Light Knit | High | Moderate |
| 3D Mesh | Medium | High |
| Netting | Very High | Low |
| Tulle | High | Low |
| Power Mesh | Medium | High |
Choose a mesh that strikes the right balance between strength and transparency.
Remember, you’re not just sewing – you’re crafting a peek-a-boo produce paradise!
DIY Laptop Sleeve With Padding Protection
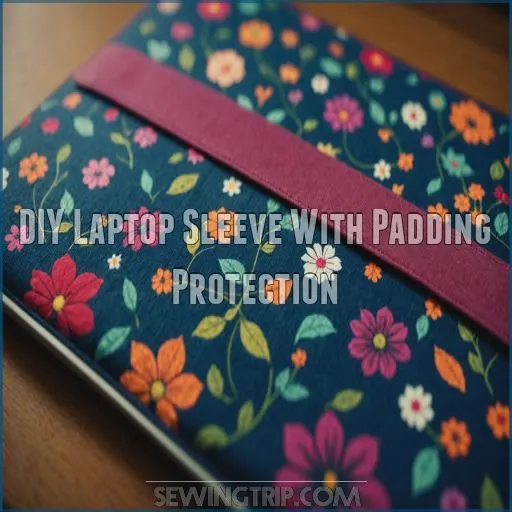
Protect your laptop in style with a custom-made sleeve that’s both functional and fashionable.
You’ll learn how to measure your device, add cushioning, and create a secure closure, all while putting your sewing skills to the test.
Measuring Your Device for a Custom Fit
Your laptop’s dimensions are the key to a perfect fit.
Grab your trusty measuring tape and jot down the length, width, and depth.
Add an extra inch all around for wiggle room and seam allowance.
Don’t forget to measure any bulky parts like the hinge or battery.
This custom fit guarantees your device stays snug and protected, giving you peace of mind while you’re on the go.
Layering Foam or Batting for Cushioning
Cushioning wizardry transforms a simple laptop sleeve into a cozy cocoon for your digital companion.
Let’s explore foam and batting to create the perfect padding protection.
For projects requiring microwave-safe insulation, consider using Wrap and Zap Batting, which offers excellent moisture-trapping abilities and even heating.
Here’s your quick guide to layering like a pro:
- Choose your cushioning material: High-density foam for firm support or soft batting for a plush feel
- Measure twice, cut once: Trim foam to fit snugly inside your sleeve dimensions
- Layer it up: Combine different thicknesses for customized protection
- Quilt for extra oomph: Stitch through layers to prevent shifting and add style
Remember, the right cushioning turns your DIY sleeve from meh to marvelous!
Creating a Secure Closure System
Let’s lock down that laptop sleeve!
With your padding in place, it’s time to keep your tech snug as a bug.
Choose from a buffet of closures: zippers for a smooth glide, magnetic snaps for that satisfying click, or hook and loop for quick access.
Sewing in buttonholes? It’s like giving your sleeve a fancy shirt collar.
Remember, a secure closure isn’t just practical – it’s your ticket to gadget peace of mind.
Adding Pockets for Accessories
Frequently, a laptop sleeve begs for extra storage.
Boost functionality by adding pockets for accessories.
Choose pocket styles that fit your needs – zippered for security or open for quick access.
Play with pocket sizes to accommodate chargers, mice, or notebooks.
Strategically place pockets for easy reach.
For a personal touch, use selvage edges or fancy stitches.
You’re sewing for purpose and sharing your creativity with the community!
Cute and Practical Fabric Key Fobs
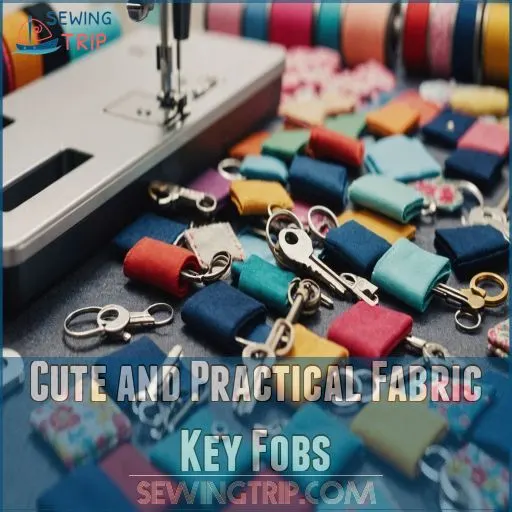
You’ll love making these adorable fabric key fobs that add a pop of personality to your keychain.
They are a practical and stylish accessory that’s perfect for gifts or keeping your own keys organized.
With just a few simple steps, you can create them.
Preparing Fabric Strips and Interfacing
From start to finish, preparing fabric strips and interfacing for key fobs is a breeze! You’ll be cutting like a pro in no time. Ready to get started? Here’s your game plan:
- Square up your fabric edges for perfect strips
- Cut strips to desired width using a rotary cutter and ruler
- Choose fusible interfacing for added structure
- Press interfacing onto fabric, following grain alignment
Remember, precise cutting is key to fab fobs!
Attaching Hardware and Key Rings
Now that your fabric’s prepped, it’s time to add some bling, and the right sewing attachments like presser feet for precise stitching.
Grab your key fob hardware and rings – they’re like jewelry for your keys.
Fold your fabric strip in half, tucking the ends into the clamp.
Use pliers to pinch it shut, making sure those pointy bits grab hold. It’s like giving your fabric a tiny bear hug!
Your keys will thank you for their stylish new home.
Topstitching for a Professional Finish
Ready to take your key fobs up a notch? Let’s jazz them up with some snazzy topstitching! This pro technique will make your fobs look store-bought (but way cooler).
Here’s how to nail it:
- Choose a contrasting thread color for extra pop
- Set your machine to a longer stitch length for visibility
- Use the edge of your presser foot as a guide for even lines
Remember, slow and steady wins the race. You’ve got this!
Personalizing With Embroidery or Appliqué
Let’s jazz up those key fobs! You’ve got the basics down, now it’s time to make ’em truly yours. Embroidery and appliqué are your secret weapons for adding personality. Check out these fun ideas:
| Technique | Personalization Ideas |
|---|---|
| Embroidery | Monograms, cute quotes |
| Appliqué | Felt shapes, fabric scraps |
| Thread Colors | Match outfits, rainbow hues |
| Fonts | Playful script, bold block |
| Designs | Flowers, animals, symbols |
Mix and match to create key fobs that’ll make you smile every time you grab your keys!
Easy-sew Phone Stand Pillow for Comfort
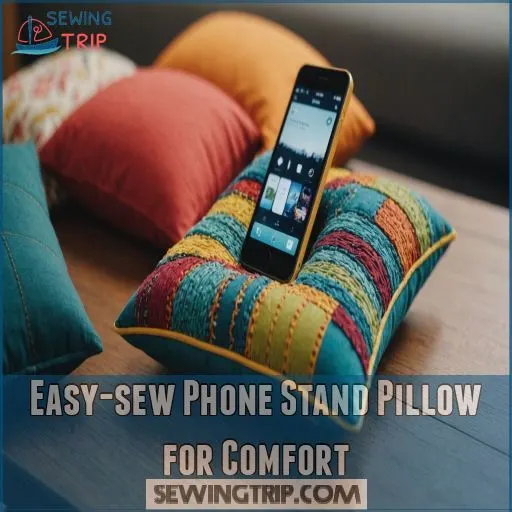
You’ll love this comfy phone stand pillow that’s a breeze to sew.
It’s the perfect project to keep your device propped up while you relax or work.
With an angled design for easy viewing and a non-slip base, it’s the perfect project to keep your device propped up while you relax or work.
Designing an Angled Structure for Viewing
You’ve mastered key fobs, so why not take your sewing skills up a notch?
Create a cozy phone stand pillow that’ll have your device sitting pretty.
The secret’s in the angled design.
Cut your fabric into a triangle shape, leaving room for a sturdy base.
This clever structure props up your phone at the perfect viewing angle, making hands-free scrolling a breeze.
It’s like a mini La-Z-Boy for your gadgets!
Stuffing Techniques for Optimal Support
Now that you’ve got the perfect angle, it’s time to give your phone stand some oomph!
Grab your stuffing materials and let’s make this pillow comfy and supportive.
Start by adding small amounts of fiberfill, working it into corners with a chopstick (Source).
Massage as you go for even distribution.
Aim for a firm density that’ll keep your phone steady.
Remember, patience is key – your fingers are your best tools for detecting lumps.
Adding Non-slip Base for Stability
Slipping and sliding won’t be an issue with your new phone stand pillow.
Consider investing in a multi-functional piece of furniture, such as a portable extension table with a hidden drawer for extra workspace like those found in sewing room ideas for comfort.
Add a non-slip base to keep it firmly in place.
Choose grippy fabric like faux suede or attach rubber dots for extra traction.
For a DIY solution, sew a layer of shelf liner to the bottom.
Your phone will stay put, even during those marathon video chats with your bestie!
Incorporating a Pocket for Charging Cables
Let’s power up your phone stand pillow with a handy charging cable pocket!
This nifty addition will keep your cords tidy and within reach.
Here’s how to make it happen:
- Choose a fabric that complements your pillow design
- Cut a pocket slightly larger than your charging cable
- Place the pocket where it’s easy to access
- Sew the sides and bottom, leaving the top open
- Add a flap to keep cords secure
Fashionable Scrunchies Using Fun Fabric Prints
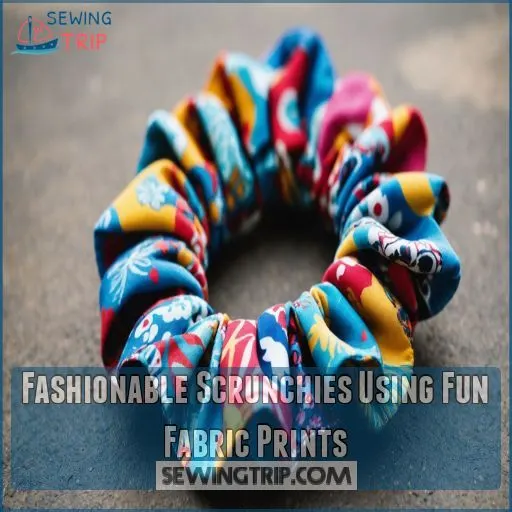
You can create simple fabric bookmarks with literary themes, nature-inspired designs or geometric patterns using your sewing machine, which is one of the many quick scrap fabric projects to try. You’ll love whipping up trendy scrunchies with your favorite fabrics on your sewing machine.
These fun hair accessories are quick to make.
They let you add a personal touch to your style or create perfect handmade gifts.
Cutting Fabric Strips to Size
Ready to make some fabulous scrunchies? Grab your fabric and let’s get cutting!
First, measure and mark your fabric strip width – aim for about 4 inches wide and 22 inches long.
Line up your ruler with these marks, making sure it’s square with the fabric grain.
Then, slice through with your rotary cutter in one smooth motion.
Remember, accuracy is key for that perfect scrunchie shape!
Inserting Elastic for Gathering
Gathering your fabric with elastic is the secret to scrunchie magic.
Thread a safety pin onto your elastic and guide it through the casing.
Pull gently to create those perfect gathers.
Adjust the elastic tension for your desired look – tighter for a bouncy scrunch or looser for a relaxed vibe.
Secure the elastic ends with a zigzag stitch.
Voila! You’re on your way to scrunchie stardom.
Creating Different Scrunchie Styles and Sizes
Fabric choices can make or break your scrunchie game.
Mix it up with oversized styles for a bold statement.
Play with sizes by adjusting your fabric rectangles: 18" x 3" for mini, 28" x 4" for classic, and 40" x 6" for jumbo scrunchies.
Try different sewing techniques like the "magic trick" method to create unique looks.
You’ll be a scrunchie pro in no time, crafting perfect hair accessories for every outfit and occasion.
Adding Embellishments Like Bows or Charms
While your scrunchie’s already a head-turner, let’s jazz it up!
Sew on a petite bow for a touch of whimsy, or attach a charm for some sparkle.
Choose embellishments that match your style – maybe a tiny tree charm for nature lovers.
Remember, less is more with charm placement.
For bow size, think Goldilocks – not too big, not too small.
You’ll be rocking trendy hair in no time!
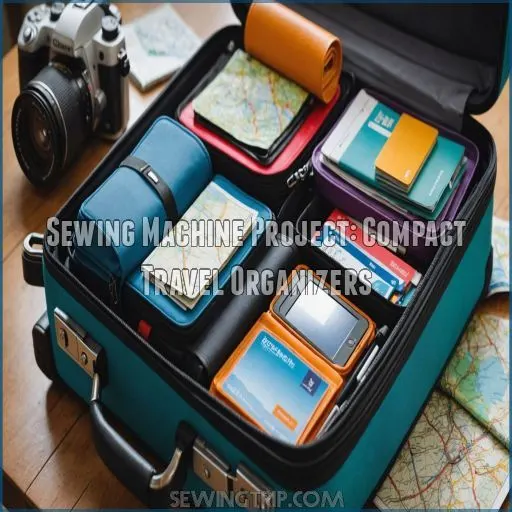
Sewing Machine Project: Compact Travel Organizers
Keep your travel essentials organized with a compact, customized travel organizer you can sew yourself.
You’ll learn how to create multiple compartments, incorporate clear vinyl for visibility, add hanging loops, and use water-resistant fabrics for a practical and stylish solution to your travel needs.
Designing Multiple Compartments for Efficiency
Let’s turn your travel chaos into organized bliss!
Sketch out compartments on paper first – think of it like a game of Tetris.
Measure your must-have items and design pockets to fit.
Mix up sizes for versatility.
Strategically place zippers for easy access.
Create internal dividers using sturdy fabric or interfacing.
Don’t forget a secure closure to keep everything snug.
With smart compartments, you’ll be the master of your travel domain!
Incorporating Clear Vinyl for Visibility
Peek-a-boo! Your travel organizer just got a see-through makeover.
Add clear vinyl pockets to keep essentials visible and within reach.
Cut vinyl slightly larger than your pocket size, leaving room for seams.
Sandwich it between your fabric layers and stitch carefully.
Use a Teflon foot or tissue paper to prevent sticking.
You’ll breeze through security checks and find what you need in a flash!
Adding Hanging Loops or Hooks
Every travel organizer needs a handy way to hang up.
You’ll love adding loops or hooks to your compact creation.
Here’s how to make your organizer ready for action:
- Choose sturdy materials like twill tape for durable loops
- Place loops strategically – corners work well for balance
- Reinforce attachment points to distribute weight evenly
Measure twice, sew once!
With these tips, your organizer will be hanging pretty in no time.
Remember, a well-placed loop is your ticket to tidy travels.
Using Water-resistant Fabrics for Toiletries
For your DIY wash bags, go for water-resistant fabrics like PUL or TPU (Source).
These fabrics are your best friends against spills and moisture.
Choose lightweight options that’ll keep your toiletries dry without weighing down your luggage.
Sew with care, using waterproof thread and sealing your seams.
You’ll create a travel companion that’s as adventurous as you are, ready to take on any bathroom mishap!
Miniature Stuffed Animals for Quick Gifts
Create adorable miniature stuffed animals that’ll make perfect quick gifts for your loved ones.
You’ll learn to work with small-scale fabrics and master tight curves, turning tiny toys into heartwarming surprises that’ll bring smiles all around.
Selecting Appropriate Fabrics for Small-scale Sewing
Ready to jump into the fabric-filled world of miniature stuffed animals?
Let’s talk about choosing the perfect materials for your tiny creations.
Opt for lightweight cotton or flannel with a soft drape (Source).
These fabrics are easy to work with and hold their shape well.
Look for colorfast options to make sure your little friends stay vibrant.
Remember, with these pint-sized pals, small-scale prints are your best bet.
Mastering Tight Curves and Small Seam Allowances
Now that you’ve got your fabric, let’s tackle those tricky curves!
Imagine you’re steering a tiny sewing machine car around a racetrack.
Go slow and steady, keeping your needle down as you navigate corners.
For sharp turns, try using narrower piping – it’s your secret weapon.
Remember, practice makes perfect.
Soon you’ll be zipping around curves like a pro, creating the cutest miniature stuffed animals in town!
Techniques for Turning and Stuffing Tiny Pieces
Anyone can master the art of turning and stuffing tiny pieces for adorable miniature stuffed animals.
Start stuffing parts furthest from the opening, like toes or tails.
Use a drinking straw to turn narrow shapes inside out.
Gently push stuffing into small areas with your pinky finger or a crochet needle.
Don’t overstuff – aim for firm but cuddly.
With practice, you’ll be crafting pocket-sized pals in no time!
Adding Safety Features for Child-friendly Toys
With your adorable miniature stuffed animals all stuffed and turned, let’s make sure they’re safe for little hands.
You’ve put your heart into these cuddly creations, so let’s go the extra mile to keep kiddos safe.
To avoid any mistakes, start by choosing the right fabric for your project, such as soft and cuddly materials for stuffed animals.
Securely stitch on eyes and noses to prevent choking hazards.
Use flame-resistant fabrics to meet toy safety regulations.
Double-check all seams for strength to avoid stuffing spills.
Remember, safety is the best gift you can give along with your lovingly crafted toy!
Frequently Asked Questions (FAQs)
What are easy sewing projects?
You’ll love these beginner-friendly sewing projects!
Start with pillowcases or simple tote bags.
Try a zippered pouch for a fun challenge.
Feeling adventurous? Whip up a cute reading pillow or embellish a plain tee.
Happy stitching!
Are there any beginner sewing projects?
Start with beginner-friendly projects like padded headbands, zipper pouches, or simple tote bags.
These fun, easy projects will boost your confidence and sewing skills in no time!
Start with pillowcases or baby burp cloths for quick wins.
What are the best home decor sewing projects for beginners?
Start your home decor journey with easy projects like fabric napkins, coasters, or table runners.
They’re quick wins that’ll boost your confidence.
For a cozy touch, try sewing pillowcases or simple throw pillows.
You’ll transform your space in no time!
What are some good ideas for small sewing projects?
Imagine this: a cozy afternoon crafting adorable fabric pumpkins.
Small sewing projects often start with simple stitches and techniques, such as those found in hand sewing lessons for beginners. Small sewing projects are perfect for beginners.
Try zippered pouches, drawstring bags, or pincushions.
These quick wins boost your skills and create charming gifts.
Let’s stitch up some joy!
What is the easiest thing to sew on a sewing machine?
You’ll love making a simple drawstring bag!
It’s a breeze to sew and perfect for beginners.
Just grab some fabric, thread your machine, and you’ll have a cute, functional pouch in no time.
Let’s get stitching!
What can I make as a beginner in sewing?
In a world of endless possibilities, you’re about to explore a treasure trove of creativity!
Jump into pillowcases, tote bags, or simple skirts.
They’re beginner-friendly projects that’ll boost your confidence and have you stitching like a pro in no time.
What is the easiest piece of clothing to sew?
Start your sewing journey with a simple woven T-shirt.
It’s a breeze to make and doesn’t require fancy techniques.
Choose cotton lawn fabric – it’s lightweight and easy to handle under the needle.
You’ll be stitching up a storm in no time!
What can you make with a handheld sewing machine?
Big projects, small machine? Don’t fret!
Your handheld sewing companion can craft charming hair clips, elegant brooches, and even tasty play food.
Whip up pocket-sized patchworks or embellish garments with decorative stitches.
Let your creativity run wild, one tiny stitch at a time!
How to adjust thread tension for delicate fabrics?
Dial down the tension to a lower setting, usually around 2 or 3, to avoid puckering delicate fabrics.
Make sure your machine is correctly threaded, and use a fine needle for best results.
Can I sew leather on a regular machine?
You can sew leather on a regular machine by making a few tweaks!
Use a leather needle, a Teflon foot, and adjust your stitch length.
Take it slow, and you’ll create something fabulous.
Whats the best stitch for stretchy materials?
Try the lightning bolt stitch – it creates a super stretchy seam without excessive stitching showing on the outside.
For an even stronger stretch, use a triple stitch.
Experiment to find your favorite!
How to prevent fabric puckering while sewing?
Picture smooth, flowing seams with these tips: use a walking foot, stabilize fabric with tissue paper, and adjust tension settings.
Opt for finer threads and needles.
Press seams after stitching for perfect, pucker-free results every time.
Which needle type for sewing through multiple layers?
Consider using a Sharp or Quilting needle for multiple layers.
They’re strong and sharp, perfect for thick fabrics.
Sharpen your sewing skills with confidence, like threading a needle with your eyes closed! .
Conclusion
Did you know that over 70% of sewing enthusiasts enjoy making small items with their machines?
These quick sewing machine projects for small items are perfect for boosting both creativity and confidence.
By crafting practical things like a cozy mug warmer or a handy zipper pouch, you’re mastering skills while creating useful items.
Each project offers a touch of fun and satisfaction as you transform scraps into everyday essentials.
Keep stitching and watch your sewing skills soar!

