This site is supported by our readers. We may earn a commission, at no cost to you, if you purchase through links.
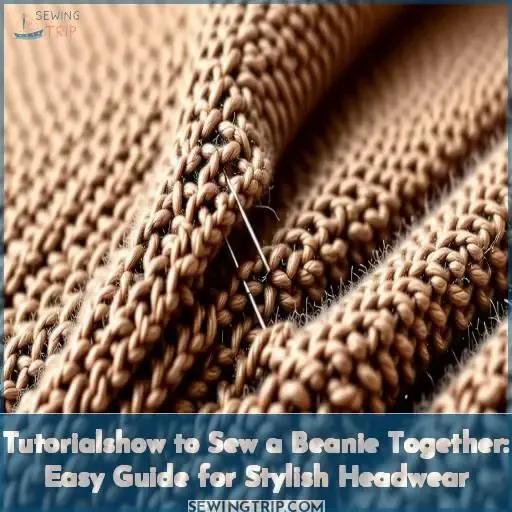 To sew a beanie together, start by cutting out the pattern pieces for the main fabric and lining.
With right sides facing, pin the fabric pieces and sew the darts.
Then match up the darts along the top edge, leaving a small opening. Stitch this seam.
Turn the beanie right side out through the opening and slip stitch it closed.
For a tutorial on how to do this with ease, pay close attention to the fabric choice, pattern details, and sewing techniques.
By following the step-by-step instructions carefully, you’ll end up with a stylish, custom-fitted beanie to keep you warm all season long.
Table Of Contents
Key Takeaways
- Choose the right fabric – Opt for light- to mid-weight fabrics with minimal stretch, such as jersey knits, French terry, or fleece, to ensure a snug and comfortable fit.
- Master the beanie pattern – Understand the basic beanie pattern, including dividing the rectangle, adding darts, and shaping the top for a polished look.
- Explore beanie variations – Experiment with different techniques like gathers, ears, and flowers to create unique and personalized beanies.
- Achieve a professional finish – Properly line the beanie, use a serger for knit fabrics, and pay attention to seam construction for a high-quality result.
Beanie Materials
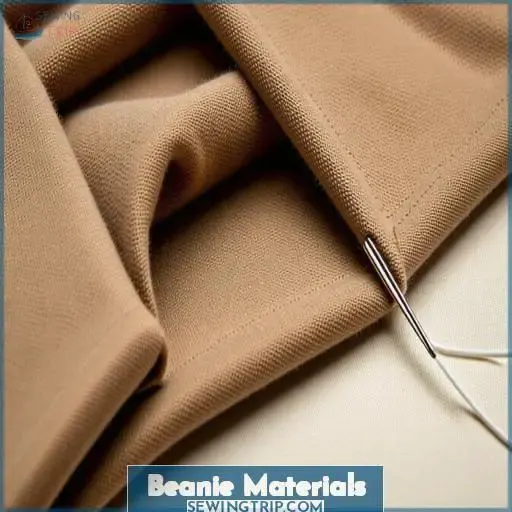
When sewing a beanie, you’ll want to choose light- to mid-weight fabrics with minimal stretch.
Avoid itchy wool blends and opt for softer, more comfortable materials like jersey knits or fleece.
The fabric should have enough stretch to fit snugly around your head, but not so much that the beanie loses its shape.
Sweater knits, French terry, double brushed polyester, waffle knit, and plush fabrics all make excellent choices.
The key is selecting a fabric that’s twice the height of your beanie pattern piece to guarantee you have enough material to work with.
With the right fabric, you’ll be well on your way to creating a stylish and cozy beanie.
Basic Beanie
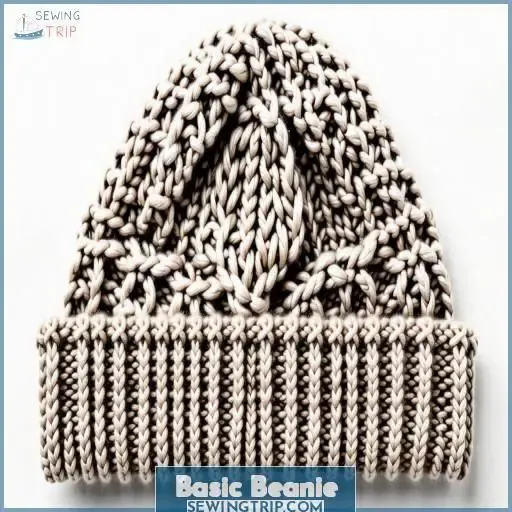
For the basic beanie pattern, you’ll create a rectangle with a height of 20cm and a width equal to half your head circumference minus 1cm. Divide the rectangle into four even sections and draw a horizontal guideline 11cm from the top, then sketch smooth, continuous curves connecting the corners to form the beanie shape.
Basic Beanie Pattern
The basic beanie pattern is a simple rectangle with a height of 20cm and a width equal to half your head circumference minus 1cm. Divide the rectangle into 4 even spaces and add a horizontal guideline 11cm from the top. Draw smooth curves to create the beanie shape, aiming for right angles at the top.
Sew a Beanie
To sew a basic beanie, start by cutting the main fabric and lining into matching rectangles.
Fold the sides towards the center, right sides together, and sew the darts.
Match the darts on top, pin the edge, and leave a 3-4 cm opening to turn the beanie right side out.
Stitch the seam, turn, and hand-stitch the opening closed.
Shape the beanie with the darts inside.
Basic Beanie Pattern Version 2
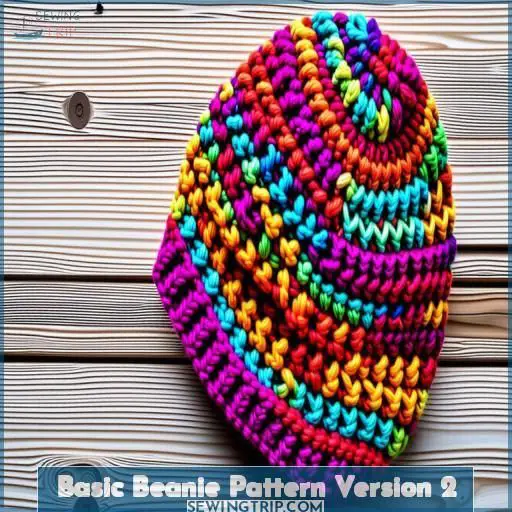
The Basic Beanie Pattern Version 2 offers a slightly different approach to creating the classic beanie shape. Rather than dividing the rectangle evenly into four sections, this version first splits it in half, then each half into three. This results in larger side seam darts covering two-thirds of the area, while the front and back darts cover the remaining third.
The longer darts, measuring 10cm for the front and back and 12cm for the sides, create a more sculpted silhouette. Be sure to add guide marks along the dart lines before drawing the curves for a smooth, continuous shape. As always, mirror the pattern piece to get the full head circumference.
- Explore different fabric choices like sweater knits, French terry, or waffle knit for unique textures.
- Pay close attention to the dart construction for a polished finish.
- Consider the placement of the darts and how they’ll impact the overall beanie shape.
- Finish seams neatly with a serger or narrow zigzag stitch.
- Don’t forget to line the beanie for a professional look and feel.
Sew a Beanie With Ears
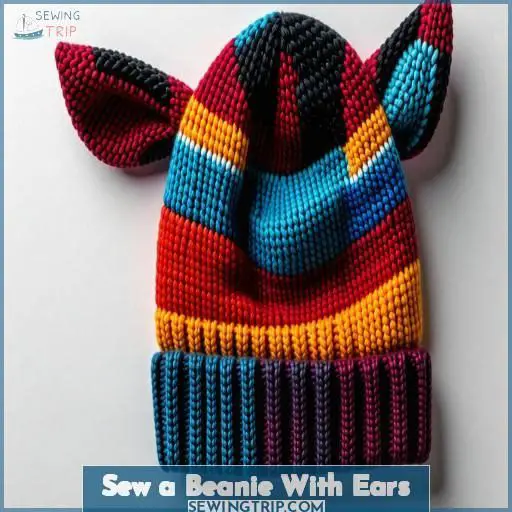
You’ll start by creating the ear pattern piece.
Draw an ear shape inside a rectangle, using the beanie pattern’s lower curve as a guide.
Make the back side slightly larger.
Add a pleat to the front.
Next, you’ll pin and stitch the ears into the side seam darts before closing the seams.
Then attach the lining to flatten the ear seams.
The Beanie Ear Pattern
To create the beanie ear pattern, draw an ear shape inside a rectangle using the lower curve of the beanie pattern.
Make the back side of the ear slightly larger.
Add a pleat to the front side.
Pin and stitch the ears into the side seam darts before closing the seams.
Attach the lining to the main layer where the ears are to flatten the seams.
The Sewing
Next, it’s time to sew your beanie with ears.
Start by pinning and stitching the ears into the side seam darts before closing the seams. This will help the ears lay flat.
To further flatten the seams, attach the lining to the main layer where the ears are sewn.
Finally, complete the beanie as normal by closing the front and back seams.
Fancy Beanie With Gathers
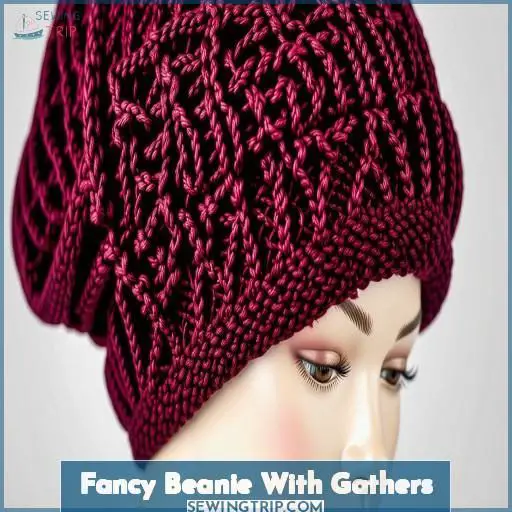
To create a fancy beanie with gathers, start by separating the front and back sections of the basic beanie pattern version 2. Add notches to the front section where you want the gathers to be. Measure the seam length between the notches, then use the slash and spread method to add extra volume to the front section. Gather the front seam between the notches** until you reach your target measurement.
Next, unite the main layer and lining along the hemline, leaving a small hole to turn the beanie right-side out. Sew the layers together, then turn the beanie and hand-stitch the opening closed. The gathers will add a stylish, gathered look to your beanie, perfect for pairing with a cozy french terry or plush fabric.
Make a Slouchy Beanie
Now that you’ve mastered the basics of beanie construction, let’s explore the art of creating a slouchy beanie.
This relaxed, oversized style is perfect for adding a touch of effortless cool to any outfit.
When selecting fabrics, opt for lightweight and stretchy options like double brushed polyester or sweater knits.
The key is to choose a material that will drape beautifully without adding bulk.
For the pattern, aim for a slightly larger circumference and longer length than a traditional beanie.
Experiment with different variations, such as adding gathers or playing with the brim shape, to achieve your desired slouchy look.
With a bit of creativity and the right fabric, you’ll be rocking a stylish slouchy beanie in no time.
Beanie With a Flower
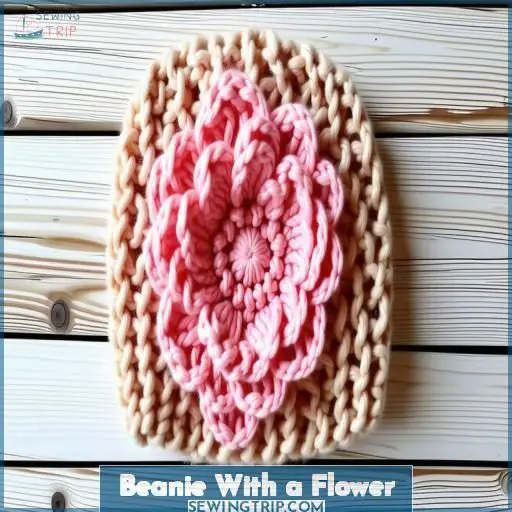
Let’s finish this round with a flower beanie. As a base, you’ll use the first beanie pattern. Separate the lining from the main fabric, as the flower will be part of the regular beanie. This makes it a bit bulkier, so you could skip this step if you prefer a sleeker look.
To create the flower, choose a lightweight, pliable fabric like waffle knit or brushed polyester. Cut out a simple flower shape, then gather the center using a few stitches. Attach the flower to the side of the beanie, either by hand-stitching or using a small amount of fabric glue. Play with placement and size to find the perfect look. The flower adds a charming, personalized touch to your cozy beanie.
Beanie Sewing Pattern
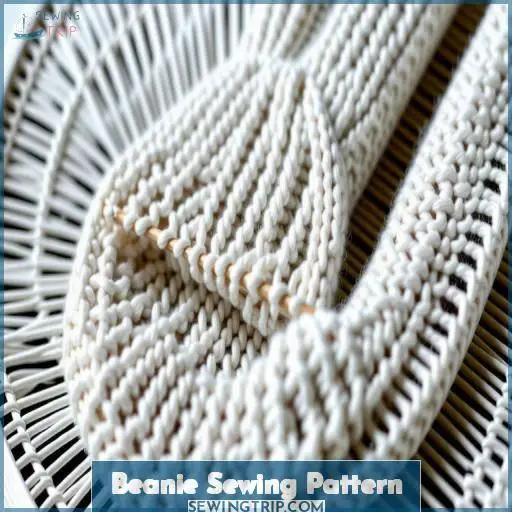
For a cozy and professional-looking lined beanie, consider fabrics like sweater knits, French terry, or double-brushed polyester that provide warmth and a touch of luxury. To construct your lined beanie, first sew the sides of the main and lining fabrics separately, then attach them together along the bottom edge, leaving a small opening to turn the beanie right-side out.
Fabric Recommendations for a Lined Beanie
When sewing a lined beanie, choose fabrics that provide warmth and breathability. Opt for stretchy knits like sweater knits, French terry, or double brushed polyester. Wool blends like windpro stretch or power wool are excellent choices. Use a serger like the Babylock Acclaim for a professional finish on knit fabrics. The lining adds an extra layer of coziness.
How to Sew a Lined Beanie
To sew a lined beanie efficiently, select appropriate lining materials such as jersey or stretchy fleece. Securely attach the lining to the main fabric, ensuring a firm connection. Stitch the lining with suitable seam allowances to maintain durability. Emphasize neat and durable stitching when joining the fabrics to enhance the beanie’s longevity and quality.
Pattern Instructions
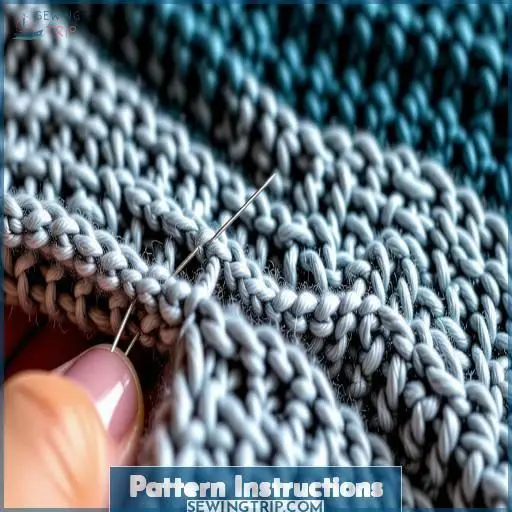
You’ll need a few simple materials to create the beanie pattern: paper, a pencil, a ruler, and a geometry compass. Start by drawing a rectangle on the paper based on your desired head circumference and beanie length, then use the ruler and compass to mark the shaping lines and curve the top into the classic beanie silhouette.
Material Required for Making the Pattern
To make the beanie pattern, you’ll need paper, a pencil, and a geometry compass. Choose a stretchy knit fabric like jersey or fleece that has good stretch. The fabric length depends on the desired beanie length, with a maximum of 65 cm. Make sure to select a thread color that matches your fabric.
Completed Pattern for the Beanie
To create a completed pattern for the beanie, follow the measurements specified for the head circumference and fabric usage.
Use the provided guidelines to design the beanie shape.
Ensure that the fabric is twice the height of the pattern piece to minimize fabric usage.
Make use of the horizontal guideline.
Divide the rectangle into sections.
Add the necessary 5cm for the folded brim.
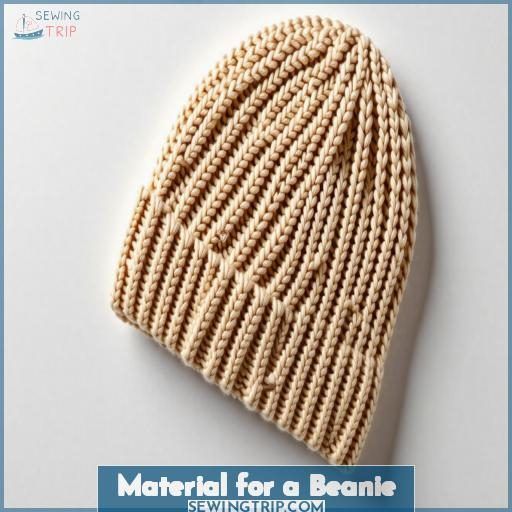
Material for a Beanie
For sewing a beanie, you must use fabrics with good stretch, like jersey knits, ribbed knits, or stretchy fleece. It’s essential to consider the direction of maximum stretch in the fabric as it will impact the beanie’s fit and shape when sewn.
Use Only Stretch Fabrics
When sewing a beanie, it’s essential to use only fabrics with stretch.
These fabrics, like jersey, fleece, or knit, will enable the beanie to comfortably fit your head and move with you.
Avoid fabrics that are rigid and don’t stretch, as they won’t offer the necessary flexibility for a well-fitting, stylish beanie.
The fabric’s stretch is critical for attaining a perfect fit that’s just for you.
Pay Attention on Which Direction the Fabric Stretches
When working with stretchy fabrics for your beanie, it’s important to pay attention to the direction in which the fabric stretches. Here’s how to determine fabric stretch direction for sewing a beanie:
- Examine the fabric closely to identify the direction with the most stretch.
- Align the pattern pieces with the direction of greatest stretch to achieve a snug fit.
- Keep the relevance of stretch direction in mind when cutting and sewing your beanie pattern.
- Always match the stretch direction of the fabric with the intended design of the beanie.
End Result – the Beanie
Once you’ve sewn your beanie, the final result should be a stylish and comfortable headpiece that keeps you warm.
Experiment with beanie embellishments like pom-poms or ear flaps to add a personal touch.
Make sure the sizing is just right by measuring your head and adjusting the pattern as needed.
For extra coziness, consider lining the beanie with a soft fabric.
The possibilities are endless when it comes to beanie variations and accessories – get creative!
Frequently Asked Questions (FAQs)
How to stitch top of beanie together?
You may be intimidated, but stitching the top is easy! First, pin the darts together. Then, stitch from the top down, stopping 3-4 cm before the end. Master this technique, belonging to the beanie aficionados!
How to sew the end of a beanie?
Leave a small gap when stitching the top. Using a needle, weave the yarn’s tail through the opening, tugging gently to close. Knot the end securely inside the hat.
What stitch is best for a beanie?
You’ll want to use a stretchy zigzag stitch for sewing a beanie. It allows the fabric to stretch while keeping the seams secure and durable.
How to sew up knitted hats?
With a stitch in time, you’ll have that knit hat sewn up. Grab your darning needle and yarn, leaving tails to weave in later. Whipstitch the seam together firmly, keeping tensions even all around. A nicely-sewn knit beanie never goes out of style.
How do I choose the right size beanie for my head?
To choose the right beanie size, measure your head’s circumference just above the ears with a flexible tape measure. Compare this to size charts provided by beanie makers – most fit 20-24 heads.
What are some tips for getting a snug, comfortable fit?
Embrace your inner tailor: For a snug, cozy beanie, measure your head’s circumference precisely. When stitching, gently stretch the fabric for a sleek, form-fitting look that keeps you warm without restricting.
Can I use a sewing machine or is hand-sewing required?
You can use a sewing machine to sew a beanie! Stretchy fabrics like jersey or fleece work best. Just leave a small opening to turn it right-side out after stitching. Hand sewing is an option too if you prefer.
How do I add embellishments or personalize my beanie?
Check this out: 93% of handmade items get personalized! Add embroidery, patches, or charms for extra flair—your beanie will truly pop. Draw designs, sew on buttons, or applique shapes for a totally unique look that represents your style.
What are some common mistakes to avoid when sewing a beanie?
Don’t stretch fabrics excessively during construction. Maintain even tension – too loose causes sagging, too tight leads to puckering. Avoid skipping lining for a professional finish.
Conclusion
Whether you’re an experienced sewist or a beginner, sewing a beanie is a fulfilling experience that will shield your head from the cold like a comforting hug.
This tutorial has equipped you with the expertise to craft fashionable headwear that aligns with your tastes.
Delight in the pleasure of creating by exploring different fabrics, designs, and techniques – the options are limitless.
You’ll soon be donning your self-made beanie with a sense of accomplishment, a symbol of your newly acquired abilities.
- sewingfromhome.com

