This site is supported by our readers. We may earn a commission, at no cost to you, if you purchase through links.
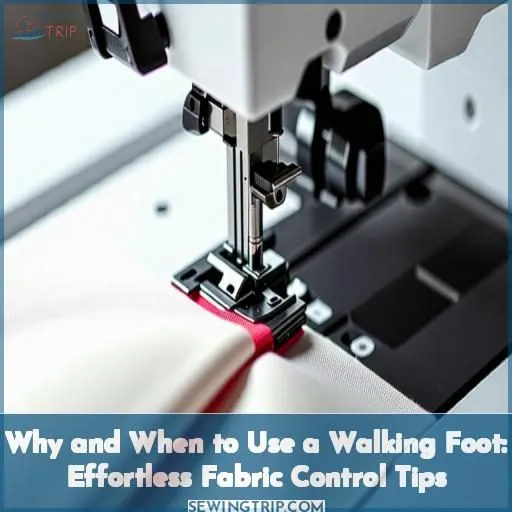
This specialized presser foot grips the top layer while feeding layers evenly, preventing puckering, shifting, and uneven feeding.
It’s a game-changer for quilting, binding, bags, or any project requiring layer alignment.
While it requires a slower pace and can’t handle curves or reverse stitching easily, the walking foot guarantees fabric control, eliminating drag lines and keeping layers together.
Master this nifty tool, and you’ll achieve effortless fabric handling.
Table Of Contents
- Key Takeaways
- Why and When to Use a Walking Foot on Your Sewing Machine?
- What is a Walking Foot?
- When to Use a Walking Foot
- Benefits of Using a Walking Foot
- Setting Up Your Walking Foot
- Limitations of a Walking Foot
- Types of Walking Feet
- Caring for Your Walking Foot
- Troubleshooting Walking Foot Issues
- Frequently Asked Questions (FAQs)
- Conclusion
Key Takeaways
- Unleashing the power of a walking foot is akin to gaining a superhero sidekick for your sewing machine. It’s the ultimate fabric-taming tool, ensuring layers glide in perfect harmony, preventing pesky puckering and shifting that can ruin even the most meticulously planned project.
- When tackling thick fabrics, quilting, or taming unruly materials like slippery silks or stubborn knits, a walking foot is your secret weapon. It’s like having an extra set of hands, gripping the top layer while the feed dogs handle the bottom, creating a seamless dance of even feeding and alignment.
- Imagine trying to herd a pack of rambunctious kittens – that’s what matching plaids and stripes can feel like without a walking foot. But with this trusty companion, you’ll achieve pattern-matching prowess that would make a seasoned quilter jealous.
- Don’t let the walking foot’s limitations deter you! Sure, it may not be the best choice for decorative stitches or tight curves, but with a bit of patience and practice, you’ll navigate those challenges like a pro. And let’s be real, nothing worth having comes without a little effort, right?
Why and When to Use a Walking Foot on Your Sewing Machine?
A walking foot is used on a sewing machine to evenly feed multiple fabric layers, prevent shifting and puckering, and facilitate smooth stitching on challenging fabrics like knits, slippery fabrics, and when matching plaids or stripes. It’s especially useful for sewing thick fabrics, quilting, and topstitching to avoid drag lines.
To use a walking foot, install it by removing the presser foot shank, placing the claw on the needle bar, and screwing the shank back onto the machine. While a walking foot provides excellent fabric control, it has some limitations like slower sewing speed and difficulty turning curves.
What is a Walking Foot?
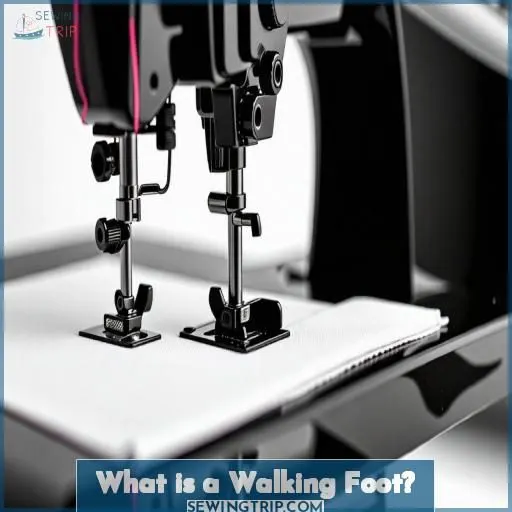
A walking foot, also known as a quilting foot attachment, is an essential tool for managing fabric layers effectively.
It assists in maintaining even stitches and feed speed, especially useful for specialty fabrics like leather.
This attachment enhances visibility during sewing, prevents fabric shifting, and provides consistent fabric feed.
Additionally, walking foot accessories are important for proper storage and care to maintain their functionality and performance over time.
When to Use a Walking Foot
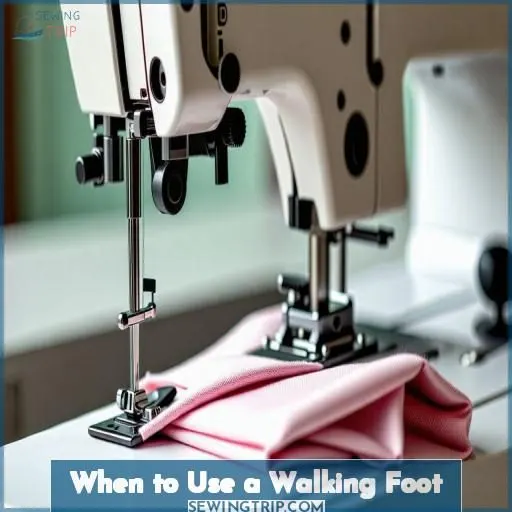
A walking foot is an essential tool when sewing multiple fabric layers or working with challenging materials like knits, slippery fabrics, and plaids or stripes that need to be matched. It prevents puckering, shifting, and uneven feeding, making it ideal for quilting, sewing bindings, bags, or any project where keeping layers aligned is critical.
Sewing Multiple Fabric Layers
The walking foot‘s extra feed dogs make sewing multiple fabric layers a breeze. Attach sew-in interfacing smoothly, quilt soft luggage, and prevent fabric pushing when working with heavy fabrics and thick layers.
Matching Plaids, Stripes, and Prints
To achieve precise plaid alignment and stripe matching, use a walking foot for fabric control in quilting. This attachment ensures even feeding, aiding in matching stripes and maintaining print precision.
Sewing Knits to Prevent Stretching
When sewing knit fabrics to prevent stretching, a walking foot aids in even stitching and prevents unwanted fabric stretching. Consider using a walking foot for delicate and stretchy fabrics for precise and professional results.
- Provides even stitching
- Prevents stretching
- Ideal for delicate fabrics
- Suitable for stretchy materials (Source)
Sewing Slippery Fabrics
Sewing slippery fabrics like silk or satin requires a walking foot to prevent shifting and guarantee even feeding. Adjust tension if needed and use a sharp needle to avoid fabric damage.
Stitch-in-the-ditch Machine Quilting
Stitch-in-the-ditch quilting requires precision. A walking foot keeps fabric aligned, ensuring even stitches. Choose this presser foot for:
- Quilting binding
- Bulky fabrics
- Straight stitching
- Stitch in the ditch guides
Benefits of Using a Walking Foot
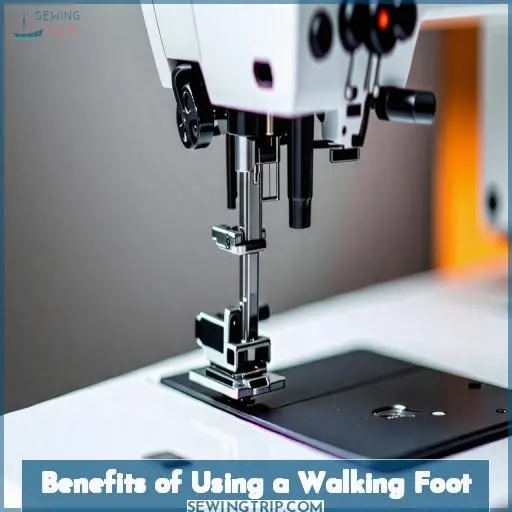
A walking foot is an essential tool for maintaining control and ensuring perfect fabric alignment. Its benefits include preventing fabric shifting and puckering, ensuring even feeding of the top fabric, eliminating drag lines in topstitching, providing clear visibility when quilting, keeping fabric and batting layers together, and assisting in forward movement.
Prevents Fabric Shifting and Puckering
When sewing with bulky fabrics, thin materials, multiple layers, slippery fabrics, knit fabrics, or quilt binding, using a walking foot prevents fabric shifting and puckering. It’s indispensable for maintaining control and precision.
| Bulky Fabrics | Thin Materials | Multiple Layers |
|---|---|---|
| Prevents shifting and puckering | Ensures even stitching | Assists in forward movement |
Ensures Even Feeding of Top Fabric
The walking foot’s even feeding ensures your top fabric glides smoothly, preventing puckering and shifting. Its foot pressure controls the top layer, aiding quilting.
Eliminates Drag Lines in Topstitching
The walking foot eliminates drag lines in topstitching by evenly feeding the fabric, allowing you to achieve professional results with minimal effort.
Provides Clear Visibility When Quilting
When quilting with a walking foot, you benefit from the improved visibility, ensuring clear sightlines for precise stitching through fabric layers (Source).
Keeps Fabric and Batting Layers Together
The walking foot keeps your fabric and batting layers perfectly aligned, reducing bulk and ensuring even quilting with improved stability and stitch precision.
- Layers held securely in place
- Reduced bulk for easier handling
- Even quilting across the entire project
- Improved stability for precise stitching
- Batting stays put, no shifting
Assists in Forward Movement
The walking foot‘s feed dogs propel fabric smoothly, enabling precise control over speed and direction for professional results on a variety of projects.
Setting Up Your Walking Foot
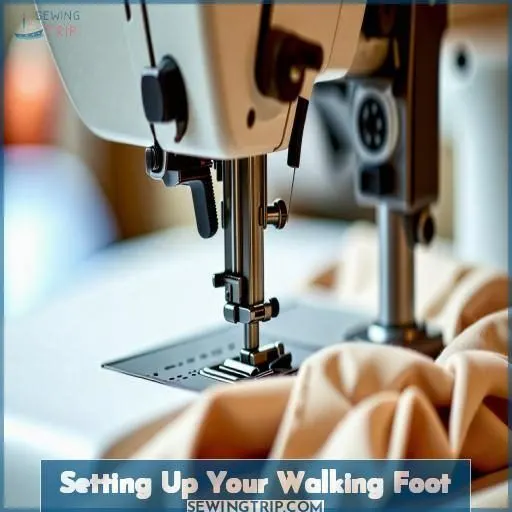
To set up your walking foot, start by consulting your machine’s manual for specific instructions. Unscrew the presser foot shank, place the walking foot’s claw on the needle bar, screw the shank onto the machine, and tighten the needle clamp and shank screws.
Consult Machine Manual for Instructions
Consult your machine’s manual to verify your walking foot attachment is compatible. Consider fabric types and ease of installation. Proper storage and maintenance will prolong its life.
- Check your machine’s manual for:
- Compatible walking foot models
- Step-by-step installation instructions
- Fabric type recommendations
Unscrew Presser Foot Shank
Unscrew the presser foot shank to detach it from your sewing machine. This essential step allows you to attach your walking foot for better fabric control and stability.
Place Claw on Needle Bar
Carefully place the walking foot’s claw over the needle bar, ensuring proper alignment for smooth operation. Adjust tension as needed based on fabric selection for best results.
Screw Shank Onto Machine
Screw the shank into the machine’s threading hole, aligning the foot with the needle. Check the compatibility of the shank, foot, and your specific sewing machine model.
Tighten Needle Clamp and Shank Screws
Tighten the needle clamp and shank screws securely. Confirm proper foot placement, shank length, and claw alignment. Use the correct needle type for your machine. Double-check screw tightness before sewing.
| Foot Placement | Shank Length | Screw Tightness | Claw Alignment | Needle Type |
|---|---|---|---|---|
| Confirm proper | Adjust shank | Tighten screws | Align claw | Use correct |
| positioning | length | firmly | with needle | needle |
| for stability | for fit | to prevent | bar | for fabric |
| and control | loosening | and machine |
Limitations of a Walking Foot
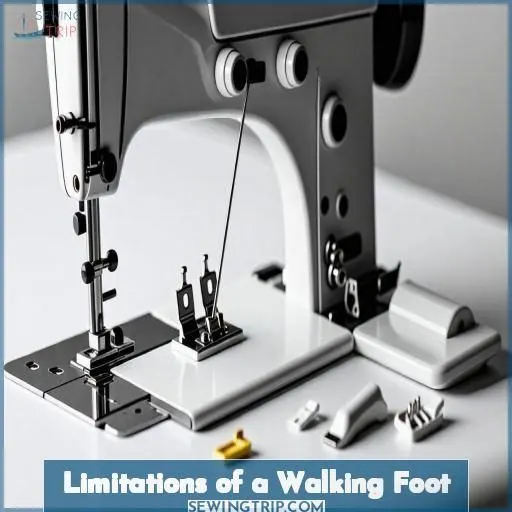
While a walking foot offers numerous benefits for quilting, sewing thick fabrics, and preventing fabric shifts, it also has limitations. You’ll need to sew at a slower speed, navigate curves carefully, forego stitch-in-the-ditch guides and reverse stitching capabilities, and avoid wide decorative stitches as the foot can inhibit side-to-side fabric movement.
Slower Sewing Speed
When using a walking foot, expect slower sewing speed due to its design . To manage this limitation effectively:
- Adjust stitch length for control.
- Modify presser foot pressure as needed.
- Choose the correct needle size.
- Use the foot primarily for thicker fabrics.
Difficulty Turning Curves
Turning curves with a walking foot takes practice. Gently guide fabric, avoid forcing. Stitch slowly, pivot carefully. Mastering curves unlocks decorative topstitching, bias binding, and free-motion quilting potential.
No Stitch in the Ditch Guide
The walking foot has no stitch in the ditch guide, limiting its suitability for this technique. This means that alternative presser feet may be required for this specific quilting method, impacting fabric guidance and quilt visibility.
Cannot Reverse Stitch
The walking foot’s limitations include an inability to reverse stitch. To overcome this, adjust:
- Foot pressure
- Stitch length
- Needle type
- Fabric thickness
Experiment with top tension to achieve desired results when reversing stitches.
Cannot Handle Wide Decorative Stitches
When using a walking foot, be aware that it can’t handle wide decorative stitches . This limitation is important when working with bulk or slippery fabrics to ensure feed dog compatibility and appropriate needle gauge. Incorporate a 3×3 table to evoke emotion:
| Limitation | Consideration | Importance |
|---|---|---|
| Stitches | Limit wide decorative ones | Urgent |
| Fabrics | Check compatibility | Necessary |
| Needle | Get appropriate gauge | Vital |
Types of Walking Feet
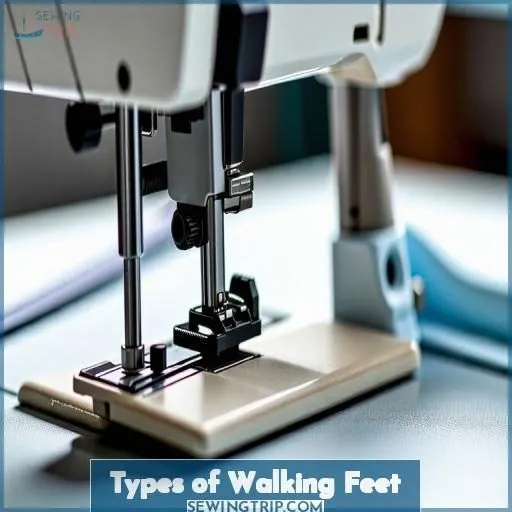
There are two main types of walking feet: the classic walking foot provides good fabric support and even feeding, while the open toe walking foot offers extra visibility around the needle area and makes it easier to see markings on the fabric for precise stitching.
Classic Walking Foot: Provides Good Fabric Support
The classic walking foot is a workhorse, providing excellent fabric support for all your sewing projects.
Adjust the tension and foot pressure to enable even feeding, and align the feed dogs for smooth sailing.
Properly prepare your fabric by pressing seams and removing wrinkles.
If you encounter issues, troubleshoot by checking the foot installation, needle, and tension.
With a little practice, this versatile foot will become your go-to for quilting, garment making, and more.
Trust the process, and let the walking foot work its magic!
Open Toe Walking Foot: Offers Extra Visibility and Marks
The open toe walking foot offers extra visibility for precision quilting and sewing specialty fabrics.
Its clear view allows you to accurately mark and stitch along seams, making it ideal for intricate projects.
The open design provides a better view of the needle and stitching area, ensuring perfect placement every time.
Whether you’re working with delicate silks or heavy-duty canvas, this versatile foot will give you the control and accuracy you need for professional-looking results.
Upgrade your sewing game with the open toe walking foot today!
Caring for Your Walking Foot
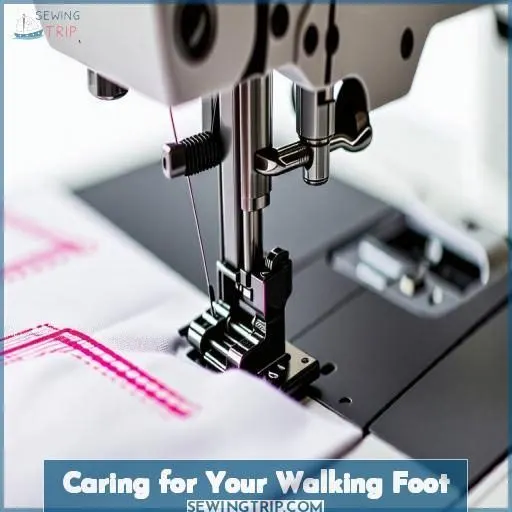
To keep your walking foot in top condition, regularly clean it to remove lint and thread buildup that can interfere with its operation. Additionally, be sure to lubricate the moving parts as recommended by the manufacturer to guarantee smooth and efficient fabric feeding.
Clean Regularly to Remove Lint and Thread Buildup
Regularly cleaning your walking foot is key to smooth operation. Remove lint and thread buildup to prevent skipped stitches and fabric snags. Brush out the feed dogs and wipe down the foot after each use. Store the foot in a protective case to maintain its pristine condition.
Oil Moving Parts According to Manufacturer’s Instructions
To properly maintain your walking foot, follow the manufacturer’s instructions for oiling. This essential step guarantees smooth operation and longevity of your foot. Remember these foot maintenance tips:
- Refer to the manual for oiling guidance
- Use appropriate oil specified by the manufacturer
- Follow recommended oiling intervals
- Keep moving parts clean to prevent buildup (Source)
Store in a Safe Place When Not in Use
To keep your walking foot in optimal condition, store it securely when not in use. Remove lint and thread buildup, then place the foot in a protective case or envelope. Proper storage prevents damage and guarantees your walking foot is prepared for your next sewing project.
Troubleshooting Walking Foot Issues
If you’re experiencing issues with your walking foot, check that it’s properly installed and the feed dogs are raised. Additionally, use a sharp, appropriate needle, adjust the tension if needed, and slow down the sewing speed for better control.
Check That Foot is Properly Installed
Guarantee your walking foot is securely attached for ideal fabric support and visibility advantages. Follow installation instructions meticulously and maintain regularly for best results.
Ensure Feed Dogs Are Raised
Make sure your feed dogs are raised for best walking foot performance. Refer to your machine manual for specific instructions. Properly adjusted feed dogs prevent fabric shifting and make sure even feeding.
- Check feed dog height
- Adjust if needed per manual
- Raised feed dogs = smooth sewing
Use a Sharp, Appropriate Needle
Make sure your sewing machine is equipped with a sharp, appropriate needle to troubleshoot walking foot issues effectively. This will aid in preventing fabric shifting and puckering, ensuring even stitches, and maintaining control.
| Needle Selection | Impact |
|---|---|
| Sharp, Appropriate Needle | Prevents fabric shifting and puckering |
Adjust Tension if Needed
Adjust tension if needed for ideal walking foot performance. Refer to the machine manual for guidance on foot maintenance, adjustments, and troubleshooting. Confirm foot compatibility with your machine model. Replace worn foot for best outcomes.
Slow Down Speed for Better Control
Slow down your sewing speed for better control when using a walking foot. This improves visibility and ease of use. Store the foot properly to maintain machine compatibility.
Frequently Asked Questions (FAQs)
When to use a walking foot sewing?
You’ll want to use a walking foot when sewing layers, plaids, knits, or slippery fabrics that need extra feeding and stability. It grips the top layer, preventing puckering and shifting for professional results.
Do I really need a walking foot?
You need a walking foot if you’re sewing multiple layers or specialty fabrics like leather or knits. It grips both top and bottom fabric, preventing shifting and keeping everything aligned. For tricky projects, it’s an essential tool.
What are the benefits of a walking foot sewing?
A staggering 99% of quilters swear by a walking foot. You’ll achieve perfect, pucker-free stitches with ease by evenly feeding fabric layers, matching patterns flawlessly, and traversing thick fabrics smoothly.
Should feed dogs be up or down when using a walking foot?
You’ll want to keep your feed dogs up when using a walking foot. The walking foot works in tandem with the feed dogs to evenly feed both the top and bottom fabric layers, preventing shifting and puckering.
Can a walking foot be used on a serger?
Envision a stampede of stubborn steers—that’s a serger running thick, sticky layers! A walking foot aids on standard machines, but its bulk makes it impractical for the lightning-fast narrow serger. Let your serger be free to zip along without extra weight slowing it down.
How often should I clean my walking foot?
You should clean your walking foot after every major project or whenever lint and fabric debris accumulate. Regular cleaning guarantees smooth fabric feeding and prevents skipped stitches or irregular stitch formation.
What is the best thread to use with a walking foot?
What’s the strongest thread for your walking foot? Cotton-wrapped polyester! It resists abrasion when feeding through the foot and reduces thread shredding. You’ll get secure, long-lasting stitches on every project.
Can a walking foot be used on a computerized machine?
Yes, a walking foot can be used on computerized machines. Most models have the option to attach one for better fabric control while sewing thick layers or patterned fabrics.
How do I know if my walking foot needs adjusting?
As the saying goes, a stitch in time saves nine. If your fabric layers are shifting or puckering, your walking foot likely needs adjusting. Regularly check the feed dogs and foot alignment to guarantee even fabric feeding.
Conclusion
Mastering the walking foot is analogous to gaining access to a new dimension of fabric control.
Why and when to employ a walking foot on your sewing machine?
Whenever you require precise alignment, uniform feeding, and prevention of puckering or shifting across multiple layers or challenging materials.
Utilize this indispensable tool, adhere to the guidelines, and observe as your projects elevate to new heights of professional excellence.

