This site is supported by our readers. We may earn a commission, at no cost to you, if you purchase through links.
 While fleece doesn’t necessarily require hemming, it’s a great way to give your projects a neat, polished look.
The napped texture of fleece needs special handling, so you’ll want to use jersey, ballpoint, or universal needles to prevent snagging. A walking foot helps feed the fabric evenly, and polyester thread provides the necessary stretch.
Reduce presser foot tension for bulky seams and use decorative stitching for added style.
Follow these tips, and your fleece garments will have professional-quality finishes that elevate their cozy appeal.
However, there are alternative techniques worth exploring for unique results.
Table Of Contents
- Key Takeaways
- Does Fleece Need to Be Hemmed?
- Is Fleece Fabric Suitable for Hemming?
- Alternative Finishing Techniques for Fleece Fabric
- Maintaining Your Sewing Machine for Fleece Fabric
- Choosing the Right Needle and Thread for Fleece Fabric
- Sewing Techniques for Fleece Fabric
- Fabric Handling for Fleece Fabric
- Cutting and Tools for Fleece Fabric
- Needle and Thread for Fleece Fabric
- Finishing Fleece Fabric Projects
- Additional Tips for Sewing With Fleece Fabric
- Frequently Asked Questions (FAQs)
- Conclusion
Key Takeaways
- Fleece fabric doesn’t necessarily need to be hemmed, but it can be finished with various techniques to give a polished look.
- Alternative finishing methods for fleece fabric include serging, turned-up hems, elastic ribbing, binding, and decorative stitching.
- Sewing with fleece requires proper needle and thread selection, such as ballpoint needles and polyester thread, to prevent snagging and ensure stretch.
- Maintaining a clean sewing machine and managing the nap direction are crucial for achieving a flawless finish when sewing with fleece.
Does Fleece Need to Be Hemmed?
Yes, fleece does need to be hemmed. However, the process of hemming fleece can be challenging due to its non-woven nature and the fact that it doesn’t press well. Hem bands or interfacing tape are recommended to achieve a clean, professional-looking hem. These materials help stabilize the hem area and make it easier to sew a beautiful hem.
Is Fleece Fabric Suitable for Hemming?
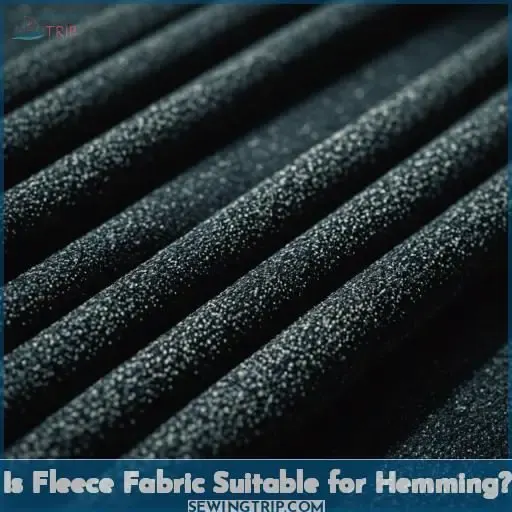
Regarding hemming fleece fabric, there are a few factors to keep in mind. Fleece doesn’t unravel, so conventional hemming techniques may not be needed. Nonetheless, you can still give a polished look to your fleece fabric’s edges. Here are some alternate finishing methods for fleece fabric:
- Serging: Utilizing a serger or overlocker is a great choice for finishing the edges of fleece fabric. This method produces a seam that’s both tidy and stretchable, which is ideal for fleece’s knitted structure.
- Turned-up Hem: You can turn the hem of your fleece fabric up by 1/2 inch or more, depending on the desired length. This method is simple and can be done without a sewing machine.
- Elastic Ribbing: For a more decorative finish, you can use elastic ribbing to hem your fleece fabric. This adds a bit of stretch and can be especially useful for items like cuffs and neckbands.
- Binding: Fleece binding is another option for finishing the edges of your fabric. You can use a variety of materials for binding, such as cotton, silk, or even another piece of fleece.
- Decorative Stitching: If you want to add a bit of style to your fleece fabric, consider using decorative stitching. This can be done with a sewing machine or by hand with a large-eyed needle and fleece yarn or regular yarn.
Alternative Finishing Techniques for Fleece Fabric
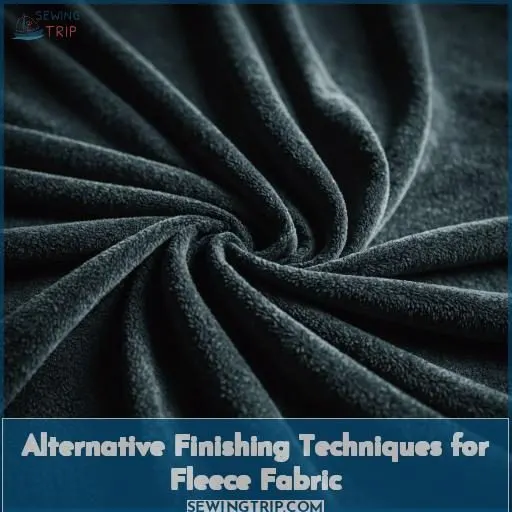
Regarding the completion of fleece fabric, there are various alternative methods to contemplate. Here are four options to captivate your audience:
- Hand-sewn finishes: For a classic touch, you can employ hand-sewn finishes such as blanket stitch, which yields a highly appealing edge and can be utilized in conjunction with machine seams. If you’re a complete novice, consider executing a basic up and down stitch known as a running stitch.
- No-sew endeavors: Fleece doesn’t fray, enabling you to leave the edges unfinished and utilize the fabric as is for no-sew endeavors. This is an excellent option for those who wish to bypass sewing altogether.
- Overlockers: An overlocker, also referred to as a serger, is a machine that simultaneously sews, trims, and overlocks the edges. This is the optimal technique for constructing garments with stretchy fabrics like fleece.
- Decorative stitching: Fleece isn’t the ideal candidate for appliques or other forms of supplementary embellishment. Instead, experiment with decorative stitching on your sewing machine to impart a distinctive touch to your endeavors. Bear in mind to employ a longer stitch length than you’d for woven fabrics and meticulously test on a scrap piece of fleece to perfect your settings prior to commencing sewing.
Maintaining Your Sewing Machine for Fleece Fabric
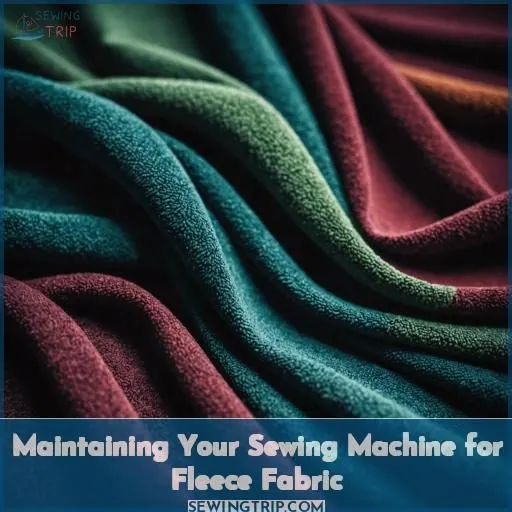
When working with fleece fabric, it’s imperative to ensure your sewing machine is in peak condition. Fleece is notorious for collecting lint, which can clog your machine if not properly addressed. Here are some guidelines for maintaining your sewing machine for best performance when sewing with fleece:
- Remove lint: Regularly remove lint from your sewing machine, especially after working with fleece. Use a brush or a small paintbrush to clear lint from around the serger, bobbin case, and other areas where lint may accumulate.
- Reduce presser foot tension: If your machine allows adjustment, decrease the presser foot tension to ease sewing over bulky seams.
- Use a hump jumper or cereal box rectangle: When sewing over bulky seams, employ a hump jumper or a cereal box rectangle to level the presser foot and prevent skipped stitches.
- Maintain machine cleanliness: Regularly clean your sewing machine to remove any accumulated lint, which can hinder its performance.
- Employ a walking foot: A walking foot helps prevent stretch and guides the fabric along the right toe of the foot, ensuring precise stitching.
- Use a twin needle: For a professional hem, use a 4mm or 6mm twin needle to sew two parallel lines of stitching for a more polished appearance.
- Trim excess fabric: After sewing, trim excess fabric back to the edge of the stitching to prevent lint from getting trapped in the seam.
- Use an overlocker: For professional-looking seams, use an overlocker, which can sew, trim, and overlock in a single process, eliminating the need for separate steps.
Choosing the Right Needle and Thread for Fleece Fabric
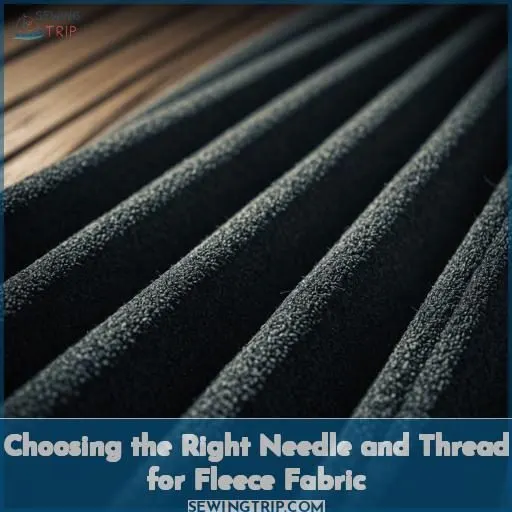
You’ll need to choose the right needle and thread to successfully sew fleece fabric. For needles, opt for universal, jersey, or ballpoint varieties to prevent snagging and skipped stitches. With threads, polyester is a wise choice as it won’t deteriorate under friction and heat during the sewing process, plus it has excellent strength to handle fleece’s inherent stretch.
Needle Selection Tips
Regarding sewing with fleece, selecting the appropriate needle is essential for a prosperous endeavor. Here are four needle types worth contemplating:
- Ballpoint needle: Optimal for fleece, as it averts fabric from unraveling.
- Twin needle: Beneficial for hemming and fabricating double-stitched seams.
- Overcast stitch needle: Ideal for sewing over voluminous seams and obviating stretching.
- Universal needle: Adaptable option for diverse sewing tasks, but might necessitate modifications for fleece.
Thread Type Choices
After picking the right needle, thread choice becomes your next ally in mastering fleece. Opt for high-quality polyester thread, which mirrors fleece’s durability and stretch. Adjust thread tension to avoid puckered seams, and don’t sweat the thread color match—close enough often blends seamlessly. Remember, the right thread size strengthens your fleece clothing, making every stitch count.
Managing Fleece Nap
When sewing with fleece, managing the nap direction is paramount for a flawless finish.
The nap denotes the orientation of the fibers, and it’s imperative to cut and stitch pieces with the nap facing in the same direction.
This measure prevents flipping patterns vertically, which can result in excess bulk and creases.
To control the nap, employ a walking foot or a differential feed presser foot.
These tools assist in maintaining the fiber orientation and preventing bulkiness.
Furthermore, consider using a serger for expedited and more flexible seams.
By managing the nap, you can achieve a tidy and professional finish for your fleece projects.
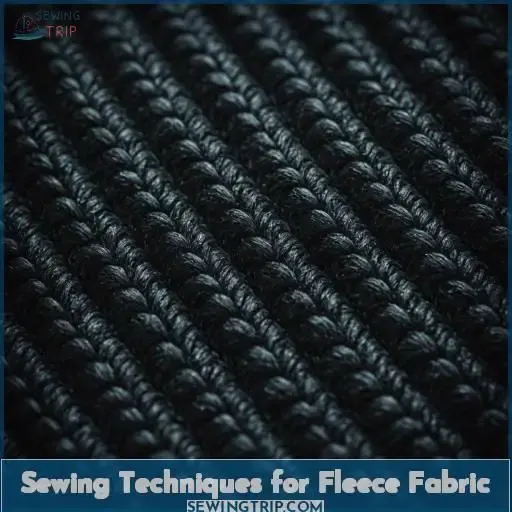
Sewing Techniques for Fleece Fabric
When sewing with fleece fabric, mastering the appropriate methods is paramount for a successful project. Here are some key tips for managing cumbersome seams and controlling fuzz:
- Cumbersome Seam Management: Use a bump jumper or cereal box rectangle to sew over bulky seams, guiding the fabric along the right toe of the foot. For commercial hems, a 4mm or 6mm twin needle can be employed.
- Fuzz Removal: Regularly clean your sewing machine to remove fuzz, as fleece fabric tends to generate a lot of it. Use a rotary cutter or sharp shears for cutting, and clean your cutting tools with rubbing alcohol.
- Pattern Mirroring: When cutting pattern pieces, consider the nap direction to guarantee that all pieces have the fibers facing the same direction. This will help maintain the fabric’s texture and appearance.
- Stitch Testing: Test stitches on scrap fabric before starting your project to make sure the correct stitch length and type for your specific fleece fabric.
- Fleece Overcast Stitch: For hemming or finishing raw edges, use the machine’s overcast stitch. Fold the strip of fleece and sew it to the garment edge, and the walking foot will prevent stretch.
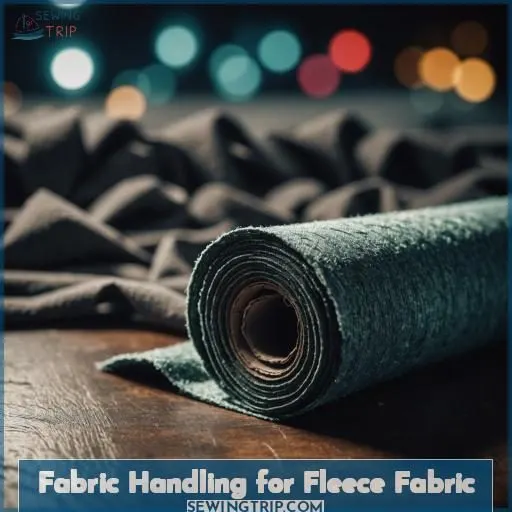
Fabric Handling for Fleece Fabric
When working with fleece fabric, handling it properly is key to achieving optimal results. Here are some suggestions to help you effectively manage fleece fabric:
- Consider the nap direction: Fleece fabric has a nap, which is the direction the fibers are lying. Ensure that your pieces are cut with the nap facing the same direction to avoid a mismatched appearance.
- Avoid flipping patterns vertically: Flipping patterns vertically can cause the nap to be in opposite directions, which can result in a bulky and unprofessional look.
- Manage bulk: Fleece fabric can be bulky, especially when sewn as two layers. To prevent this, consider using a thinner lining fabric or overcast stitching to compress the edges and make seams less bulky.
- Use long pins: Long pins are necessary for holding fleece fabric together, especially for curves and layers.
- Avoid pressing fleece: Fleece doesn’t hold a crease, so pressing isn’t usually needed. Instead, use your fingers to press the fabric gently.
- Clean your sewing machine frequently: Fleece fabric tends to attract lint, so it’s important to clean your sewing machine after each project to remove any accumulation.
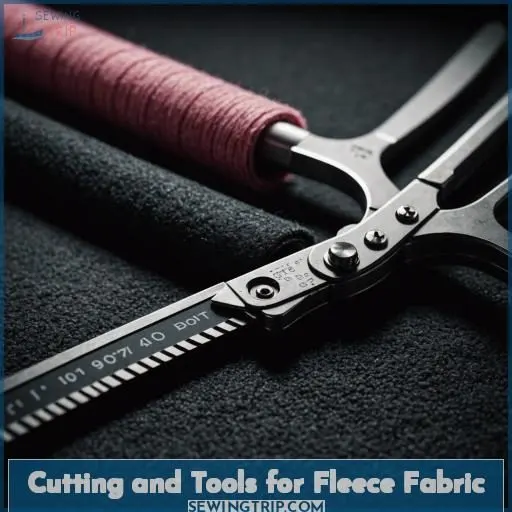
Cutting and Tools for Fleece Fabric
Regarding fleece fabric cutting, sharp rotary cutters or shears are your optimal choices.
Fleece can be demanding on scissors and rotary cutters, so be ready to replace them as needed.
Clean your cutting tools with rubbing alcohol to eliminate lint, which can accumulate rapidly on fleece fabric.
Avoid excessive heat when cutting, as fleece can melt at high temperatures.
Instead, use finger pressing to shape the fabric.
Remember to factor in the nap (fiber direction) when arranging pattern pieces, as cutting with the nap aligned in the same direction can conserve fabric and prevent stretching.
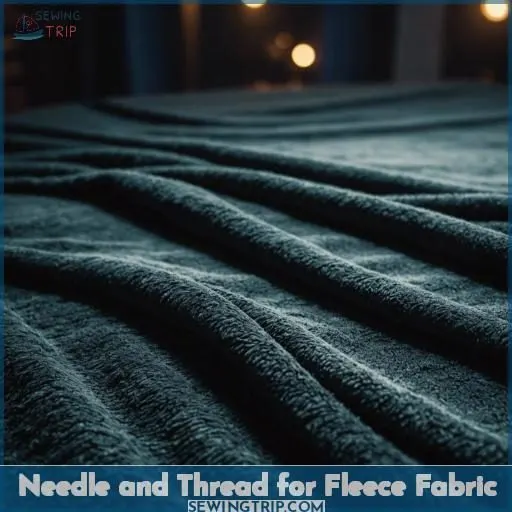
Needle and Thread for Fleece Fabric
After slicing through fleece with your trusty shears, it’s time to thread the needle—literally.
For fleece garments, a ballpoint needle is your best ally, gliding through the fabric without snagging.
When setting up your machine, adjust the tension to accommodate fleece’s thickness.
A fleece walking foot helps in measuring for stretch, ensuring your seams don’t go haywire.
And don’t forget, a quick sewing machine cleaning post-project keeps the fuzzies at bay.
Finishing Fleece Fabric Projects
Finishing fleece fabric projects can be a delightful experience when you know the right techniques. Here are four ways to make your fleece creations shine:
- Fleece Binding Options: Choose from various binding styles like serging, turned up hems, elastic ribbing, or decorative stitching. Each option adds a unique touch to your project.
- Serging Fleece: Use an overlocker to sew, trim, and overlock in one process. It’s the best method for garment construction with stretchy fabrics.
- Blanket Stitch: For a classic hand-sewn finish, try the blanket stitch. It’s a timeless technique that adds character to your fleece creations.
- Lint Removal and Zipper Reinforcement: Keep your sewing machine clean by removing lint after each project. Reinforce zippers with fusible interfacing for added durability.
Additional Tips for Sewing With Fleece Fabric
- Fleece Binding: For a professional appearance, utilize fleece strips for binding on various projects. Make sure the nap direction is uniform across the binding.
- Fleece Nap Control: When cutting, consider the nap direction to minimize stretching. Arrange pattern pieces with the nap running in the same direction.
- Fleece Stretch Prevention: Use a walking foot to prevent stretch during sewing with fleece. Guide the fabric along the right toe of the foot to maintain consistent tension.
- Fleece Seam Allowance: Finish seam allowances with faux flat-felled, lapped, or double top-stitched methods. Reduce presser foot pressure to avoid stretching.
- Fleece Machine Cleaning: Regularly clean your sewing machine to remove lint, especially after working with fleece.
- Polar Fleece: This type of fleece is frequently used for insulation in outdoor clothing. Use a high-quality thread and universal needle for optimal results.
- Fleece Insulator: Fleece is a good insulator, making it suitable for warm and cozy garments.
- Fleece Cuffs and Neckbands: Utilize the machine’s overcast stitch to attach cuffs and neckbands. Fold the strip of fleece and sew it to the garment edge, using a walking foot to prevent stretch.
- Fleece Button Plate: For sewing buttons on fleece, utilize a button plate designed for knits to prevent stretching.
- Fleece Differential Feed: If your sewing machine has a differential feed feature, use it when sewing with fleece to maintain consistent tension.
Frequently Asked Questions (FAQs)
What is the best way to hem fleece fabric?
For the best fleece hems, use a twin needle for a professional look. Set a straight stitch with the needle centered, guiding fabric along the foot’s toe. Trim excess after stitching—simple yet polished!
Can you use a serger to hem fleece?
A serger is ideal for hemming fleece. Its ability to trim, sew, and overlock edges in one pass makes it perfect for this cozy fabric. Just guide the fleece through carefully, keeping an even tension. The finished seams will look professionally tidy.
How do you prevent stretching when sewing fleece?
To prevent stretching, use a walking foot which evenly feeds fabric layers. Guide fleece along the foot’s right toe. Set stitch length longer, around 4mm. A twin needle (4-6mm) also helps for hems.
What type of needle and thread should be used for sewing with fleece?
Prepare for the unparalleled fleece sewing escapade! Equip yourself with a robust ballpoint needle to subdue those synthetic fibers, and team it with polyester thread for the most seamless stitches. This potent partnership guarantees the durability of your comforting creations.
How do you handle lint buildup when working with fleece fabric?
You’ll need to regularly clean your sewing machine to remove lint buildup from fleece. Use a small brush or vacuum cleaner attachment to clear lint from the bobbin area, feed dogs, and other nooks and crannies. A clean machine prevents skipped stitches and tension issues.
Conclusion
Sewing fleece fabric can be a breeze once you’ve mastered the techniques.
While it doesn’t necessarily need to be hemmed, taking the extra step enhances your projects’ polished look.
With the right tools, from ballpoint needles to polyester thread, and careful fabric handling, you’ll achieve professional-quality finishes that showcase fleece’s cozy appeal.
Embrace alternative finishing methods to discover unique results that align with your creative vision.

