This site is supported by our readers. We may earn a commission, at no cost to you, if you purchase through links.
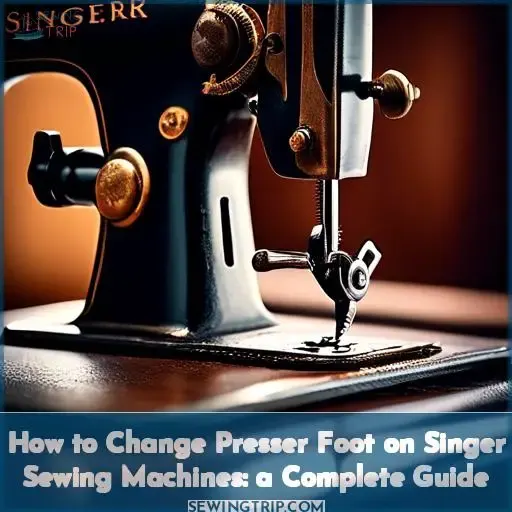
Whether you’re delving into delicate fabrics or tackling tough textiles, mastering how to change the presser foot on your Singer sewing machine is crucial. This guide will walk you through the steps, from raising the needle to adjusting the foot pressure, ensuring smooth operation.
We’ll also explore presser foot compatibility, from vintage to modern options, and discuss maintenance tips to keep your machine in top condition.
Get ready to unlock a new level of sewing mastery and control, enhancing your creativity and efficiency with every stitch.
Yes, you can change the presser foot on a Singer sewing machine. To do so, raise the needle and presser foot lever, release the foot by pressing the lever at the back of the holder, align the new foot’s bar with the shank slot, and lower the lever to snap it in place.
Table Of Contents
Key Takeaways
- Presser feet are crucial for achieving high-quality sewing results, as they enhance precision, facilitate specialized tasks, and expand creative possibilities.
- To change a presser foot, one must raise the needle, release the current foot, align the new foot’s bar, lower the lever to snap it in place, and adjust the foot pressure if necessary.
- It’s important to ensure compatibility of the presser foot with the sewing machine model; low-shank feet are commonly suitable for most domestic machines, and adapters can be used for incompatible feet.
- Regular cleaning and lubrication of the sewing machine and its feet are essential for maintenance, as well as checking for wear and ensuring parts like the eccentric body and tension release mechanism are secure.
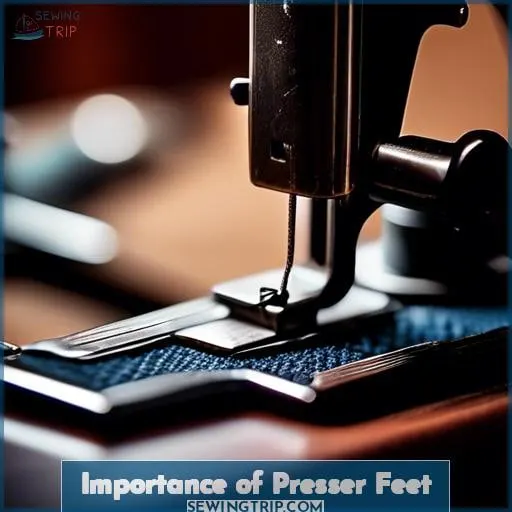
Importance of Presser Feet
Changing the presser foot on your sewing machine is a key skill that can significantly enhance your sewing projects by allowing for greater versatility, precision, and the ability to tackle specialized tasks.
The importance of using the right presser foot can’t be overstated; it’s essential for achieving optimal sewing results, especially when working with specific materials or attempting intricate sewing techniques such as inserting zippers, creating ruffles, or attaching buttons.
Each type of presser foot is designed to facilitate a particular sewing task, making the process easier and faster, and leading to more professional-looking outcomes.
Whether you’re sewing a simple garment or embarking on a complex quilting project, understanding how to change and utilize different presser feet can elevate your sewing experience and expand your creative possibilities.
Versatility in Sewing Projects
Changing sewing machine feet is a game-changer for anyone looking to dive deeper into the world of sewing.
With specialized feet, you unlock a treasure trove of project versatility, allowing you to tackle a wide array of sewing tasks with newfound precision and ease.
Whether you’re aiming to sew delicate ruffles, install zippers without a hitch, or attach buttons flawlessly, the right presser foot is your secret weapon.
It’s not just about making the process smoother; it’s about elevating the quality of your work to professional levels.
So, when you’re ready to explore the vast potential of your sewing machine, remember that swapping out feet is a simple step with a monumental impact on your sewing journey.
Precision and Specialized Tasks
Switching to specialized feet on your Singer sewing machine transforms your projects with unmatched precision.
Whether it’s a front-to-back blade mount or adjusting the presser foot’s height with an eccentric worm gear, each modification ensures your sewing is spot-on.
Mastering how to change the presser foot enhances control, from tension release to fine-tuning via the presser foot adjustment, elevating your sewing prowess.
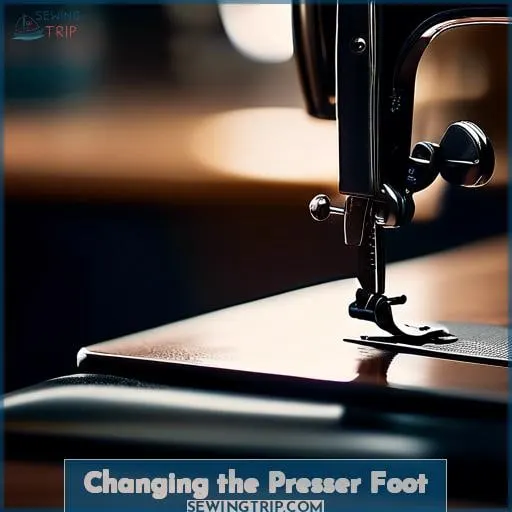
Changing the Presser Foot
When it comes to enhancing your sewing experience, changing the presser foot on your Singer sewing machine is a key skill to master.
It’s a straightforward process that significantly broadens the range of sewing projects you can tackle. By following a few simple steps, you can switch between feet designed for specific tasks, ensuring precision and ease in your sewing endeavors.
Raising the Needle
To change the presser foot on your Singer sewing machine and ensure needle safety, follow these steps:
- Turn off your machine to avoid any accidents.
- Lift the presser foot lever to release tension.
- Rotate the handwheel towards you to bring the needle to its highest position, ensuring clear access.
- Press the lever at the back of the foot holder to release the current foot.
By carefully executing these steps, you’ll maintain needle positioning and safety precautions while efficiently managing the handwheel operation. This process not only secures the presser foot but also prepares the machine for a smooth transition to your next sewing task.
Releasing and Securing the Foot
To release and secure the foot on your Singer sewing machine, you’ll need to follow a few simple steps. First, ensure your needle is in the highest position by turning the hand-wheel. Then, lift the presser foot lever to raise the foot.
You’ll find a lever at the back of the foot holder; raise this to release the foot. When aligning the new foot, make sure the presser foot bar is slotted correctly into the shank on the needle plate.
Here’s a table to help you remember the key points for foot maintenance and troubleshooting:
| Maintenance Task | Troubleshooting Tip |
|---|---|
| Foot Alignment | Ensure proper alignment to avoid sewing issues. |
| Shank Types | Know your machine’s shank type for compatibility. |
| Foot Storage | Store feet properly to prevent damage. |
| Foot Maintenance | Regular cleaning and checking for wear. |
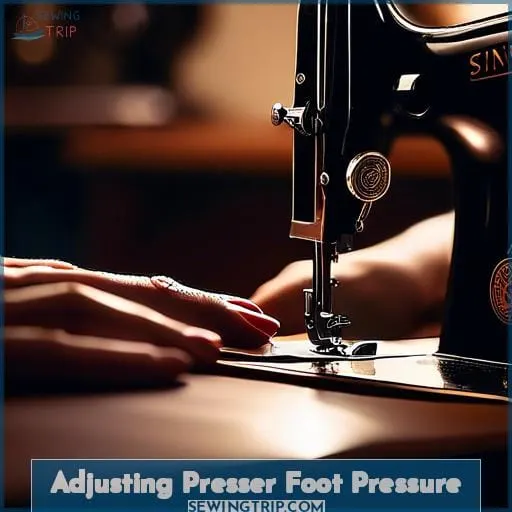
Adjusting Presser Foot Pressure
Adjusting the presser foot pressure on your Singer sewing machine is crucial for handling different fabric types effectively.
If you’re working with delicate fabrics, you’ll want to decrease the pressure by turning the dial counterclockwise, as too much pressure can cause puckering.
Conversely, for heavier materials like denim, increase the pressure by turning the dial clockwise to help feed the fabric smoothly under the foot.
Remember to mark your starting position on the dial, so you can easily return to standard settings after making adjustments.
Lift Height and Synchronization
After successfully changing your sewing machine’s presser foot, it’s crucial to adjust the presser foot pressure for optimal performance.
To do this, you’ll need to manipulate the eccentric worm gear. Turning it counterclockwise will increase the lift height, allowing for a greater range of fabric thicknesses to pass under the foot.
Ensure both feet lift approximately 3/8 inch and are synchronized to avoid any fabric feeding issues.
Keep an eye on the tension release slide to ensure it’s clean and moves smoothly, as obstructions can affect the tension release bar’s function.
Lastly, check the eccentric body set screw is tight and undamaged to lock the eccentric securely to the upper drive shaft.
Tension Release and Smooth Operation
After syncing the height of your sewing machine’s presser feet, it’s crucial to ensure the tension release operates smoothly for consistent stitch quality.
Start by cleaning the tension release slide and bracket to remove any lint or debris.
Apply a drop of oil for lubricating tension mechanisms, which helps in preventing snags and ensuring fabric moves freely.
Inspect the adjusting spring and release mechanisms for signs of wear or damage. If you find any issues, consider replacing the parts to maintain optimal performance.
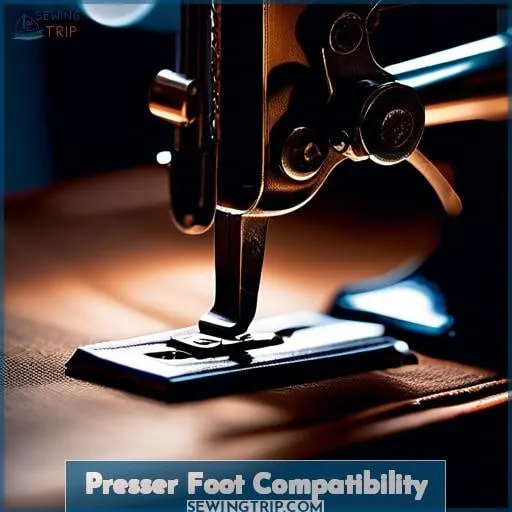
Presser Foot Compatibility
When working with Singer sewing machines, it’s essential to ensure that the presser foot you’re using is compatible with your specific model. Singer offers a wide range of presser feet designed to fit various models, which can greatly expand your sewing capabilities and precision.
For instance, the Singer Sewing Machine Presser Foot Kit, valued at $200, includes nine different feet suitable for a multitude of projects and is compatible with many low-shank Singer machines. Vintage Singer feet are also available for those with older models, typically costing around $10 each.
It’s important to check compatibility before purchasing, as not all feet will fit every machine, and prices can range from $14 to $200 depending on the type and set of feet.
Vintage and Modern Feet
After adjusting the presser foot pressure, it’s time to consider the compatibility between vintage and modern feet.
Vintage Singer feet, often sought for their craftsmanship, can be a treasure for those with compatible machines. However, it’s crucial to ensure these classic attachments fit your machine’s front-to-back blade mount.
While they can be a cost-effective option, typically around $10 each, sewing machine maintenance is key to their performance. Regular cleaning and lubrication, along with checking for wear and damage, will keep both vintage and modern feet functioning smoothly, ensuring your sewing projects turn out beautifully.
Cost Considerations
When considering the cost of presser feet for your Singer sewing machine, it’s essential to conduct a benefit analysis and explore affordability comparisons.
Budget-friendly options are available, such as sets that offer a variety of feet at a lower cost per foot compared to individual purchases. Vintage Singer feet can be a valuable addition to your collection, often available for around $10 each, providing vintage value to your sewing experience.
When planning to upgrade your sewing machine accessories, consider the compatibility of the feet with your machine model and the frequency of use for each foot to ensure you’re making a wise investment.
Keep in mind that while some feet may rarely be used, having a comprehensive set can be beneficial as your sewing skills expand.
Maintaining Your Sewing Machine
To ensure your Singer sewing machine operates smoothly, it’s crucial to keep it clean and well-lubricated.
Check for any signs of wear and damage as part of regular maintenance to prevent future problems.
Cleaning and Lubrication
To maintain your sewing machine’s performance, adhere to a regular maintenance schedule, including cleaning and lubrication.
Select the appropriate lubricant, such as 100% white mineral oil, and apply it to the moving parts after every 2-3 bobbin changes or as recommended by the manufacturer.
Cleaning frequency is crucial; remove lint and debris to prevent mechanical issues and ensure smooth operation.
Store your sewing machine in conditions that protect it from dust and moisture.
By following these guidelines, you’ll keep your machine running efficiently for years to come.
Checking for Wear and Damage
After ensuring your Singer sewing machine is clean and well-lubricated, it’s crucial to check for wear and damage to maintain its performance.
- Eccentric body: Ensure it’s securely locked and shows no signs of wear. A loose or worn eccentric body can affect the sewing machine’s timing and overall operation.
- Tension release: Examine the tension release mechanism for smooth operation. Obstructions or damage here can lead to poor stitch quality.
- Needles and presser feet: Check for bent or dull needles and damaged presser feet. These are often the culprits behind skipped stitches or fabric damage.
- Belts and gears: Look for signs of wear or damage on belts and gears. A worn belt can slip, causing the machine to operate erratically.
By paying attention to these areas, you’ll ensure your Singer sewing machine continues to operate smoothly, allowing you to focus on creating beautiful projects with confidence.
Frequently Asked Questions (FAQs)
How do I know if my Singer sewing machine can use a low-shank or high-shank presser foot?
To determine if your Singer sewing machine uses a low or high-shank foot, measure the distance from the screw hole to the needle plate with the foot down.
Most domestic machines are low-shank.
Can I use a generic presser foot on my Singer sewing machine, or must it be a Singer-branded foot?
You can use generic presser feet on your Singer sewing machine, but it’s like skating on thin ice.
While they may fit, genuine Singer feet ensure a perfect match and trouble-free sewing.
What should I do if my presser foot won’t snap on or seems loose after attaching it to my Singer sewing machine?
If your Singer sewing machine’s presser foot won’t snap on or feels loose, first ensure it’s aligned correctly.
If it’s still loose, check for a worn presser foot or shank and replace if necessary.
Tighten any loose screws with a screwdriver.
If issues persist, consult your machine’s manual or a professional.
How can I tell if my Singer sewing machine’s presser foot tension needs adjustment?
Imagine the presser foot as a gentle hand, holding your fabric steady as you sew.
If your stitches seem inconsistent or the fabric puckers, it’s time to adjust the tension.
Turn the dial towards the plus sign for more grip, or towards the minus for a lighter touch.
Is there a way to modify a presser foot to fit my Singer sewing machine if it’s not compatible?
Yes, you can modify incompatible presser feet for your Singer sewing machine by using adapters or universal shanks designed for snap-on or screw-on feet.
Conclusion
Changing the presser foot on your Singer sewing machine is like opening a door to a world of endless possibilities. By mastering this simple yet crucial skill, you’ve taken a significant step towards enhancing the versatility and precision of your sewing projects.
Regular maintenance, including cleaning and lubrication, keeps your machine running like a well-oiled machine. So, keep experimenting with different presser feet and adjustments to discover the full potential of your Singer sewing machine, making every project a masterpiece.

