This site is supported by our readers. We may earn a commission, at no cost to you, if you purchase through links.
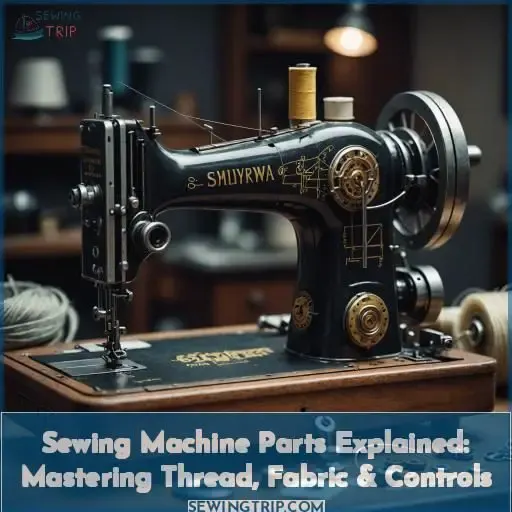 To master sewing machine operation, you’ll need to understand its key components. The spool holder, tension regulator, and bobbin manage your thread. The feed dog and pressure foot handle your fabric. Controls like the balance wheel, foot pedal, and stitch selectors let you operate and customize your stitches.
Mastering these sewing machine parts – from thread management to stitch selection – is the key to enhancing your sewing prowess. Keep reading to delve deeper into the intricate details of these essential sewing machine parts and unleash your full sewing potential.
Table Of Contents
- Key Takeaways
- Thread Management
- Spool Holder: Controls Thread Direction and Holds Spool
- Thread Guide: Controls Thread Direction and Ensures Supply
- Tension Regulator: Controls Tightness/looseness of Upper Thread
- Bobbin: Supplies Bottom Thread During Stitch Formation
- Bobbin Case: Holds Bobbin and Catches Needle Loop
- Thread Take-Up Lever: Threads Needle and Maintains Tension
- Stitch Length Regulator: Maintains Stitch Length
- Needle and Needle Bar: Pierces Fabric and Creates Stitch
- Fabric Handling
- Operation and Control
- Stitch Selection and Control
- Miscellaneous Parts
- Frequently Asked Questions (FAQs)
- Conclusion
Key Takeaways
- Understanding the roles of key components like the spool holder, tension regulator, and bobbin is crucial for thread management and achieving superior-quality stitches.
- The feed dog and presser foot are essential for fabric handling, ensuring smooth movement and stability of the fabric under the needle.
- Operation and control elements such as the balance wheel, foot pedal, and stitch selectors are vital for customizing stitches and controlling the sewing speed.
- Regular maintenance, including cleaning the bobbin case and adjusting the tension of the feed dog, is important for the sewing machine’s optimal performance and longevity.
Thread Management
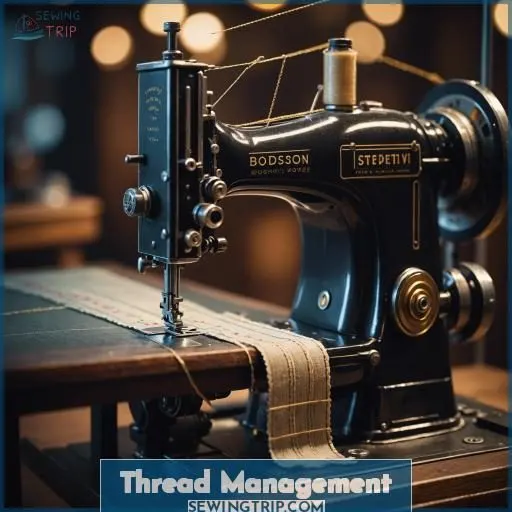
Properly managing your sewing machine’s thread is imperative for achieving consistent, superior-quality stitches. From the spool holder that governs thread direction to the tension regulator that guarantees the appropriate tightness, comprehending the essential thread management components will empower you to conquer your sewing endeavors.
Spool Holder: Controls Thread Direction and Holds Spool
The spool holder is the unsung hero of your sewing machine. It guarantees the correct thread color, type, and tension for your fabric. By regulating thread direction and securing the spool, it establishes the foundation for flawless stitches.
Thread Guide: Controls Thread Direction and Ensures Supply
Thread guides play an essential role in maintaining the proper thread direction and ensuring a smooth and even supply of thread to the sewing machine. They’re designed to guide the thread from the spool to the needle, ensuring that the tension is balanced and the stitches are even.
Thread guides come in various forms, such as the thread path on the machine, which is the path the thread takes from the spool to the needle. This configuration has changed very little between sewing machine brands and over time. Additionally, some machines have specific threading patterns** that provide tension to the bobbin thread, ensuring a balanced tension between the upper and lower threads.
When threading a sewing machine, it’s essential to follow the threading diagram provided with the machine or in the manual. For older models, the tension may not be indicated by numbers, so you may need to adjust it by observing the thread tension and making small adjustments as necessary.
Thread guides are essential for maintaining the correct thread direction and ensuring that the tension is balanced. By following the thread path and using the appropriate tension control, you can prevent thread breakage and achieve consistent stitch quality.
Tension Regulator: Controls Tightness/looseness of Upper Thread
The tension regulator, a vital component, ensures the upper thread’s tautness and slackness, determining stitch quality. It involves tension discs, which guide the thread path based on fabric thickness. By modifying these discs, you can maintain the ideal balance between thread tension and fabric control, ultimately improving your sewing experience.
Bobbin: Supplies Bottom Thread During Stitch Formation
Your bobbin, the unsung hero in stitch formation, juggles bobbin size and thread tension while dancing with fabric.
- Bobbin winding: A pre-sewing ritual.
- Bobbin types: Choose wisely for harmony.
- Bobbin thread tension: Balance is key.
Bobbin Case: Holds Bobbin and Catches Needle Loop
Mastering the bobbin case is essential for flawless stitch formation. It houses the bobbin, captures the needle loop, and regulates thread tension. Select the appropriate bobbin type based on your fabric, wind the bobbin precisely, and maintain lubrication of the case.
Thread Take-Up Lever: Threads Needle and Maintains Tension
The thread take-up lever is your sewing machine’s unsung hero, threading the needle and maintaining tension. It works in tandem with the bobbin winder to guarantee stitch length, all while you focus on needle threading and tension adjustment.
Stitch Length Regulator: Maintains Stitch Length
Adjusting stitch length is essential for various sewing projects. The stitch length regulator, also known as the stitch-length selector, allows you to control the closeness of your stitches. This control is vital for straight stitches, zigzag stitches, decorative stitches, and hemming stitches. By adjusting the stitch length, you can customize your sewing machine’s performance to suit your specific needs.
Needle and Needle Bar: Pierces Fabric and Creates Stitch
Discover the needle and needle bar: the dynamic duo that pierces fabric and creates stitches. Learn about needle types, sizes, threaders, guards, and lubrication. Explore their role in stitch formation with the needle bar.
Fabric Handling
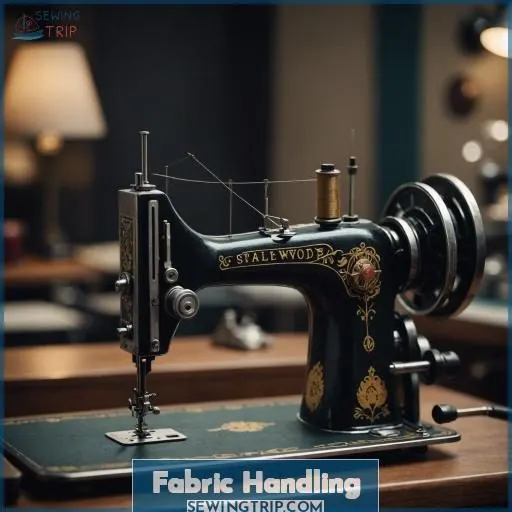
Get ready to take control of your fabric with the sewing machine’s pressure-bar lifter and feed dogs. These essential parts work together to raise and lower the pressure foot, while the feed dogs expertly guide the fabric under the needle for precise stitching.
Pressure-bar Lifter: Raises/lowers Pressure Foot
Envision the pressure-bar lifter as your sewing machine’s elevator operator, deftly fine-tuning the pressure foot’s elevation. This essential adjustment guarantees your fabric’s seamless movement beneath the needle, free of any hindrances. Whether you’re navigating thick denim or ethereal silk, mastering the pressure foot adjustment is paramount for attaining sewing accuracy and eliminating fabric feed challenges.
Feed Dog: Moves Fabric Under Needle
The feed dog is a vital part of your sewing machine, moving the fabric beneath the needle to create stitches. Adjustments might be required for different types of fabrics and sewing methods.
To maintain its efficiency, adjust the feed dog tension and lubricate it periodically. Regular upkeep keeps your feed dog functioning well, making your sewing experience more enjoyable.
It’s important to replace the feed dog if it shows signs of wear or damage.
Pressure Foot: Holds Fabric in Place
Adjusting the pressure foot is critical for keeping fabric stable and producing high-quality stitches. The pressure foot, also known as the presser foot, is a part of your sewing machine that keeps the fabric in place as you sew. It’s like a small, firm hand that keeps the fabric flat and steady, allowing the needle to pierce through without any trouble.
To adjust the pressure foot, you need to know that different fabrics need different amounts of pressure. For instance, when sewing with stretchy fabrics like knits, you should lower the pressure to stop the fabric from bunching up or puckering. On the other hand, when working with heavier, more stable fabrics like denim, you need to increase the pressure to make sure the stitch is smooth.
The pressure foot can be adjusted using a dial or slider on the machine. Find the presser foot pressure control, which is usually near the needle or on the top of the machine. You may need to check your sewing machine’s manual for specific instructions on how to adjust the pressure foot for different fabrics.
Operation and Control
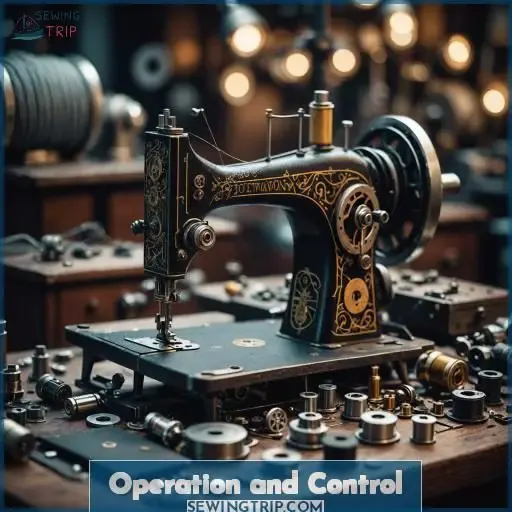
The balance wheel raises and lowers the needle while also winding the bobbin. The slide plate allows for easy access to the bobbin case, while the power switch and foot pedal give you full control over starting, stopping, and adjusting the sewing speed.
Balance Wheel: Raises/lowers Needle and Winds Bobbin
The balance wheel is a vital component of your sewing machine, responsible for lifting and lowering the needle and winding the bobbin. It’s a key part of the machine’s operation, transferring power from the motor to the balance wheel, which then moves the needle and hook to create stitches. The balance wheel’s size and mass are essential factors, as they impact power and rotation speed, guaranteeing smooth stitch formation.
To wind the bobbin, you’ll need to loosen the stop motion screw on the balance wheel, allowing the needle to move freely while winding. This guarantees that the pressure for the bobbin winder pulley is adequate, preventing any issues with the bobbin winding process. Once the bobbin is wound, remember to tighten the stop motion screw again to maintain proper machine operation.
The balance wheel plays a significant role in stitch quality, as it affects the tension of the thread and the bobbin. Proper thread tension is crucial for creating a balanced stitch, which aligns perfectly on both the top and bottom threads. Fabric thickness also influences stitch quality, and the balance wheel helps maintain consistent tension across different materials.
Slide Plate: Facilitates Bobbin Case Removal
The slide plate is an essential component of your sewing machine, designed to facilitate effortless bobbin case removal, replacement, cleaning, and maintenance. It’s a flat, rectangular piece of metal or plastic affixed to the front of the machine, directly above the bobbin case. The slide plate is engineered to move back and forth, allowing convenient access to the bobbin case without the need for disassembling the entire machine.
To remove the bobbin case using the slide plate, simply slide the plate backward, exposing the bobbin case. Once the bobbin case is visible, lift it out of the machine to remove it. This process is reversed when replacing the bobbin case, ensuring it’s securely in place before resuming sewing.
The slide plate is also indispensable for cleaning and maintaining the bobbin case. By sliding the plate back, you can access the bobbin case and thoroughly clean it, removing any accumulated lint or debris. This is crucial for maintaining the optimal performance of your sewing machine and ensuring consistent, high-quality stitches.
Beyond its functional significance, the slide plate also enhances the aesthetics of your sewing machine. It conceals the front of the bobbin case, presenting a clean and polished appearance. This is particularly advantageous if you utilize your machine professionally or commercially, as a well-maintained machine can significantly enhance the perceived quality of your work.
Power Switch: Turns Machine On/off
Power Switch: Turning Your Sewing Machine On/Off Safely
The power switch is a key component of your sewing machine, responsible for turning your machine on and off. Here are three things you should know about this essential part:
- Safety Precautions: Always unplug the machine when not in use to prevent accidents.
- Cord Storage: Keep the power cord away from the needle area to avoid tangling.
- Light Placement: Position the light to illuminate your work area for better visibility.
Foot Pedal: Controls Sewing Speed
When it comes to controlling the pace of your sewing machine, the foot pedal plays a vital role. It’s not just about pressing down on the pedal; it’s about how much force you apply and how swiftly you release it. This pressure adjustment is what determines the speed of your stitching. Some sewing machines come with adjustable speed settings, which can be controlled by the foot pedal. However, if your machine lacks this feature, you can still control the speed by applying more or less force on the pedal.
The foot pedal is designed with ergonomics in mind to ensure comfort and reduce operator fatigue. It should be light enough to maneuver but heavy enough to provide stability. The height of the pedal and the force required to press it down are also important factors in its design.
If you’re looking for more precise control over your sewing speed, you might consider using a speed controller. These devices allow you to set a constant speed for your machine, which can be especially useful for quilting or other detailed work.
Stitch Selection and Control
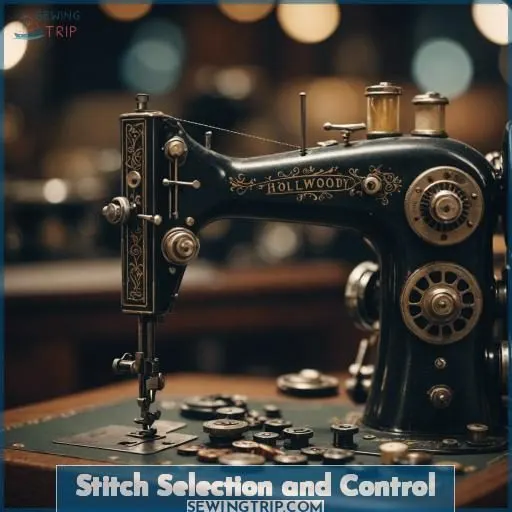
Prepare to unleash the true capabilities of your sewing machine. Acquaint yourself with the stitch selection and control mechanisms such as the Stitch Selector, Reverse Lever, Stitch Length Dial, and Stitch Width Dial. These fundamental elements empower you to select the ideal stitch, reinforce seams, and embellish your creations with intricate stitching.
Pattern/Stitch Selector: Chooses Machine Stitch
Embark upon the realm of stitch selection with your sewing machine’s pattern/stitch selector. Tailor your stitches to diverse sewing endeavors, explore the realm of ornamental stitches, and intertwine patterns for exceptional creations. The stitch selector is your gateway to a tapestry of limitless possibilities, empowering you to manifest the desires of your heart.
Reverse Lever: Secures Thread at Seam Ends
Reverse stitching is a fundamental aspect of sewing, ensuring seam reliability and thread locking. The reverse lever on your sewing machine is designed to help you achieve this. By pressing the reverse lever, you can secure the thread at the beginning and end of seams, making your stitches more durable and less likely to unravel. This is particularly important when working with delicate fabrics or when you need to reinforce the ends of your stitches for added strength.
To use the reverse lever, simply lift the stitch length lever up to the top, and the machine will start sewing in reverse. Lower it manually to resume forward stitching. Some machines may have a reverse button that locks down, providing more control over the stitching direction.
Reverse stitching can be beneficial in various sewing scenarios. For example, when sewing curves or working with knits, you may find it easier to sew in reverse to prevent the fabric from stretching. Additionally, some stitches, like overcasting, may not be suitable for continuous reverse stitching, so it’s vital to understand the limitations of your machine and the stitches you’re using.
Stitch Length Dial: Sets Stitch Length
Dialing in the perfect stitch length on your sewing machine is like finding the sweet spot in a melody. Whether you’re adjusting for hemming width, buttonhole size, or fabric thickness, the stitch length dial is your maestro, ensuring every stitch sings in harmony.
Stitch Width Dial: Controls Decorative Stitch Width
To adjust the width of decorative stitches on your sewing machine, you can use the stitch width dial. This dial allows you to control the width of the stitch, which can be particularly useful when working with decorative stitches that require a specific width for aesthetic effects or pattern variation. Here are three ways to use the stitch width dial:
- Experiment with Widths: Try different width settings to see how they affect the appearance of your stitches. You might find that certain widths work better for specific decorative stitches or fabric types.
- Match Stitch Widths: If you’re working on a project that requires multiple stitches, make sure the widths match for a cohesive look. This can be especially important when using a variety of decorative stitches.
- Create Unique Designs: By adjusting the stitch width, you can create custom designs that are unique to your sewing projects. This can be a fun way to experiment with different stitch patterns and add personal touches to your work.
Miscellaneous Parts
Need to illuminate your sewing area? The built-in light on your machine’s got you covered. And when it’s time to move your machine, simply grab the convenient carrying handle for easy transport.
Light: Illuminates Work Area
Illuminate your sewing journey with the perfect light! Adjust the light position and brightness to suit your requirements. Choose the correct light bulb type and color temperature for maximum sewing safety precautions. Angle the light for superior stitch quality and sewing efficiency. Keep in mind, a well-lit workspace is a pleasant workspace!
Carrying Handle: Assists in Transporting the Machine
The carrying handle is a vital part of a sewing machine, as it facilitates effortless transportation and storage. It’s usually situated at the apex of the machine and is engineered to be robust enough to bear the weight of the machine while ensuring a comfortable grip.
The handle may be affixed to the machine utilizing various methods, such as depending legs that culminate in eccentric pads that can be inserted into perforations in the casing of the machine.
Certain sewing machine carrying cases also incorporate carrying handles for added convenience during transportation.
Frequently Asked Questions (FAQs)
How does a sewing machine work?
You power it on, the flywheel spins, the needle dances, the bobbin spins, the fabric glides, and presto – your sewing machine’s now humming along, stitching away your masterpiece. Easy as pie, right?
What is the difference between a bobbin and a spool?
The bobbin holds the bottom thread, while the spool stores the top thread. Mastering their distinct roles is essential for effortless sewing – one misstep, and your stitches will unravel right before your eyes!
Can I change the stitch length on a sewing machine?
The sewing machine’s stitch length dial lets you easily adjust the length of each stitch, giving you full control over your project’s look and feel. Tweak it till it’s just right!
How do I wind a bobbin?
Imagine needing a fresh bobbin to keep your machine humming along. No problem! Just place your thread spool, pop the bobbin winder into gear, and let ‘er rip. In no time, you’ll have a perfectly wound bobbin, ready to go.
What is the purpose of a needle clamp?
The needle clamp securely holds the sewing machine’s needle in place, ensuring it pierces the fabric precisely where you need it. It’s kinda like your sewing sidekick – always there to support your stitches!
Conclusion
Ultimately, grasping the sewing machine’s fundamental components is akin to unveiling a tapestry of textile artistry. From the intricate interplay of thread manipulation to the seamless control of fabric manipulation, each element plays a pivotal role in enhancing your sewing expertise.
By comprehending the interplay of these sewing machine parts, you’ll uncover the means to consistently produce exquisite, professional-grade projects.
Explore the intricacies of sewing machine parts elucidated, and you’ll soon be sewing with the assurance of a seasoned pro.

