This site is supported by our readers. We may earn a commission, at no cost to you, if you purchase through links.
 You’ve got this! Follow these tutorial steps on how to use a sewing machine:
First, set up your machine by threading it properly – that’ll make or break your sewing experience.
Next, get familiar with the key components like the presser foot, tension dial, and stitch controls.
Once you’ve mastered those basics, you’re ready to start stitching!
Carefully place your fabric under the presser foot, adjust the settings for your project, and start sewing. Don’t forget to secure those beginning and ending stitches.
With a little practice, you’ll be whizzing through seams like a pro.
But why stop there when you can unveil even more machine magic?
Table Of Contents
Key Takeaways
- Properly setting up and threading the sewing machine is crucial for a smooth sewing experience
- Familiarizing yourself with key machine components like the presser foot, tension dial, and stitch controls is essential for mastering the basics
- Pinning and aligning fabric properly, sewing along the seam, backstitching, and trimming excess threads are fundamental steps in seam construction
- Computerized sewing machines offer convenient features like touchscreen stitch selection, automatic adjustments, and variable speed control for enhanced creativity and precision
Sewing Machine Basics
Sewing machines have come a long way since their invention in the early 19th century.
Today, they offer a wide range of features and capabilities, making sewing more accessible than ever before.
When choosing a sewing machine, consider factors like needle size, fabric suitability, and your specific project needs.
Experiment with different thread types and presser feet to achieve the desired results.
Don’t be afraid to try new things – sewing is a skill that improves with practice.
If you encounter any issues, consult your machine’s manual or seek help from experienced sewers.
With the right tools and a bit of patience, you’ll be creating stunning projects in no time!
Setting Up the Machine
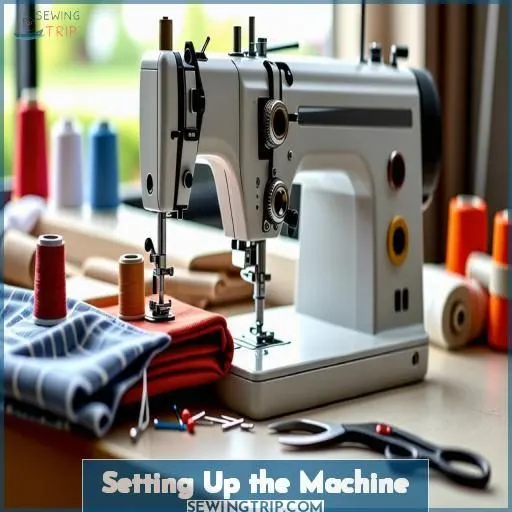
Now that you’re familiar with the basics of sewing machines, it’s time to set up your machine for success! First, make sure your machine is clean and well-oiled. Consult your user manual for specific maintenance instructions. Next, choose a suitable fabric for your project. Natural fibers like cotton or linen are great for beginners. Select a matching needle type and size – a universal needle works well for most fabrics.
Before sewing, plan your project. Sketch out ideas or use a pattern. Measure and cut your fabric pieces carefully. Organize your workspace with essential tools like pins, scissors, and seam ripper. Plug in your machine and turn it on. Adjust the stitch length and width as needed. Now you’re ready to thread your machine and start sewing! Take your time, and don’t be afraid to experiment. Sewing is a skill that improves with practice. Happy sewing!
Threading the Machine
To thread your sewing machine, first place the spool of thread on the spool pin and draw the thread through the path guided by the machine’s diagram. You’ll need to pass the thread through the take-up lever, then either use the built-in needle threader or manually thread the needle eye.
Spool and Bobbin
When threading the machine, the spool holder secures the thread, while the bobbin placement prepares the bobbin thread for winding. Properly tensioning the thread ensures smooth sewing. Consider stitch length and width for the seam allowance, and remember to backstitch for secure starts and ends. Additionally, utilize the reverse stitch function to reinforce your stitches effectively. (Source)
Thread Path and Take-up Lever
Next, guide the thread through the tension discs and up to the take-up lever. The take-up lever moves up and down, pulling the thread through the machine. Make sure the thread is securely in the lever’s groove. This step is critical for proper thread tension and stitch formation.
| Thread Types | Thread Tension |
|---|---|
| Cotton | Adjust as needed |
| Polyester | Maintain consistent |
| Silk | Avoid over-tightening |
Needle Threader
The needle threader is a handy tool that makes threading your needle a breeze. Simply guide the thread through the threader’s hook, lower the threader, and the hook will pull the thread through the needle’s eye. This automatic threading feature saves time and frustration, allowing you to focus on your sewing project.
Machine Components and Functions
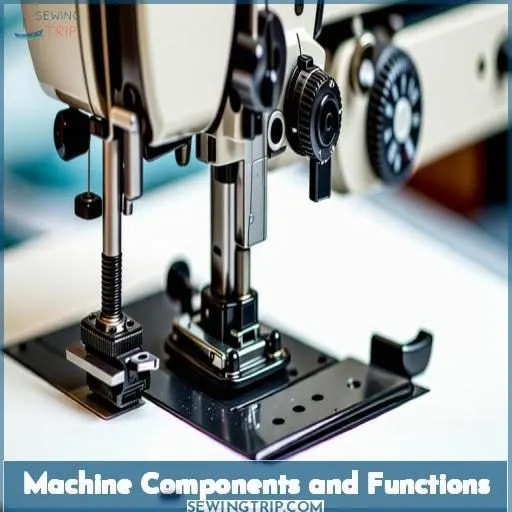
Let’s discuss some key machine components and functions.
The power and stitch controls let you turn the machine on/off and select your desired stitch type.
While the presser foot holds the fabric in place and the bobbin winder prepares the bobbin for the lower thread supply.
Proper tension is essential for even stitches, so you’ll want to adjust the tension dial as needed.
Power and Stitch Controls
To start sewing, locate the on/off switch on your foot pedal. Adjust stitch settings using the stitch selection dial. The reverse button allows you to sew in reverse for securing stitches. Use the hand wheel to manually adjust the needle position. Proper bobbin tension is essential for smooth sewing. With these controls mastered, you’re ready to sew!
Presser Foot and Bobbin Winder
The presser foot applies pressure to the fabric, allowing for smooth feeding. Adjust the pressure for different fabrics. The bobbin winder winds thread onto the bobbin. Set the winding speed and tension for consistent winding. Attach the presser foot securely. The bobbin case holds the bobbin and thread, creating the bottom thread tension.
| Presser Foot | Bobbin Winder |
|---|---|
| Pressure | Speed |
| Fabric Type | Tension |
| Attachment | Case |
Tension Dial
To maximize your sewing results, calibrate the tension dial appropriately. Maintain appropriate tension adjustment for superior thread work. Align your fabric with the appropriate tension setting for optimal fabric compatibility. Stitch density is affected by tension; maintain a balanced tension for consistent stitches. Note that the tension dial also impacts the bobbin thread, so adjust carefully for overall sewing success.
- Tension adjustment for thread quality
- Fabric compatibility with tension settings
- Impact of tension on stitch density
Basic Sewing Process
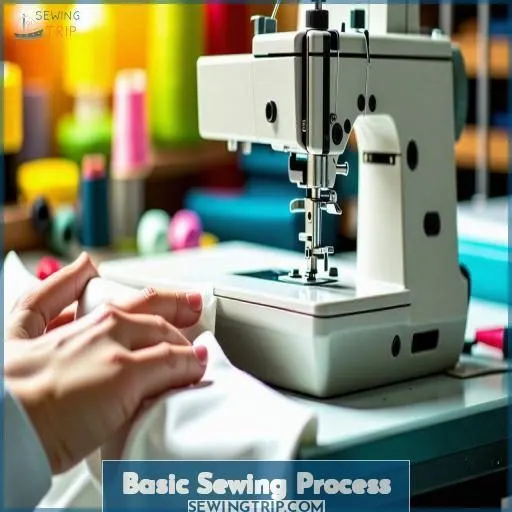
With your sewing machine set up and threaded properly, you’ll want to select the desired stitch type and length for your project. Once you’ve made those selections, place the fabric under the presser foot, lower it, and prepare to start sewing by holding the thread ends and positioning the needle in the fabric.
Stitch Type and Length Selection
Once you’ve threaded your machine and prepared your bobbin, it’s time to select your stitch type and length. Consult your machine’s manual or the included stitch guide to choose the appropriate stitch for your fabric type and project. Adjust the tension as needed for a balanced stitch. Now you’re ready to start sewing!
Fabric Placement and Presser Foot
Raise the presser foot and place your fabric under it, aligning the edge with your desired seam allowance. Adjust the presser foot pressure if needed for your fabric weight. Gently feed the fabric, keeping it straight and avoiding pulling or pushing. Use the needle position to guide your fabric for precise seam placement.
Starting and Securing Stitches
To secure stitches in the basic sewing process, adjust the fabric tension appropriately for the fabric type, needle type, and thread size.
Position the fabric under the presser foot, ensuring the correct seam allowance. Engage the presser foot and lower the needle into the fabric.
Begin stitching, and after a few stitches, reverse to secure the start. Ensure the backstitching overlaps the beginning stitches for a secure finish .
Backstitching Technique
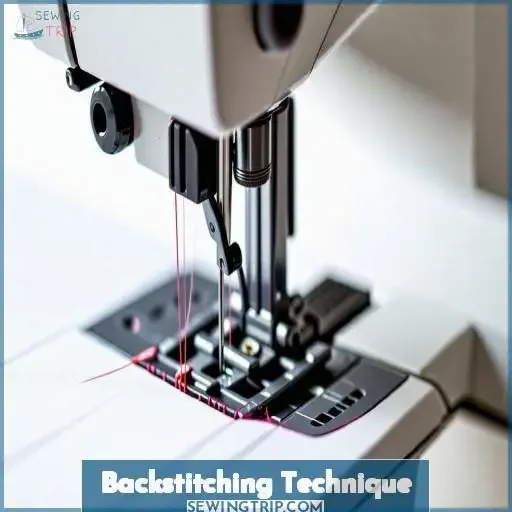
Backstitching is a handy technique for securing your stitches at the beginning and end of a seam. It’s easy to do and adds strength to your sewing projects. Here’s how:
Position your fabric under the needle and lower the presser foot. Put your needle down into the fabric by turning the handwheel. Now, press the reverse button on your machine and sew backwards for 3-4 stitches. Release the reverse button and sew forward, following your seam line. When you reach the end, put your needle down again, press reverse, and sew backwards for another 3-4 stitches. This locks your stitches in place and prevents unraveling. Backstitch at the start and end of every seam for a professional finish.
Seam Construction
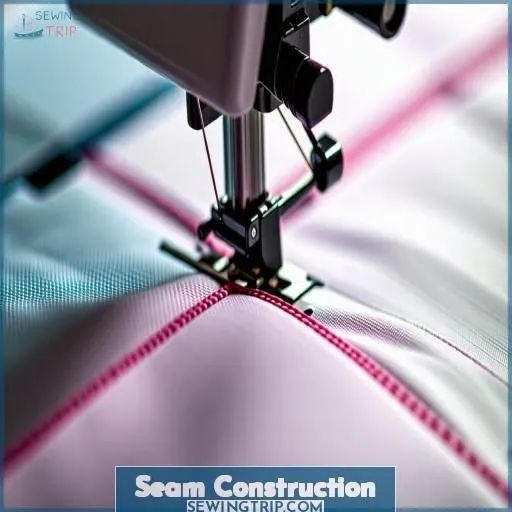
To construct a seam, you’ll first need to pin the fabric pieces right sides together, making sure they’re properly aligned with the desired seam allowance.
Next, guide the pinned fabric under the presser foot, aligning it with the seam allowance guides on the machine.
Sew along the seam – backstitching at the start and end before trimming the excess threads.
Pinning and Aligning Fabric
When preparing to sew, understanding the significance of seam allowance, fabric placement, and aligning fabric is fundamental.
Verify the correct sides of the fabric are together with the seam allowance, then utilize effective pinning techniques to secure them in place.
This step is essential for successful seam construction, ensuring accurate alignment and preventing fabric from shifting during sewing.
Proper fabric preparation guarantees a smooth and precise sewing experience.
Sewing Along the Seam
Now that your fabric is pinned and aligned, it’s time to sew along the seam.
Gently guide the fabric as you press the foot pedal, maintaining a consistent seam width.
Adjust your stitch length based on the fabric thickness.
Use a straight stitch for most fabrics.
Use a zig-zag stitch for stretch or delicate materials.
Keep your seam allowances neat and even for a professional finish.
Backstitching and Trimming
After sewing along the seam, it’s time to backstitch at the beginning and end to secure your stitches. This prevents unraveling and creates a neat seam finish. Trim the thread close to the fabric using sharp scissors. Backstitching and trimming help control fabric fraying and maintain the integrity of your project. Use the reverse stitch button to backstitch.
Using Computerized Sewing Machines
Computerized sewing machines allow you to select stitches and adjust settings with the touch of a button on the digital screen. They often feature automatic needle threading, adjustable stitch length and width, programmable stitch sequences, and variable speed control with the foot pedal.
Touchscreen and Stitch Selection
When using computerized sewing machines, the touchscreen enables easy stitch selection. To enhance your sewing experience:
- Explore touchscreen navigation for stitch pattern effects.
- Experiment with decorative stitch applications for unique designs.
- Utilize the buttonhole function and explore embroidery capabilities for added creativity.
Automatic Features and Adjustments
Computerized sewing machines offer automatic features like stitch pattern selection, adjustable stitch length and width, and thread tension control. Easily choose from a variety of built-in stitches for different fabrics and projects. Adjust settings like stitch density for hemming or buttonhole size with the touch of a button. Express your creativity with these powerful adjustments.
Stitch Speed Control
On computerized machines, a sliding speed control allows you to adjust the sewing speed. This lets you sew delicate fabrics at a slower pace for precision, or speed up on sturdy materials. Experiment with different speeds to find the ideal stitch quality for your project. The speed control gives you full control over your sewing, from intricate details to rapid construction.
- Achieve perfect stitch precision at any speed
- Vary speed for different fabrics and threads
- Customize stitch speed to your sewing style
Troubleshooting and Safety Measures
You’ll want to exercise caution when using a sewing machine to prevent accidents or damage. Before threading, always unplug the machine, and keep your fingers away from the needle area while sewing; common issues like tangled threads, skipped stitches, or fabric jams can often be resolved by rethreading the machine properly or adjusting the tension.
Machine Safety Precautions
When using a sewing machine, prioritize safety to protect yourself and the machine. Always keep your fingers away from the needle, unplug before threading, avoid forcing the machine through fabric, and never sew over pins. Safety precautions guarantee smooth machine maintenance while you focus on fabric selection, pattern preparation, and enjoying your sewing projects, including exploring quilting basics.
Threading Tips
To thread your machine smoothly, start by placing the thread on the spool pin. Follow the threading diagrams on your machine, guiding the thread through the tension discs and take-up lever. Use the needle threader for easy needle threading. Confirm proper bobbin preparation by winding thread evenly on the bobbin. Regular machine lubrication keeps it running efficiently.
Common Sewing Machine Issues
If you encounter issues like bobbin tension problems, needle breakage, fabric bunching, or thread fraying, don’t worry! Keep your fingers clear of the needle, unplug the machine before threading, and avoid forcing the fabric. If problems persist, consult your user manual or seek professional assistance. With some troubleshooting, you’ll be sewing smoothly in no time!
Frequently Asked Questions (FAQs)
Can I teach myself to use a sewing machine?
Yes, you can certainly learn sewing machine basics through online tutorials, sewing classes, or working hands-on with guidance from experienced individuals. With patience and regular practice, mastering a sewing machine is an attainable goal.
How do you sew on a machine for beginners?
Learning to sew is like gaining a superpower – you can create anything! Set up the machine properly, practice controlling it slowly, then sew simple projects like tote bags to build confidence. Soon, you’ll be stitching like a pro!
How does a sewing machine work step by step?
Thread it first, then insert the bobbin. Select your stitch settings, place fabric under the foot, and press the pedal. Guide the fabric, maintaining an even seam allowance as you sew. Backstitch at start and end.
Is it hard to learn to use a sewing machine?
Learning to sew isn’t rocket science – it’s achievable with a little practice! You’ll be sewing like a pro in no time, creating garments that make your jaw drop. Start with the basics, be patient, and you’ll soon acquire a liberating new skill.
How do I clean and maintain my sewing machine?
Regularly clean your machine to keep it running smoothly. Unplug and remove lint from bobbin area, using a brush or compressed air. Lubricate moving parts per manufacturer’s instructions. With proper care, your sewing machine will serve you well for years.
What types of needles should I use for different fabrics?
You’ll need different needle types for different fabrics. For lightweight fabrics, use a smaller sharper needle; for heavyweight fabrics, a larger needle with a reinforced shaft works better. Consult your machine manual or ask at your local sewing store for specific needle recommendations.
How do I adjust the tension on my sewing machine?
You’ve heard tension is key for smooth sewing, but how do you adjust it? First, run a test stitch on scrap fabric. If the tension is off, refer to your manual and carefully tweak the tension dial until the stitches lie flat and even.
Can I sew leather or vinyl on a regular sewing machine?
Yes, you can sew leather or vinyl, but you’ll need special needles and thread. A leather needle has a sharp, chisel-like point to pierce these tougher materials. Select a heavy-duty, polyester or nylon thread designed for sewing leather or vinyl.
How do I wind a bobbin evenly and consistently?
As your machine runs, guide the thread firmly and evenly into the bobbin winder tension disk. Too loose and it’ll tangle; too tight and the thread may break. With a steady hand and a little practice, you’ll wind beautiful, even bobbins every time.
Conclusion
Ultimately, practice makes perfect rings true when learning how to use a sewing machine. With patience and dedication, you’ll master tutorialshow to use a sewing machine efficiently. Remember to follow safety guidelines, thread correctly, familiarize yourself with the components, and experiment with different stitches and techniques. Embrace the process, and you’ll soon be creating professional-looking projects with ease.

