This site is supported by our readers. We may earn a commission, at no cost to you, if you purchase through links.
 Did you know that 60% of sewing mistakes stem from poor fabric control?
Master fabric control with this guide.
Learn to:
- Guide fabric with both hands.
- Maintain tension to prevent bunching.
- Use tools like walking feet and fabric guides to help feed fabric smoothly.
Practice on scrap fabric first.
Check your:
- Needle.
- Thread.
- Tension settings.
To ensure optimal performance.
Table Of Contents
Key Takeaways
- Guide the fabric with both hands, keeping the left hand lightly resting on the fabric to guide it through the feed dogs and the right hand holding the fabric taut behind the presser foot
- Maintain consistent tension on the fabric to prevent bunching or shifting, using a dragging technique instead of pushing or pulling
- Use tools like a walking foot or fabric guide to help feed the fabric evenly and prevent layers from shifting
- Check needle, thread, tension, stitch length, and practice on scraps before sewing the final garment
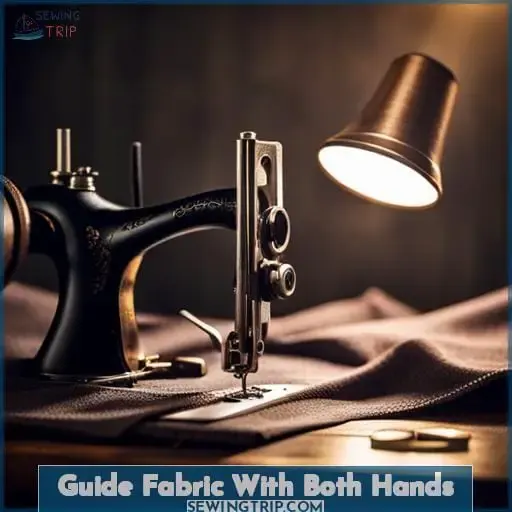
Guide Fabric With Both Hands
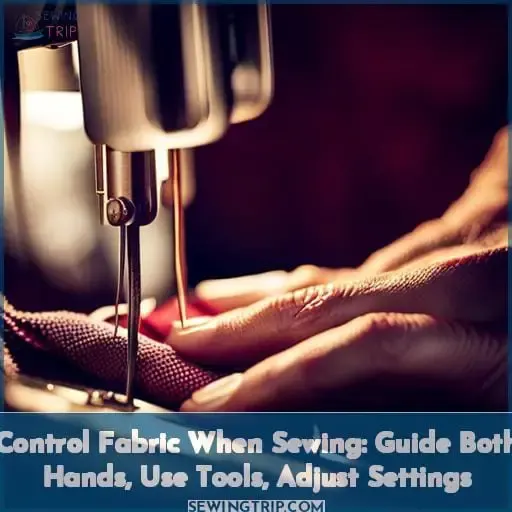
When sewing, you must guide the fabric with both hands to maintain control and ensure straight, flat seams.
Keep your left hand lightly resting on the fabric, guiding it through the feed dogs, while your right hand holds the fabric taut behind the presser foot.
Adjust the position and pressure of both hands as needed to keep the fabric smooth and prevent puckering or stretching.
Left Hand Position
You’re resting your left hand lightly on the fabric, guiding it through the sewing machine with your fingers safely away from the needle.
Use precision techniques like a thimble for finger safety as you maintain seamless control, moving the fabric smoothly and evenly for straight seams.
Employ ergonomic guidance of keeping your hand positioned to steer the fabric masterfully.
Shift your hand as needed while continually minding the fabric, not allowing bunching or slipping, which could lead to uneven and frustrating results.
Tools like a walking foot can aid progress.
With practice in fabric mastery, you’ll learn how to control sewing for the outcomes you envision.
Right Hand Position
You’d be holding the fabric behind the presser foot with your right hand, guiding it through the machine while keeping your fingers away from the needle to avoid injury.
Position your hand about an inch behind the presser foot to maintain control of the fabric.
Use a thimble on your middle or index finger to protect from needle pricks. Thimbles allow better grip and control.
Keep your fingers clear of the needle area and feed dogs for safety.
Move at a steady, even pace, adjusting speed as needed for accuracy. Rushing causes mistakes.
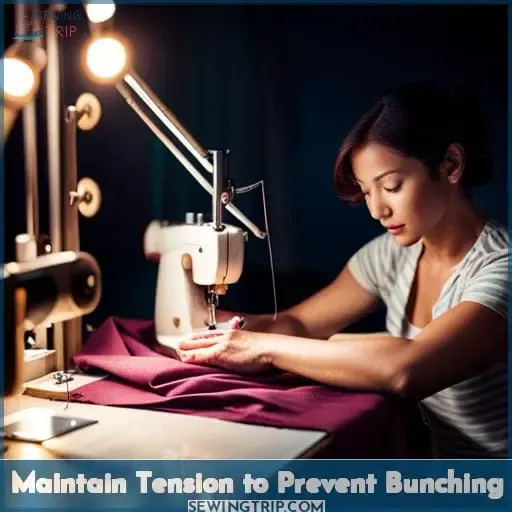
Maintain Tension to Prevent Bunching
Maintaining proper tension as you guide the fabric is crucial for preventing bunching or distorted seams.
As both hands keep contact with the material, consciously grip it to provide resistance against the feed dogs below without impeding progress.
Overly taut or slack handling leads to unsatisfactory results.
Utilize tension techniques like dragging rather than pushing or pulling, using fabric guide attachments, adjusting presser foot pressure, and sewing at slower regulated speeds.
These bunching solutions promote seamless stitches through precision stitching and controlled fabric flow.
With practice, you’ll intuitively learn how to properly hold and maneuver the fabric while sewing to stop shifting, slippage, and movement for professional outcomes.
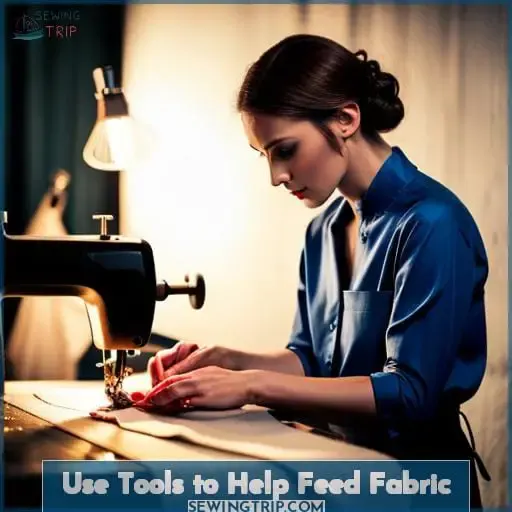
Use Tools to Help Feed Fabric
When guiding fabric through a sewing machine, additional tools can assist with keeping the material straight and feeding smoothly.
Attach a walking foot, which has feed dogs that help grip and advance the fabric at the same rate as the machine’s feed dogs.
You may also make use of an adjustable fabric guide that keeps the fabric from shifting side to side.
Walking Foot
Employing a walking foot while sewing can assist in feeding the fabric through the machine evenly.
The benefits of using a walking foot include:
- Helping to feed fabric smoothly without stretching or distortion
- Preventing layers, especially knits, from shifting while sewing
- Ensuring even stitch length by keeping fabric feeding at a consistent pace
With practice using a walking foot, you can gain better control when sewing tricky or delicate fabrics.
Take your time, guide the layers gently, and let the walking foot do its work.
Your sewing satisfaction will improve as seams emerge flat, accurate, and pucker-free.
Fabric Guide
Keep a firm grip on the fabric as you employ a fabric guide to assist in feeding the material evenly through the machine.
As an essential tool for mastery through practice, a fabric guide keeps folds straight and facilitates seamless stitches.
With thimble techniques, grip folded edges while easing fabric under the presser foot against the guide.
Mark corners in chalk and match points, continuously adjusting hands to maintain precision alignment.
Though initial progress may involve some precision puckering, consistent practice using fabric guides leads to excellent fabric flow and control.
Keeping fabric together and straight in this manner develops the muscle memory needed for advanced sewing.
Practice on Scrap Fabric First
Before sewing your project, it’s wise to first practice on scrap fabric.
This allows you to perfect your techniques without wasting good material.
When practicing:
-
Use fabric similar in weight and stretch to your project fabric.
This helps mimic how it will behave when sewing the final garment.
-
Mark guideline stitches on the scrap pieces.
This helps you practice sewing straight, precise seams.
-
Make mistakes intentionally.
See how stretching, bunching, or inconsistent stitch lengths impact the samples.
Learning what not to do is as valuable as learning what to do.
-
Press each seam after sewing.
Observe how the scrap fabric reacts to heat and steam.
This ensures no surprises when pressing the final project.
The time spent test driving on scraps is an investment that pays off with greater sewing confidence, preventing frustrating redos.
Use this phase to build essential skills until stitching feels smooth, steady, and second nature.
With a solid foundation, you can approach any project feeling assured of success.
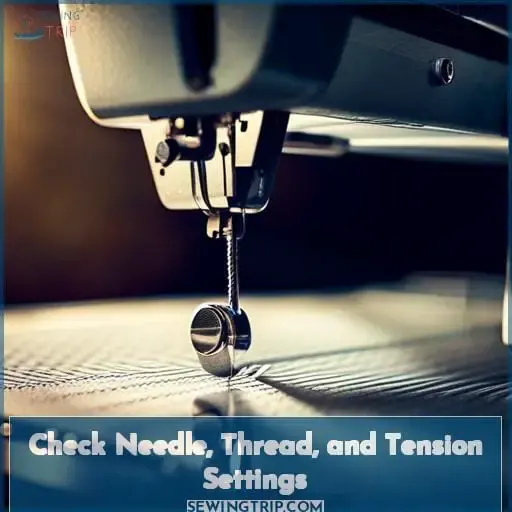
Check Needle, Thread, and Tension Settings
Double-check your needle, thread, and tension settings before you start sewing. Using the proper tools is crucial for quality results.
Start with the needle – make sure it’s sharp and the right type for your fabric. Ballpoint needles glide smoothly without piercing delicate knits.
Next, thread quality matters. Poor thread breaks easily and leaves fuzz behind. Choose a weight and fiber content suited to the project. Cotton thread works for most fabrics. Polyester has extra strength for heavy projects like jeans.
Finally, test stitch tension. Set the length for 2.5-3mm, standard for sewing. Tweak tension until top and bobbin threads lock evenly. Too loose, and seams unravel. Too tight causes puckers. Check tension on fabric scraps first before sewing the final piece.
With the right needle, thread, and balanced tension, you’ll stitch like a pro.
Frequently Asked Questions (FAQs)
What type of fabric is easiest for beginners to learn on?
Cotton fabrics are easiest for sewing beginners to learn on.
They’re affordable, forgiving to work with, and available in a range of weights.
Focus on wovens over stretchy knits initially.
My fabric keeps slipping and sliding around. What can I do?
Use pins liberally to anchor layers.
Try weights, clips, or tape to hold fabric taut.
Always keep hands firmly guiding fabric.
Press seams flat to minimize shifting.
Practice on scraps first.
Go slowly on silky fabrics.
I don’t have a walking foot. Are there any other tools I can use?
Yes. You can use a roller foot or a Teflon foot as alternatives.
These will help reduce friction when feeding fabric through the machine.
Practice on scraps first to get the hang of guiding material without slipping.
How can I fix mistakes in my seams after sewing them?
Carefully seam rip incorrect seams.
Iron fabric flat.
Re-pin and re-sew, moving slowly.
Check work frequently.
Stay focused, go slow; patience prevents problems.
With practice, your skill will grow.
Are there any videos you would recommend for learning how to control tricky fabrics?
Yes, I’d recommend watching online sewing tutorials.
Channels like With Wendy and Made to Sew provide step-by-step videos that clearly demonstrate techniques for handling slippery fabrics like silk or stretchy fabrics like knits.
Practice along with their tutorials using scrap fabric to build your skills.
Conclusion
With practice, you’ll gain confidence controlling fabric.
Guide it smoothly with both hands.
Maintain gentle tension to prevent bunching.
Employ walking feet or guides when available.
First, experiment on scraps to perfect technique before starting projects.
Finally, routinely check needles, threads, and settings.
Mastering fabric control brings sewing success within reach.

