This site is supported by our readers. We may earn a commission, at no cost to you, if you purchase through links.
Welcome to the world of loop stitch sewing! Whether you’re a beginner or an expert, this article will provide all the information you need to get started. Loop stitching is a special type of hand-sewing that can create beautiful designs and help secure thick fabric pieces together.
It requires patience and practice, but with some tips from us, it won’t be long before your projects are complete and admired by others for their intricate detail.
Table Of Contents
Key Takeaways
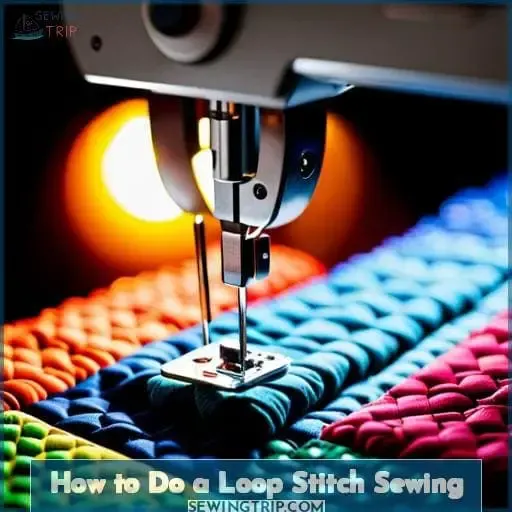
- Loop stitching can create beautiful designs and help secure thick fabric pieces together.
- Fabrics with a tight weave, such as canvas or denim, are ideal for loop stitch sewing.
- To adjust tension when loop stitching, use the thread tension dial on your sewing machine.
- Using different types of loop stitches can help achieve various effects.
What You Need for Loop Stitch Sewing
To sew a loop stitch, you’ll need the right supplies: thread to match your fabric, a suitable needle for the weight of the material, scissors, and a sewing machine with an appropriately sized metal plate.
Before beginning any project, it’s important to prepare your fabrics. Press them flat and check for any snags or tears that could cause problems during stitching.
When ready, tie off one end of the thread securely in a knot before inserting it into the eye of your needle. Use shorter stitches when possible as they will be stronger than longer ones – around 3-5 mm is ideal depending on the fabric type.
To create this form of seam using a sewing machine, you can use either chain or lock stitch approach.
Finally, if desired, add some extra security by hand-stitching buttonholes after completing loop stitching!
Materials for Loop Stitch Sewing
You’ll need a few essential items to create beautiful loop stitches, including a sewing machine, thread, and bobbin.
- Raw edges must be finished before starting the stitch. Use an overlocker or half-inch zigzag stitch on a straight line along the top of the fabric to reduce fraying.
- Adjust thread tension according to the weight of the fabric choice. Too tight can cause puckering, while too loose may cause skipped stitches.
- Choose the right needle type based on the project material. Thick fabrics like denim require heavier needles with a longer eye than thinner materials such as chiffon, which should have short and sharp needles.
- Always use matching thread color for invisible seams that hold stronger than contrasting shades. Secure ends by knotting from the underside of the fabric so they stay hidden at all times.
With these tips in mind, sewers can ensure their next looped seam turns out perfect every time!
How to Start a Hand Sewn Stitch
Starting a hand-sewn stitch requires careful consideration of the materials and techniques involved in the project. The type of fabric, needle size, thread gauge accuracy, knot-tying methods, and even prepping your material are all important factors to consider.
When selecting a needle for hand sewing, you must take into account its strength as well as how easily it penetrates through fabrics. Thread types should also be matched with the right weight or thickness depending on what is being stitched.
It’s also essential to ensure that your fabric has been pressed flat before starting any stitching process. This ensures that stitches remain neat while working with them. Creating an end knot isn’t difficult either – simply double over one side of the thread around itself twice, then pull tight against the fabric before beginning the first stitch with the same side facing up.
Gauge accuracy needs to be taken into account too. Shorter stitches mean stronger seams, but longer ones may better suit certain tasks such as embroidery designs on clothing items or home decor pieces! With these tips in mind, you can confidently start creating beautiful handmade garments quickly and efficiently!
How to End a Sewing Stitch
Once you’ve finished your stitch, tie off the thread to secure it. Knotting at the exit point of the first stitch is crucial for a hidden finish. To make sure there’s enough tension on your thread, use a length that’s double or triple what you think is necessary.
This will help keep everything in place once knotted tightly. Hand sewing techniques, such as pressing fabric before stitching and using shorter stitches, are important too. They create stronger seams than longer stitches and look better when working with front-facing fabrics.
Different types of hand sewing can be used depending on what kind of project you’re doing. Running stitches, such as whipstitch or chain stitch, work well for window treatments, while blanket stitches provide decorative joining to thicker materials like pillowslips or hems made from multiple layers of fabric.
Slip Stitch or Ladder Stitch
To finish off your project, try the slip stitch or ladder stitch for a neat and invisible look! Slip stitches are ideal for small pieces of fabric that need to be closed up securely without any visible evidence.
The needle size you choose should depend on the thickness of your fabric choice. If it’s too thick, the needle won’t penetrate, and if it’s too thin, it will be difficult to make a strong seam. To ensure an unnoticeable join, match the thread color with that of your material.
Stitch length is also important. Shorter lengths create stronger seams than longer ones while still being practically invisible when done correctly! For loop stitching like chain or lock stitches, use semi-invisible threads as they will not show up as easily from both sides of the fabric piece but provide strength in holding two separate fabrics together.
With careful consideration over all these elements – needle size, thread color & type, fabric choice, and stitch length – you can achieve an outstanding result every time with slip stitching or loop stitching!
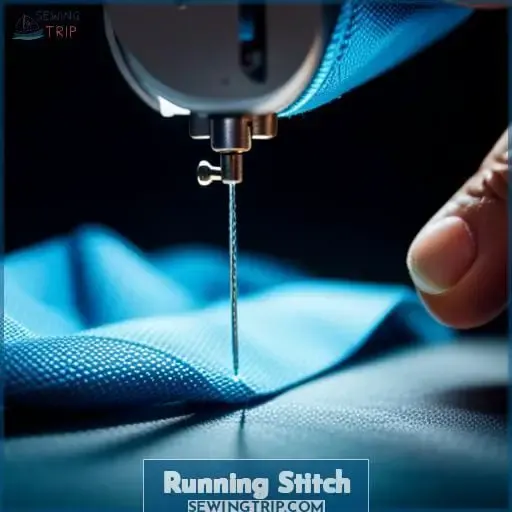
Running Stitch
Gently pull your needle through the fabric to create a running stitch, weaving in and out like a snake charmer.
- Gauge – measure how many stitches per inch;
- Thread tension – adjust as needed when changing fabrics;
- Stitch types – use straight or zigzag for various projects.
Additionally, consider the type of fabric you are using (i.e., lightweight versus heavy-duty), needle size (smaller for lightweight materials/larger for heavier ones), and thread choice (matching colors).
For more detailed instructions on loop stitching, see step-by-step photo tutorials that guide you every step of the way from marking lines with tailor’s chalk to finishing off edges with shorter stitches such as whipstitching.
And don’t forget about safety—always make sure your scissors are sharp enough to avoid unnecessary snags! With practice comes mastery—so get sewing!
Catchstitch
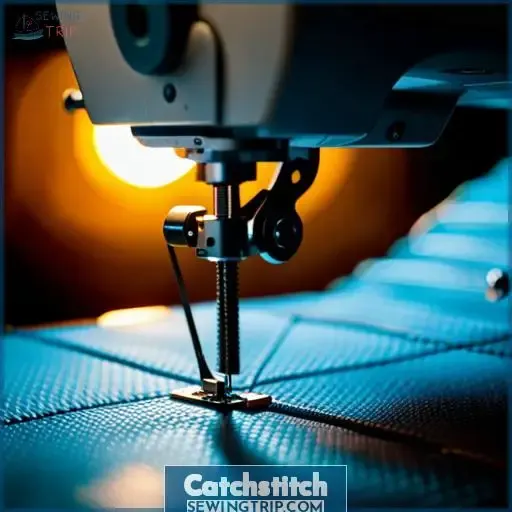
Experience the beauty of a catchstitch as you delicately join fabrics together with an intricate pattern. This stitch is perfect for thicker hems and front-facing fabric due to its semi-invisible nature.
Before starting, ensure that your fabric is pressed and thread tension on your machine needle matches the thickness of your materials. When color matching, choose a contrasting thread to highlight this decorative stitch.
The shuttle hook and looper mechanism in your sewing machine are important components when working with loop stitches like the catchstitch. Use small stitches for stronger seams while keeping an eye on maintaining consistency in size throughout the stitching process – shorter stitches will yield stronger results overall.
Remember these tips when attempting this beautiful hand-stitched technique: start by threading the needle through the underside of the fabric; bring it out through the material at the desired point where stitching begins; move forward/backward motion repeatedly until the complete seam or hemline has been created – pull tautly so the stitch appears invisible! With practice, mastering new sewing methods such as these can provide endless possibilities for creative expression within home decor DIY projects or even typography/illustrations alike!
| Advantages | Disadvantages |
|---|---|
| Semi-Invisible Stitching | Requires Skillful Hand Movement |
| Great For Thick Hems | Not Ideal For Stretchy Fabrics |
| Decorative Joining Of Fabric | May Take Longer Time To Complete |
Blanket Stitch
Now that you know the catch stitch, let’s move on to the blanket stitch. This is another type of loop stitch and is often used for decorative joining of fabrics or craft projects, such as home decor items.
To execute a perfect blanket stitch, you’ll need various types of supplies, including thread, a needle, and fabric pieces in different colors if desired. You can use any needle size depending on your project, but make sure it’s strong enough to pass through multiple layers without breaking apart too easily.
Begin by creating a small loop at one end with your thread. Then, insert the needle up from the backside of the fabric piece while pulling tautly before sending it down again into the same spot, forming an X shape when viewed from above.
This will form the basis for each subsequent row, which should be stitched close together until the desired length is achieved.
Whipstitch
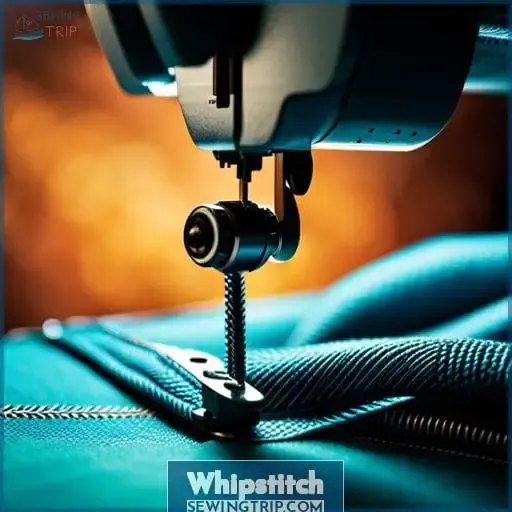
Try your hand at whipstitching to secure thick fabric facings in place and add a unique visual element. Whipstitch is one of the strongest hand stitches, making it an ideal choice for heavier fabrics like upholstery.
Use thread that matches the weight and color of your chosen fabric for an invisible finish. Start with lower tension settings on your sewing machine; increase as needed until you have a good stitch length, but not too tight so there’s still some give in the seam when pulled tautly by two fingers.
For extra durability, consider using thicker threads such as polyester or nylon instead of cotton or linen options. They will help create a sturdier stitch overall! Be sure to use the feed dog mechanism correctly when working with stiffer materials.
Decrease pressure on the presser foot while guiding the workpiece through the machine slowly yet steadily without bunching any part of the material along the way.
With all these factors taken into consideration, whipstitch can be used reliably both by hand and via sewing machines!
Backstitch
Make your projects extra strong with the backstitch. Thread a needle and bring it up through the fabric, creating small stitches that run in reverse to form an elegant pattern. It is important to choose the right needle size, thread color, and stitch length, and to create tension as you sew.
Using different types of loop stitches can help achieve various effects. For example, traditional hand-sewing slip stitch is great for hemming window treatments, while ordinary chain stitching or lock stitching is ideal for stronger seams such as embroidery.
The main advantage of using a chain stitch over other loop stitches is its simplicity while still providing strength when used correctly.
Frequently Asked Questions (FAQs)
What types of fabrics are suitable for loop stitch sewing?
Fabrics with a tight weave, such as canvas or denim, are ideal for loop stitch sewing. For added strength and durability, heavier fabrics like corduroy or twill should be used. However, lighter materials like cotton can also work well when paired with the appropriate thread weight.
How do you adjust the tension when loop stitching?
To adjust tension when loop stitching, utilize the thread tension dial on your sewing machine. Increase or decrease it based on your desired stitch tightness. Experiment with various settings to discover the one that suits your project.
Are there any special tools needed for loop stitching?
To loop stitch, you will need a needle, thread, scissors, and a sewing machine with a shuttle hook and bobbin assembly. It is important to understand the chain stitch before moving on to stronger lock stitches.
By mastering these tools, you can create beautiful home decor projects with ease.
What is the difference between a slip stitch and a ladder stitch?
A slip stitch is like a whisper – barely noticeable and fastens two pieces of fabric. A ladder stitch, on the other hand, is more prominent. It’s akin to a bridge connecting two sides together firmly yet gracefully.
How do you prevent loop stitches from unraveling?
To prevent loop stitches from unraveling, use a strong thread, make tight stitches, and avoid pulling them too hard when finishing. Secure the ends with a knot or stitch in place. To ensure durability, consider adding an extra row of stitching for reinforcement.
Conclusion
In conclusion, hand stitching with loops is a great way to create beautiful and intricate designs in fabric. It takes time and practice to master this skill, but with the right tools and materials, anyone can become a master of loop stitch sewing.
An interesting fact is that it is estimated that over 75 percent of all clothing in the world is stitched by hand. With the right knowledge and materials, you can learn how to create unique designs with loop stitch sewing.

