This site is supported by our readers. We may earn a commission, at no cost to you, if you purchase through links.
In this easy, step-by-step tutorial, you’ll master ruffle-making and unlock the secrets to producing perfect ruffles every time. We’ll guide you through preparing the fabric, stitching the hem, gathering the fullness, pinning to your project, and neatly finishing the seam so your ruffles lie flat and crisp.
You’ll finish with the skills and confidence to ruffle up any fabric creation. So grab your sewing machine and some lightweight, flowy fabric.
Table Of Contents
- Key Takeaways
- How to Make Ruffles
- Step 1: Prepare the Ruffle Fabric Strip
- Step 2: Finish the Ruffle’s Hem First
- Step 3: Machine Stitch to Finish Hem
- Step 4: Apply the Gathering Stitches
- Step 5: Pin the Ruffle to the Seam Before Gathering
- Step 6: Pull Basting Stitch Threads to Gather
- Step 7: Pin the Ruffle’s Seam
- Step 8: Machine Stitch the Ruffle Seam
- Step 9: Clean Finish the Ruffle Seam’s Raw Edge
- Frequently Asked Questions (FAQs)
- Conclusion
Key Takeaways
- Fold and press the raw edge 1/4 inch, then 1/4 inch again to finish the hem.
- Use a longer 4-5mm stitch length to prevent thread breakage.
- Pull only the bobbin threads to gather the ruffle evenly.
- Align the gathered edge perpendicular and pin it before sewing.
How to Make Ruffles
You can really jazz up an outfit by whippin’ up some ruffles! Whether you’re going for a fun, flirty look or want to add some drama, ruffles are the perfect way to spice things up.
Start by choosing a colorful fabric print or goin’ neutral with some textured cotton. Finish the hem and gather up the fabric by machine stitchin’ parallel rows. Distribute those gathers evenly along the seam and pin in place, letting the ruffles cascade.
Consider foldin’ the fabric over for a doubled ruffle or pleatin’ it up into chevrons. Finish it off by topstitchin’ below the gathers and bam – ruffle magic! With the right fabric, you’ll have yourself some runway-worthy texture and charm in no time.
Ruffles lend whimsy and interest to any garment, so grab your machine and get rufflin’!
Step 1: Prepare the Ruffle Fabric Strip
Prepare the ruffle fabric strip 2-3 times the length of the edge you want to sew it to for the fullness you want. Start by pressing the raw edge in 1/4, then fold it in again another 1/4 and press flat.
Then, select a coordinating thread color and machine stitch really close to the folded hem edge to secure it. Folding the hem over and finishing it with a nice little machine stitch before gathering gives a crisp, polished look to your ruffles.
Taking the time to properly prepare and hem your ruffle strips means you’ll get professional results and bring some fun, frilly texture to any project.
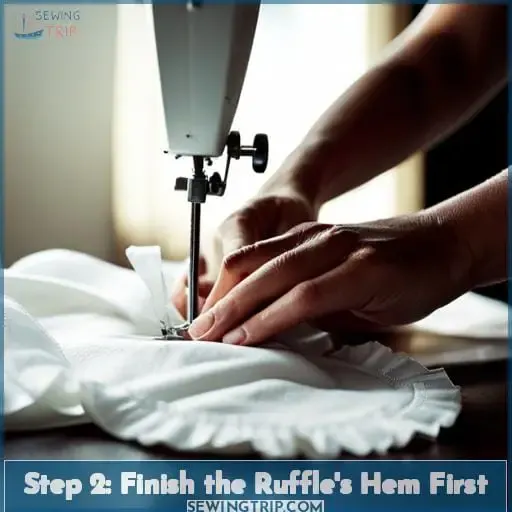
Step 2: Finish the Ruffle’s Hem First
After folding the raw ruffle edge in 1/4 and 1/4 once more, press the hem before gathering stitches are sewn in.
- For neat ruffle edges, finish by folding and pressing 1/4 inch, then another 1/4 inch before gathering.
- Measure and cut your ruffle strip 2-3 times longer than the edge you’ll gather it to.
- Pin the folded hem in place, then edge stitch close to the inner fold. This secures the hem before gathering.
- Thicker fabrics like brocade or felt make more pronounced gathered ruffles. Sheers like chiffon give a softer, more delicate gather.
- Play with different widths and fabrics to create unique ruffle effects. Ruffles inject whimsy and texture into any project.
Step 3: Machine Stitch to Finish Hem
Next, sew close to the folded hem edge with your machine to finish the hem neatly. Choose a thread color that contrasts with your fabric for good visibility. A gathering foot helps automate even ruffles as you go.
Use a longer 4-5mm stitch length to ease gathering without thread breakage. Keep the tension loose.
Stitch close to the fold to create a tailored finish for your ruffles. This technique works well whether you’re adding lightweight embellishment to a fluid chiffon dress or sewing sturdy ruffles onto a cotton skirt.
Don’t be afraid to experiment with different fabrics and creatively apply ruffles to transform necklines, hems, and even trims.
Before you start on your final project, it’s a good idea to practice these basic techniques on scrap fabric. Once you’ve mastered them, you can unleash your creativity and make any garment uniquely your own.
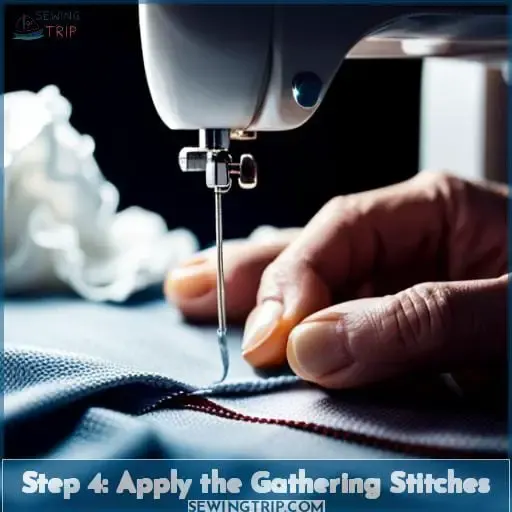
Step 4: Apply the Gathering Stitches
Now you’re gonna sew both a 1/2 and 1/4 gathering stitch the length of the ruffle, even though yanking on all that thread seems tedious – trust me, those evenly distributed gathers will be so worth it when you see that ruffly goodness come to life.
- Use a long stitch length like 4-5mm to make gathering easier and prevent thread breakage.
- Leave long thread tails at each end and wrap them around pins to keep them from pulling through.
- Pull only the bobbin threads to gather the ruffle evenly to fit the seam.
- Check for even gathers and make adjustments before sewing the ruffle to the seam allowance.
Secure the threads, distribute the gathers evenly, and you’ll have a beautiful ruffle ready to sew on and show off. The dual gathering rows give you control over fullness and create that magical ruffled effect.
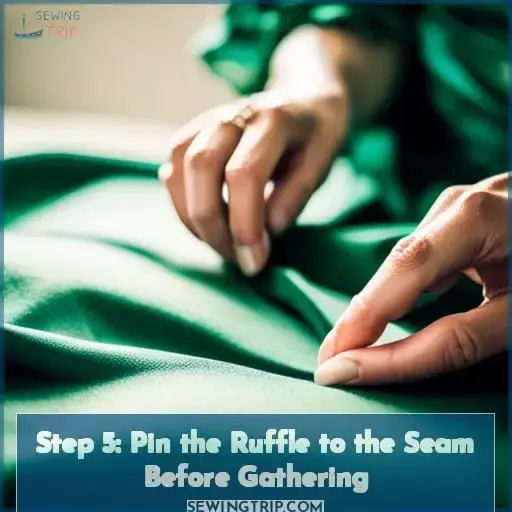
Step 5: Pin the Ruffle to the Seam Before Gathering
Pin the ruffle perpendicular to the seam, wrapping the gathering threads to secure it before pulling them to distribute the gathers evenly.
Take your time to pin the ruffle width carefully along the seam before gathering. Choose a lightweight fabric like chiffon or satin that will gather easily without too much thread tension. For easier gathering, use a gathering foot on your machine or switch to a longer stitch length.
Whether you’re applying a basic straight ruffle or something more dramatic like a double or circular ruffle, those gathering stitches and evenly spaced gathers are so important. Make sure the threads are wrapped securely at the ends so you can gently pull and distribute those gathers across the entire ruffle width.
Your perfectly gathered ruffle will then be ready to stitch right along your project seam for a flawless finish.
Step 6: Pull Basting Stitch Threads to Gather
Secure the threads and pull carefully from the opposite end until the ruffle’s all gathered snug against the seam. Be sure to distribute those gathers evenly, adjusting the fullness as needed to prevent any gaps.
This is the fun part – manipulating all that fabric into a perfectly gathered edge. Work the threads gently, easing more here or there so the gathers stay put right along the seam.
Patience and practice help get the fabric edge smooth and the gathers pretty before moving on to the next steps. Ruffles transform simple projects into showstoppers when you master this key technique.
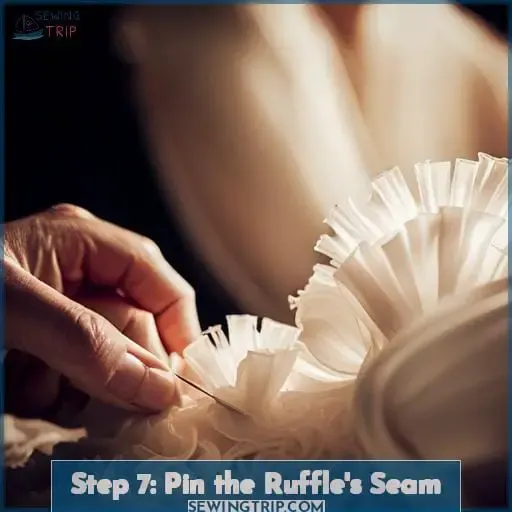
Step 7: Pin the Ruffle’s Seam
Before sewing, neatly align your gathered ruffle edge perpendicular against the seam. Pin that baby down – no measurement or ease needed. Puckering leads to distraction, so mind your pins for a polished finished look.
Once the width is set, it’s time to attach! Machine stitch the ruffle seam just below the gather row, then clean finish the ruffle seam’s raw edge. Give it a press with the iron, ruffle fold pointing away from the seam. Proper ironing prevents puckers and keeps things crisp.
For flawless ruffles, precision pinning is your best friend. Take the time to align and secure before stitching.
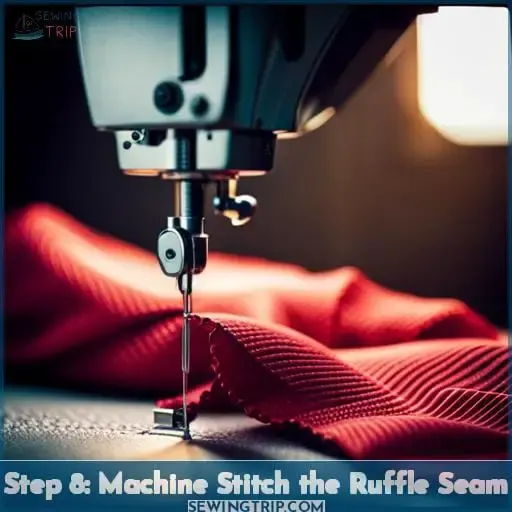
Step 8: Machine Stitch the Ruffle Seam
You’ll stitch the ruffle seam with a straight stitch right below the gathering row. Keep your sewing machine tension balanced so the gathers don’t get pulled out as you sew. Go slowly, guiding the bulk of the ruffle under the presser foot. If you’re stitching onto a curved edge, ease in any fullness so the ruffle lies flat.
For lightweight fabrics like chiffon or lace, switch to a double needle for added perfection. If your stitching puckers, loosen the top thread tension a smidge. Add interest by waving a zigzag or other decorative stitch along the ruffle instead of just straight stitching.
Remember to finish the ruffle’s hem first and apply the gathering stitches evenly before joining the ruffle seam.
Step 9: Clean Finish the Ruffle Seam’s Raw Edge
Snap that serger or zigzag stitch closed over the raw ruffle edge for a clean finish.
- Serge the raw edge with an overlock stitch. This encases the edge to prevent fraying.
- Pink the edge with pinking shears for a zigzagged finish. Cuts fabric in a sawtooth pattern.
- Bind the edge with bias tape or ribbon. Fold fabric around trim for an enclosed edge.
- Topstitch close to the edge. Used on thicker fabrics that won’t fray easily.
- Press the allowance away from the edge. Controls fraying on lighter fabrics like chiffon.
Get creative playing with clean finishing techniques on your ruffled creations. Experiment to find your perfect edge finishes that elevate the look.
Frequently Asked Questions (FAQs)
What type of thread should I use for the gathering stitches?
For gathering stitches, use a strong, high-contrast thread like dental floss or embroidery floss in a color that stands out against your fabric. This will make it easy to see the stitches for gathering evenly and remove them cleanly later.
How much fullness should I gather the ruffle to?
Gather the ruffle 2-3 times the length of the edge it will be sewn to for your desired fullness. More gathers equals more drama, so go bold if you are able! Just be sure the fabric can handle it without tearing.
Can I use a ruffler foot attachment on my sewing machine instead of gathering stitches?
You bet! A ruffler attachment is a handy tool for easily gathering fabric. Just engage the ruffler as you sew your ruffle strip.
What’s the best way to distribute the gathers evenly?
Pin the gathered section at intervals to spread out fullness evenly before sewing the ruffle in place.
How wide should I cut the ruffle fabric compared to the edge I’m attaching it to?
Measure your ruffle fabric at least twice as wide as the edge you’ll gather it onto. Like a butterfly emerging from its chrysalis, the ruffle needs room to spread its wings. Trust the process – with ample width, you’ll cocoon that raw edge into a fluttering, fabulous finish.
Conclusion
You’ve got this, fashionista! With our simple ruffle techniques under your belt, imagine the marvelous garments you’re ready to sew. Relish the vibrancy of ruffles cascading down skirts, dramatizing necklines, and adding texture to your creations.
Entertain your inner couturier – sketch an outfit populated with playful ruffles or craft matching mother-daughter dresses. Our step-by-step guidance equips you with the know-how to bring ruffle visions splendidly to life.

