This site is supported by our readers. We may earn a commission, at no cost to you, if you purchase through links.
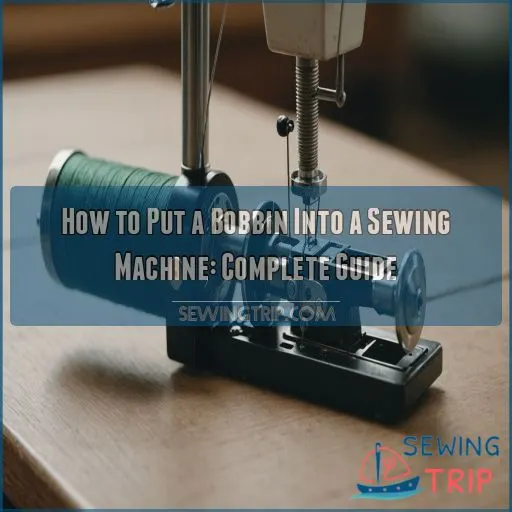
For front-loaders, open the bobbin area, pop the bobbin into its case, and slide it back in like a secret agent slipping into a hidden lair.
For top-loaders, simply lift the cover, insert the bobbin counterclockwise, and guide the thread. It’s as easy as pie!
Mind the bobbin tension to dodge pesky thread tangling.
Once you’ve mastered this, pulling up the bobbin thread will be your next stop toward sewing glory. Stay curious; a masterpiece is just a stitch away!
Table Of Contents
Key Takeaways
- Match Your Bobbin System: Figure out if your machine is a secret-agent-like front-loader or a vinyl-spinning top-loader. Get cozy with its quirks to avoid tension tangles and thread mishaps.
- Winding and Inserting Mastery: Loading a bobbin is like prepping for a sewing marathon—wind it tight and fit it snugly. Front-loaders love their cases, while top-loaders are cover-free. Follow the thread direction for a smooth flow.
- Thread Tension Balance: Achieving the right tension is like balancing on a seesaw. Slight resistance is key; too tight or loose, and you’ll have stitch woes. Adjust both top and bobbin tension like a pro to sew without a hitch.
- Troubleshoot Common Hiccups: If your bobbin thread is acting up, it’s usually threaded incorrectly or making a tangled mess. Check alignment, adjust tension, and re-thread smartly—your sewing journey should be smooth!
Choosing the Right Bobbin System
When you’re thinking about sewing machines, there are two main types of bobbin systems: front-loading and top-loading.
Choosing the right one for your machine can make all the difference in your sewing experience, so let’s take a closer look at the key differences between these two systems.
Front-loading Bobbin Systems
Front-loading bobbin systems are like a secret handshake—once you know it, you’re in!
These systems require you to remove the bobbin case to insert or swap the bobbin.
The case sits cunningly at the front.
Keep it clean and snag-free to avoid mishaps.
With practice, you’ll master this traditional method, avoiding common bobbin woes!
Top-loading Bobbin Systems
Top-loading bobbin systems are the charmers of sewing machines. Just drop the bobbin in horizontally, and let it spin like a vinyl record.
They’re a breeze with bobbin winders and compatible cases.
Perfect for those wanting to avoid bobbin tension issues.
Brands like Janome and Brother swear by this!
Give it a whirl, and watch your creations come alive.
Key Differences Between Front-loading and Top-loading Bobbin Systems
Imagine you’re exploring sewing machine bobbin systems. Ease of use, access, and maintenance are pivotal.
Front-loading setups keep costs down and fit snugly, though threading can be a chore.
Top-loading versions, with quick set bobbin perks, are easier on access but may stretch your budget slightly more.
Balancing thread tension and smooth needle plate interaction is essential for both.
Preparing the Bobbin for Insertion
Before you can insert the bobbin into your sewing machine, you’ll need to wind it with thread and prepare it for use.
Don’t worry, it’s a quick and easy process – just follow the steps below to get your bobbin ready to go!
Winding a Bobbin
Winding a bobbin feels like giving your sewing machine a fresh breath of life!
Start by placing your thread spool horizontally—use that spool cap.
Thread it through the **upper thread guide** to the bobbin [and then follow the bobbin threading steps](https://sewingtrip.com/tutorialshow-to-thread-a-bobbin/).
Keep an eye out for tension issues.
Engaging the bobbin winder might need gentle persuasion.
Wind it full for unstoppable sewing adventures!
Threading the Bobbin
Inserting the bobbin’s about getting things just right, like threading a needle during a sewing marathon! Follow these steps for smooth sailing:
- Make sure the bobbin thread’s unwinding direction matches your sewing machine’s guide to ensure proper winding.
- Check for proper bobbin tension—loose threads can be party poopers.
- Securely place the bobbin into its case type, making sure it fits snugly.
Cutting the Excess Thread
Once you’ve wound the bobbin, it’s time for a little snip-snap action.
Use the thread cutter placement to trim the excess thread to make sure smooth stitching.
Keeping the thread just right — not too long — maintains bobbin thread tension.
Inserting the Bobbin Into the Machine
Inserting the bobbin into your sewing machine is a key step in the bobbin insertion process.
Whether you have a front-loading or top-loading system, follow the specific instructions carefully to make sure you have a smooth sewing experience.
Inserting a Bobbin Into a Front-loading Sewing Machine
To insert a bobbin into a front-loading sewing machine, first, open the bobbin area by removing the front cover.
Carefully place the bobbin in its case, noting the thread unwinds correctly.
A bit like threading a needle when you’re impatient: it can take practice.
Slide the bobbin case inside, listen for that satisfying click, and you’re good to go!
Inserting a Bobbin Into a Top-loading Sewing Machine
Now that you’ve mastered front-loading, let’s unravel the mystery of top-loading bobbins! Before starting, make sure your sewing machine’s off and check your bobbin winding direction.
- Raise the presser foot and remove the bobbin cover.
- Insert the bobbin counterclockwise.
- Guide the thread through the plate’s slit.
Voila! You’re armed with knowledge to conquer any sewing project.
Common Issues With Bobbin Insertion
Struggling with the old Singer Tradition 2277 or any sewing machine? Here are common bobbin hiccups and their fixes:
| Issue | Solution |
|---|---|
| Bobbin case jams | Check for lint or reinsert the bobbin |
| Bobbin not winding | Check thread path and tension |
| Thread tension problems | Adjust the tension dial |
| Bobbin thread breaks | Rethread with care |
| Bobbin case not clicking | Make sure it’s properly aligned |
I’d bet all my threads you’ve faced these!
Threading the Upper Thread System and Needle
To get your machine ready, raise the presser foot to open the tension discs.
Then, turn the handwheel in your direction to raise the needle to its highest position – this will make threading a breeze.
Raising the Presser Foot
Raising the presser foot is, believe it or not, a critical start! While it might seem like child’s play, it frees the tension discs and lets the thread sail smoothly.
Presser foot raising is a simple but crucial step in sewing.
- Locate the presser foot lever; it usually sits behind the needle.
- Lift it, opening the discs.
- Confirm it’s at the right height for foot pressure settings.
Placing Thread on the Spool Pin
Whether you’re just starting a sewing course or an embroidery maestro, placing the thread on the spool pin is essential.
Different spool pin types and sizes can affect thread tension, so make sure it’s positioned correctly.
The thread direction should be smooth and free-flowing, like a gentle river, ensuring no tangles during tasks like free motion quilting!
Following the Thread Guides
With the thread on the spool pin, it’s time to master those thread guides. They’re your sewing machine’s way of saying, “Walk this way!”
- Guide Types: Different machines have various thread guide placements.
- Function: Makes sure tension is smooth.
- Maintenance: Keep them free of dust.
Just like threading a needle, except the needle’s bigger!
Passing Thread Through the Front Channel
Next, pass the thread through the front channel, following the thread guides along the top of the machine.
This helps maintain proper tension and makes sure the thread flows smoothly into the needle.
Don’t forget to leave a few inches of slack – you’ll need that extra thread when it’s time to start sewing.
Using the Automatic Needle Threader
The Automatic Needle Threader feels like finding a secret weapon in your sewing arsenal.
First, raise the needle completely, then gently guide your thread into the threader’s notches. Snip any excess thread.
Pull the needle threader lever, and presto – threading magic happens!
Troubleshoot threading errors by ensuring alignment.
Regular threader maintenance prevents hiccups, keeping your experience smooth and frustration-free.
Pulling Up the Bobbin Thread
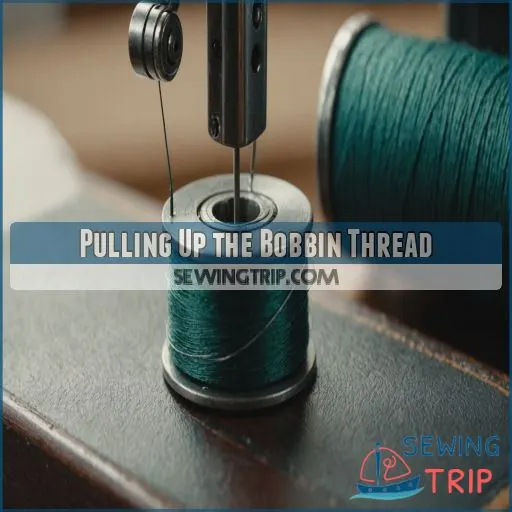
You’ve mastered threading the upper system, now let’s tackle pulling up the bobbin thread, a bit like finding the hidden string in a magic trick.
Don’t worry, we’ll make sure you avoid any knotty surprises and get those threads working together smoothly!
Method for Front-loading Bobbin Systems
You’ve threaded the upper needle; now let’s tackle that front-loading bobbin.
Pop off the front cover and find your bobbin case inside.
While holding the upper thread, spin the handwheel—a sewing version of bobbin magic!
Gently tug the upper thread until the bobbin thread pops up, like pulling a rabbit out of a hat!
Method for Top-loading Bobbin Systems
If your machine doesn’t have a quick set bobbin, you’ll need to pull up the bobbin thread before sewing.
Simply hold the upper thread, turn the handwheel to lower and raise the needle, and gently pull the upper thread to bring the bobbin thread up.
Easy peasy! Just make sure to pull both threads under the presser foot before starting your project.
Troubleshooting Common Issues With Bobbin Thread
Encountering bobbin thread hiccups? Don’t throw in the towel just yet! Adjust bobbin thread tension and fix tension problems:
- Tangled bobbin threads by re-threading smartly.
- Thread breakage and skipped stitches with a gentle touch. Recheck your bobbin case.
- Persistent bobbin case issues by ensuring it’s seated snug as a bug in a rug!
Seek and troubleshoot with confidence in every stitch!
Finalizing the Bobbin Setup
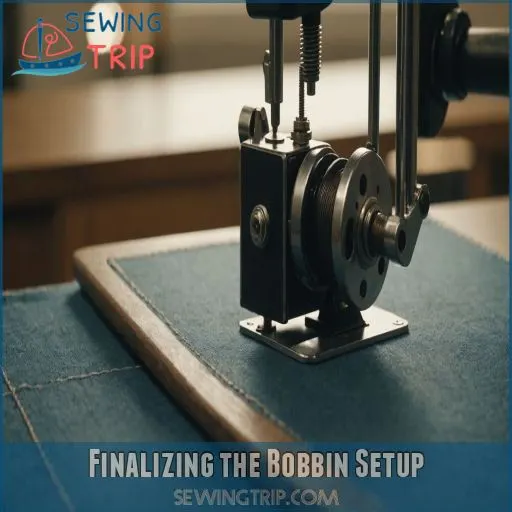
You’ve come this far, and now it’s time to make sure your bobbin setup is ready for action.
Don’t get knotted up—adjust the tension, thread the bottom of the machine, and give it a quick test spin to see if everything’s running smoothly.
Threading the Bottom of the Machine
To thread the bottom of the machine, grab the top thread and keep a little tension on it.
Turn the handwheel counterclockwise, lowering and raising the needle.
Like a magic trick, your bobbin thread pops up.
Pull both threads back, and you’re ready to sew.
Regularly clean your bobbin case to prevent any bobbin thread issues.
Adjusting the Tension
Getting the tension right is important to make sure your bobbin setup is working smoothly.
Start by checking the top thread tension – it should have a slight pull, but not be too tight.
Next, examine the bobbin tension. Gently pull the bobbin thread – it should have a light, even resistance.
Testing the Bobbin Setup
You’ve adjusted the tension, now it’s showtime! Test the bobbin setup by stitching a simple line on scrap fabric.
Watch for telltale problems like uneven stitching, skipped stitches, or bobbin thread snags.
If stitch quality resembles a cat’s first pawprints on wet cement, revisit tension settings.
With practice, your fabric will sing like a well-tuned orchestra!
Frequently Asked Questions (FAQs)
How do I put my bobbin in my sewing machine?
So, your bobbin’s off to a great adventure!
For front-loading systems, pop out the case, unwind as shown, and click it back.
With top-loading, just slide it in, follow the path, and you’re set!
How do you put the bottom bobbin in a Singer sewing machine?
Ready for a little dance with your Singer?
Open the bobbin case, making sure that little fella rolls right in your direction.
Slip it in, thread snug in the slots, and hear that satisfying click!
All set!
How do you attach a bobbin to a spool?
To attach a bobbin to a spool, position the spool thread through the upper guide, then wind it around the bobbin.
Secure the bobbin on the winder, engage it, and press the pedal to wind.
Easy-peasy!
How to refill the bottom thread on a sewing machine?
To refill the bottom thread, simply pop open the bobbin cover, drop in a fresh bobbin, and let the machine do its magic – no need to pull up the thread, it’ll happen automatically.
Easy peasy!
How do I know if my bobbin is inserted correctly?
Ensuring your bobbin’s snug as a bug in a rug?
Check if it clicks into place with a satisfying sound.
The thread should flow freely without snags.
If it wobbles, it’s time for a do-over!
Can I use any type of bobbin in my machine?
Not all bobbins fit every machine—it’s like trying to fit a square peg in a round hole!
Check your manual to find the right size and type.
Using the wrong bobbin can cause messy stitching.
What causes bobbin thread bunching or nesting underneath?
Imagine a traffic jam caused by misrouted cars: that’s your bobbin thread bunching below.
It’s often due to incorrect threading, tension issues, or a misaligned needle.
Review setup instructions to make sure you have a smooth stitch journey.
How often should I replace my machines bobbin?
You should replace your sewing machine’s bobbin when it becomes visibly worn, damaged, or if you notice a decline in stitch quality. Learn more about bobbin care.
Bobbins don’t last forever, so keep a few spares on hand to avoid frustrating sewing interruptions.
Why is my bobbin thread not catching when sewing?
Bobbin thread not catching? It’s usually because the bobbin isn’t seated properly or there’s a tangled mess.
Double-check the threading path, make sure the bobbin is properly seated, and keep your eye on tension settings.
Conclusion
You’ve mastered putting a bobbin into a sewing machine—how’s that for sewing savvy?
With a few simple steps, you’re ready to tackle threading, tension, and all things bobbin-related.
Remember to keep an eye on tension and thread direction to avoid tangles that turn stitches into stitches of laughter.
Whether top-loading or front-loading, you’ve got the know-how.
Now, let your creativity run wild with every stitch.
Happy sewing, tailor extraordinaire!

