This site is supported by our readers. We may earn a commission, at no cost to you, if you purchase through links.
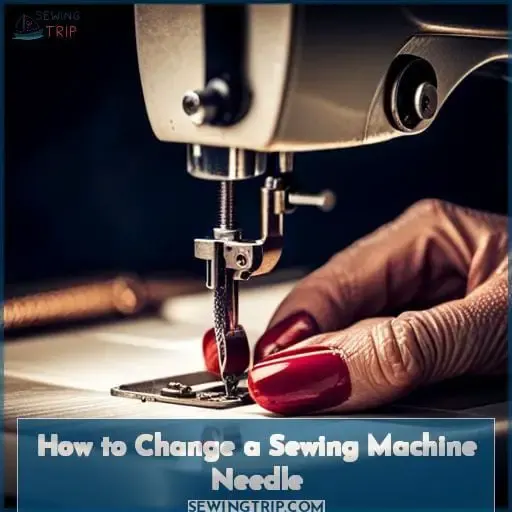 Imagine the frustration of trying to sew a perfect stitch, only to be foiled by a dull or bent needle. Don’t let this happen to you! Learning how to change a sewing machine needle is an essential skill for any avid seamstress.
In just a few simple steps, you can ensure that your stitches are smooth and precise every time.
So grab your machine and get ready to master the art of needle-changing – it’s easier than you think!
Table Of Contents
- Key Takeaways
- Turn Off Your Sewing Machine
- Raise the Presser Foot and Prepare the Workspace
- Remove the Old Needle
- Select the Correct Needle for Your Project
- Insert the New Needle
- Secure the New Needle in Place
- Check the Needle Placement
- Lower the Presser Foot and Thread the Machine
- Test the Stitching on Scrap Fabric
- Properly Dispose of the Old Needle
- Frequently Asked Questions (FAQs)
- Conclusion
Key Takeaways
- Power off the sewing machine before changing the needle.
- Dispose of old needles in a designated sharps container.
- Choose the appropriate needle based on fabric type and project requirements.
- Lower the presser foot, thread the machine, and test the stitching on scrap fabric.
Turn Off Your Sewing Machine
To begin changing your sewing machine needle, first turn off the machine.
Needle safety is of utmost importance when performing any maintenance on your sewing equipment. By shutting down the machine and powering it off, you ensure a safe environment for handling the needle and avoiding any accidental injuries.
Equipment care should always be prioritized to maintain a smooth functioning sewing machine. Remember that even when replacing something as small as a needle, taking precautionary measures contributes to safe sewing practices overall.
So before proceeding with changing the needle clamp or tightening the needle screw, make sure to turn off your sewing machine completely for optimal equipment care and safe stitching experiences every time you sew.
Raise the Presser Foot and Prepare the Workspace
Before you can change the sewing machine needle, raise the presser foot and prepare your workspace.
- Clear your workspace:
- Ensure that there’s enough room for you to work comfortably with your sewing machine.
- Remove any unnecessary clutter or objects that may hinder your movement.
- Gather necessary tools:
- Have all the tools you’ll need within reach, such as a screwdriver, new needles compatible with your fabric type, and a small container or magnet to keep track of used needles.
- Organize materials:
- If you have multiple fabric types for different projects, separate them neatly so it’s easy to identify which needle is suitable for each one.
- Clean and inspect the area around the presser foot:
- Use a lint brush or compressed air to remove any dust or debris from this area before changing the needle.
By raising the presser foot and preparing an organized workspace beforehand, you’ll ensure smooth progress when replacing your sewing machine needle.
Remove the Old Needle
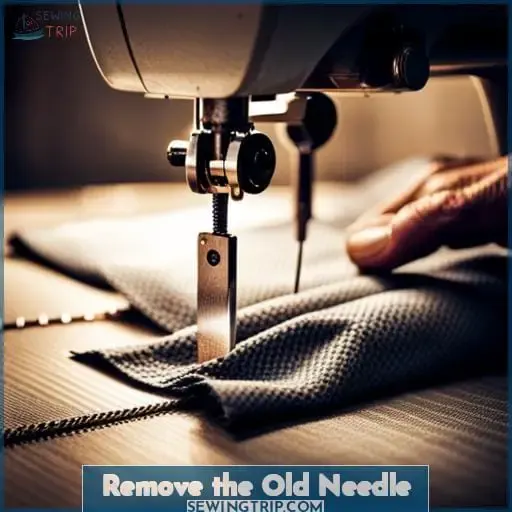
To remove the old needle, start by holding the needle with your left hand.
Gently loosen the needle clamp screw by turning it counterclockwise with a mini screwdriver if necessary.
Safely pull out the old needle from its position in the machine, ensuring that it’s fully removed.
Take a moment to inspect and assess its condition for any signs of damage or wear.
Proper disposal of used needles is essential for safety, so make sure to dispose of them in a designated sharps container or puncture-proof container before continuing with your sewing project.
For optimal performance and stitch quality, it’s important to maintain your needles regularly.
Remember to tighten the needle clamp screw securely when inserting a new one into place and ensure that you’re positioning it correctly with flat side facing towards you (in home sewing machines).
If troubleshooting issues arise during stitching such as skipped stitches or thread breakage, rethreading may be required after replacing an old needle.
By following these simple steps and incorporating proper maintenance practices into your sewing routine like regular changes based on usage frequency along with selecting appropriate needles for different fabrics/materials – you can achieve mastery over this essential aspect of using a sewing machine effectively!
Select the Correct Needle for Your Project
To ensure the success of your sewing projects, it’s crucial to select the correct needle for your specific fabric.
Different fabrics require different needle types and sizes to achieve optimal results. By choosing the right needle, you can prevent skipped stitches, fabric damage, and other sewing problems that may arise from using an incorrect needle.
Needle selection for fabrics
When selecting the correct needle for your project, consider the fabric you’ll be working with.
- Fabric Compatibility: Different fabrics require different needles to ensure optimal stitch consistency.
- Needle Material: Choose a needle material that’s suitable for your specific project, such as a ballpoint needle for knit fabrics.
- Project Specifics: Take into account any special requirements or techniques needed for your particular sewing project.
Further recommendations:
- Consult a comprehensive guide on needle selection and troubleshooting tips
- Experiment with different needles and observe how they affect stitch quality on various fabrics
Importance of regular changes
Changing the needle regularly is crucial for maintaining optimal sewing machine functionality and achieving high-quality stitches.
Regular needle changes contribute to stitch quality, prevent damage to fabrics, and ensure the overall health of your sewing machine.
By replacing your sewing machine needle when necessary, you can troubleshoot common issues such as broken threads or skipped stitches.
Don’t forget to incorporate this essential maintenance step into your sewing routine for consistent results and smooth operation.
Proper needle placement
Insert the new needle into your sewing machine, ensuring that the flat side is facing away from you.
Proper needle placement is crucial for achieving optimal stitch precision and maintaining machine efficiency.
A securely positioned needle promotes stability during stitching, minimizing the risk of skipped stitches or fabric damage.
By selecting the correct type of needle for your project and inserting it correctly, you can preserve both your fabric and sewing machine while maximizing sewing performance.
Insert the New Needle
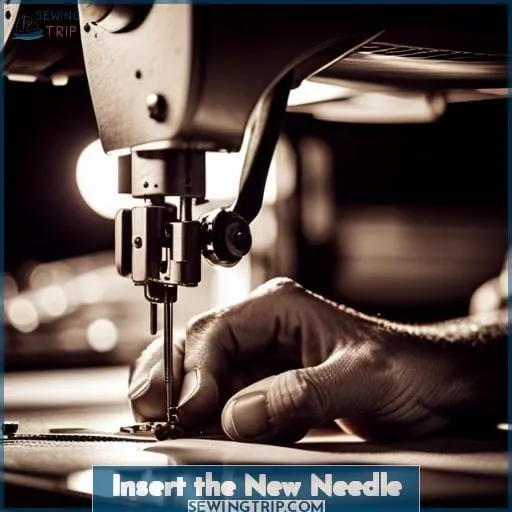
Now that you have selected the correct needle for your project, it’s time to insert a new one into your sewing machine.
Begin by checking the alignment of your needle. Ensure that the flat side of the needle faces towards the back of your machine, or refer to your sewing machine manual for specific instructions on orientation.
Once you’ve confirmed proper alignment, securely insert the new needle into its designated spot in the needle bar. Push it upwards until it hits a stopper, ensuring that it’s inserted all the way.
To guarantee optimal performance and avoid any issues during sewing, double-check that everything is tightly secured by tightening the needle set screw using an appropriate tool such as a mini screwdriver.
By following these steps with care and attention to detail, you can confidently change needles with ease while maintaining safety and efficiency in your sewing projects.
Secure the New Needle in Place
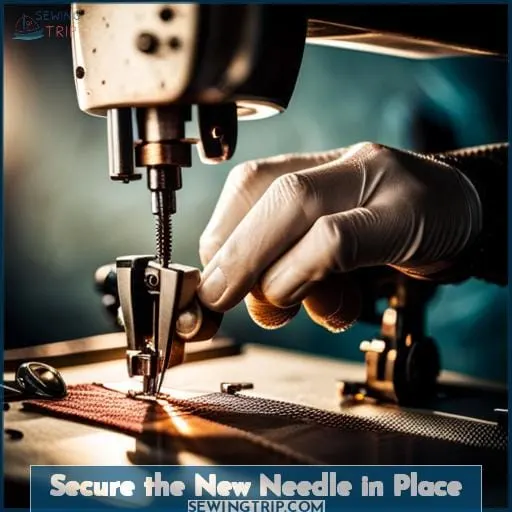
Once you’ve selected the correct needle for your project, securely tighten it in place using a screwdriver.
Here are three essential tips for securing the new needle:
- Use the proper tightening technique: Hold the needle in place with one hand while turning the screw clockwise with a screwdriver using your other hand. This ensures that the needle remains securely fastened and eliminates any chances of it becoming loose.
- Maintain Needle Security without overtightening: While it’s important to secure the new needle tightly, be cautious not to overtighten as this can damage both the machine and thread tension mechanism.
- Confirm Placement: After tightening, double-check that you have properly inserted and secured the needle.
Check the Needle Placement
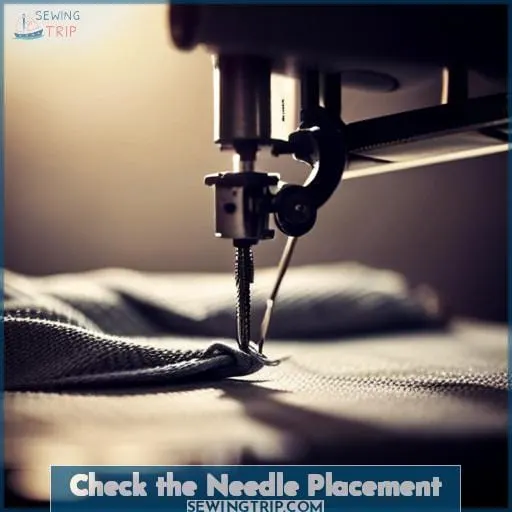
After inserting the new needle, ensure that it’s securely in place by tightening the clamp screw.
Here are some troubleshooting tips and common mistakes to avoid when checking the needle placement:
| Common Mistakes | Troubleshooting Tips | Needle Video Guides |
|---|---|---|
| Uneven stitches | Check if the needle is inserted straight up into the machine | Watch video tutorials on proper needle alignment |
| Skipped stitches | Make sure that you have pushed the top of the needle firmly into position | Learn from experts who demonstrate correct insertion techniques |
By double-checking your work, you can prevent these issues and achieve optimal sewing results.
Lower the Presser Foot and Thread the Machine
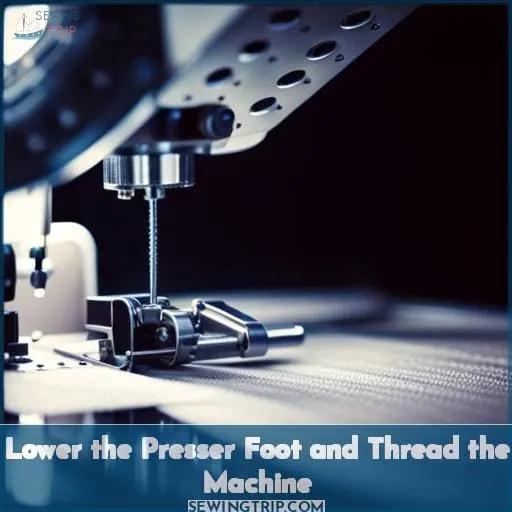
To ensure proper stitching, lower the presser foot and thread your sewing machine.
Lowering the presser foot helps to hold the fabric in place while you sew, preventing any movement or shifting.
Here are some tips for lowering the presser foot and threading your machine:
- Gently lower the presser foot lever located behind or on top of your sewing machine.
- Make sure that it’s securely in place before continuing with threading.
- Thread tension should be adjusted according to fabric type and thickness.
By following these steps, you can ensure that your sewing machine is properly prepared for a needle change. Lowering the presser foot provides stability during stitching, while threading ensures that your stitches will be neat and secure.
Remember to always refer to your specific sewing machine manual if you encounter any troubleshooting issues along the way.
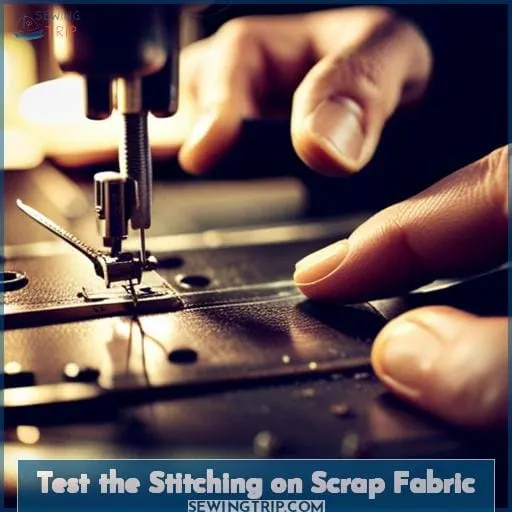
Test the Stitching on Scrap Fabric
Before continuing with your sewing project, it’s important to test the stitching on a piece of scrap fabric. This step allows you to assess the stitch quality and ensure that everything is functioning properly after changing the needle.
Begin by listening for any unusual needle sounds while stitching.
Next, feel the fabric as you sew to check for smoothness and consistency in the stitches.
Pay attention to thread tension and make adjustments if needed.
After completing a few rows of stitching, visually inspect them for any issues like skipped stitches or loose threads.
Testing on scrap fabric gives you an opportunity to address any potential problems before working on your actual project, ensuring that your final result will be perfect without compromising safety or quality.
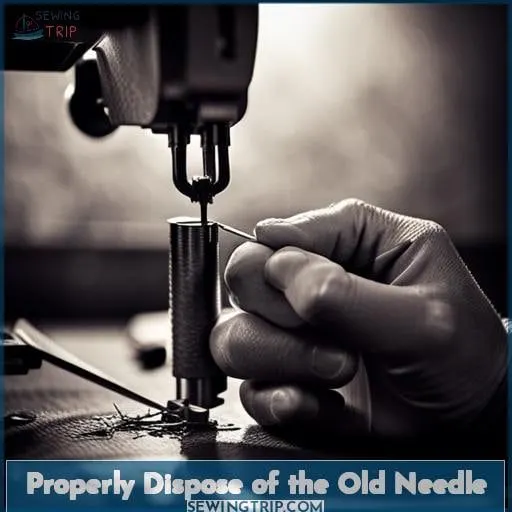
Properly Dispose of the Old Needle
Dispose of the old needle safely and responsibly after changing your sewing machine needle.
Proper disposal is essential to ensure environmental safety and reduce waste.
Simply throwing away the old needle can have a negative impact on the environment, as it may end up in landfills or pose a risk to sanitation workers handling trash.
Instead, consider recycling options for proper disposal of used needles.
Some communities have designated drop-off locations or recycling programs specifically for sharps waste like sewing machine needles.
You can also explore eco-friendly practices such as using a needle inserter tool that reduces the risk of accidentally pricking yourself while disposing of the old needle.
By taking these steps, you contribute to sustainable practices in your sewing journey and help protect our planet from unnecessary harm caused by improper disposal methods.
Frequently Asked Questions (FAQs)
How often should I change my sewing machine needle?
To maintain optimal stitch quality and prevent fabric damage, it’s recommended to change your sewing machine needle every 5 hours of use or at the end of a project.
What are the different types of needles and when should I use them?
To ensure the best results, use universal needles for most fabrics.
For cotton or linen, choose sharps needles.
Quilting? Opt for quilting or shorter needles.
Leather and stretch materials require specific needle types.
Can I use the same needle for different types of fabric?
To achieve optimal results, it’s recommended to use different needles for various fabric types. This ensures smooth stitching and avoids any potential damage or inconsistencies in your sewing projects.
How do I know if my needle is dull or damaged?
To determine if your needle is dull or damaged, examine it closely for signs of wear, such as:
- Bent or broken points.
- Unusual sounds while sewing.
- Skipped stitches or thread breakage.
Are there any special precautions I should take when disposing of old needles?
When disposing of old needles, it’s important to prioritize safety.
Place used needles in a designated sharps container or use a heavy-duty plastic bottle with a secure lid.
This ensures proper disposal and minimizes the risk of injury or contamination.
Conclusion
To ensure smooth and precise stitches every time, mastering the art of changing a sewing machine needle is essential. By following a few simple steps, you can easily replace a dull or bent needle and avoid any frustration during your sewing projects.
[Keypoints]Remember to:
- Turn off your machine
- Raise the presser foot
- Select the correct needle for your fabric
- Insert the new needle
- Secure it in place
- Check the placement before threading the machine
- Test the stitching on scrap fabric
- Properly dispose of the old needle.
Happy sewing!

