This site is supported by our readers. We may earn a commission, at no cost to you, if you purchase through links.
 Whether you’re a novice or a pro, threading your Singer Heavy Duty sewing machine is a breeze once you know the basics. Here’s a quick rundown:
First, you’ll want to thread the bobbin case. Place the bobbin snugly inside, guide the thread through the tension mechanism, and then through the small hole in the bobbin case. Pull a few inches of thread and snap the case shut.
Next up, threading the needle. Raise the presser foot for easier access, insert the thread through the needle’s eye from front to back, and you’re good to go. But wait, there’s more…
Table Of Contents
Key Takeaways
- Threading your Singer Heavy Duty sewing machine is simple: load the bobbin, guide the thread through the tension mechanism and bobbin case, then thread the needle.
- Keep an eye out for common issues like skipped stitches, thread breakage, and loose threads, adjusting tension and testing on scrap fabric to find the sweet spot.
- The automatic needle threader saves time and strain: raise the presser foot, use the hook-like wire, and turn the handwheel.
- Troubleshooting thread issues is easy: check tension, threading path, needle type, and fabric thickness for smooth sailing.
Threading the Bobbin Case
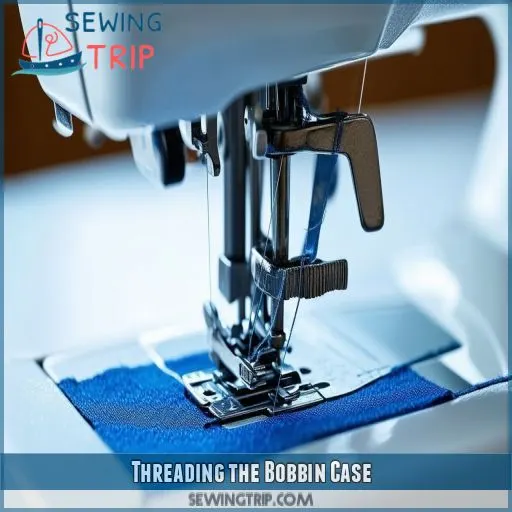
Threading the bobbin case on your Singer Heavy Duty sewing machine is a key step to get smooth stitching. It’s like the behind-the-scenes magic that makes your sewing projects come to life. Let’s get right in and get you on the path to sewing mastery.
Step 1: Start by placing your bobbin into the bobbin case, making sure it sits snugly. Think of it as a cozy little home for your bobbin.
Step 2: Now, guide the thread through the tension mechanism. This step is key to achieving balanced stitching. Imagine it as the conductor of your sewing symphony, keeping everything in harmony.
Step 3: Take the thread and pass it through the small hole in the bobbin case. This step might feel like a tricky needle-threading task, but with a steady hand, you’ll get it done like a pro.
Step 4: Pull a few inches of thread and guide it along the marked path. This path is like a secret sewing roadmap, leading your thread to its stitching destiny.
Step 5: Finally, snap the bobbin case shut, securing the thread in place. It’s like the satisfying click of a puzzle piece falling into place.
- Always make sure your bobbin is wound evenly and sits securely in its case. A wobbly bobbin is like a dancer without rhythm—it’ll throw off your stitching groove.
- Keep the tension mechanism clean and free of lint. Those pesky fuzzballs can cause tension issues, leading to stitching inconsistencies.
- Take your time and follow the thread path precisely. It’s like navigating a maze, but with practice, you’ll become a bobbin-threading whiz.
- If you encounter any issues, consult your Singer Heavy Duty manual. It’s your sewing sidekick, ready to lend a helping hand.
Threading the Needle
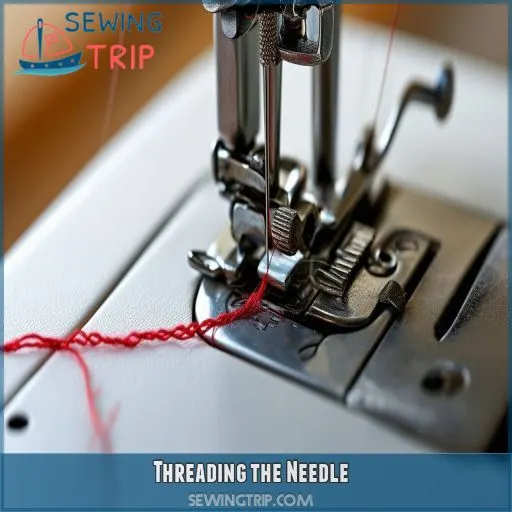
Threading the needle is a key step in mastering your Singer Heavy Duty sewing machine. Here’s a step-by-step guide to help you get it right:
- Raise the presser foot: By raising the presser foot, you’ll have better access to the needle and make threading easier.
- Identify the correct needle type and size: Using the right needle for your fabric is essential. The wrong needle can lead to tension issues and even damage your fabric.
- Insert the thread: Take your chosen thread and pass it through the needle’s eye, from front to back. A good rule of thumb is to have about 4-5 inches of thread extending beyond the needle’s eye.
- Common issues: Keep an eye out for issues like thread breakage, skipped stitches, or loose threads on the underside of your fabric. These can be signs of incorrect threading or tension problems.
- Adjust and test: Once threaded, make small adjustments to the top thread tension and test on scrap fabric. This makes sure your stitches are even and secure.
Using the Automatic Needle Threader
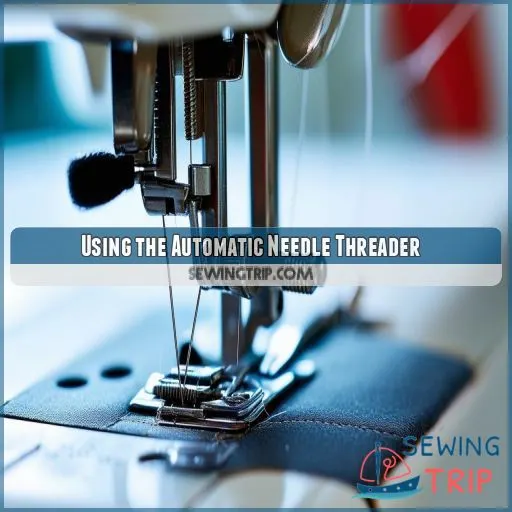
The Singer Heavy Duty sewing machine comes with a handy automatic needle threader** to save you time and frustration. Here’s how to use it like a pro:
First, make sure the presser foot is raised. You’ll find the automatic needle threader right beneath it. It’s a small, rectangular mechanism with a hook-like wire in the center.
Pull the thread from the spool and place it into the groove of the threader. Then, gently push the threader down until you hear a satisfying click. This engages the wire, which has now hooked your thread.
Now, with the presser foot still raised, manually turn the handwheel in your direction until the needle descends and ascends again. Ta-da! Your needle is threaded.
This nifty feature guarantees precision and saves you from straining your eyes or fiddling with the thread. It’s a simple process, but it can be a game-changer for your sewing projects, giving you more time to focus on your creative vision.
Adjusting Thread Tension
Now that you’ve got your Singer Heavy Duty threaded like a pro, it’s time to fine-tune that tension for perfect stitches. Too loose, and your seams will be a mess. Too tight, and you might as well be sewing a steel cable. Let’s get it just right.
First, a quick anatomy lesson: your sewing machine has two threads, the top thread and the bobbin thread. The tension of these threads needs to be balanced for consistent stitching.
The top thread tension is easy to adjust. You’ll find a dial or knob on the top of your machine, usually near the thread. Small adjustments make a big difference, so turn it just a tad and test on some scrap fabric.
Finding the sweet spot takes patience, but it’s worth it. You’ll know you’ve nailed it when your stitches are even and consistent. No loops, no tangles, just smooth sailing.
Troubleshooting Thread Issues
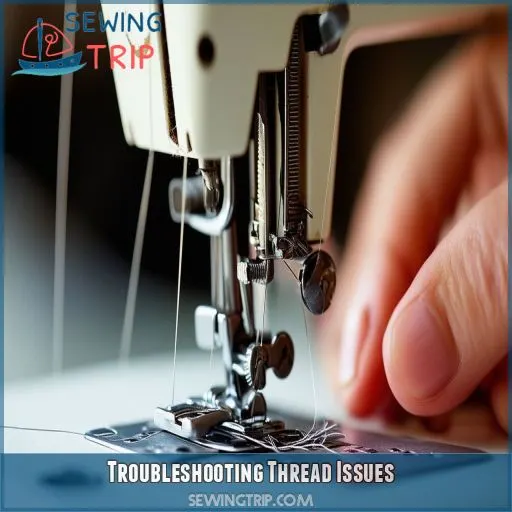
Now that you’ve mastered threading and tension adjustments, let’s tackle some common thread issues and how to fix them. These tips will help you maintain smooth sewing and avoid those frustrating moments where your thread misbehaves.
- Skipped Stitches: This issue can be a real headache, but don’t fret! It’s often caused by incorrect tension. Double-check your tension settings and adjust accordingly. Start with small tweaks and test on scrap fabric to find the sweet spot.
- Thread Breakage: Don’t let breakage slow you down. This problem could be due to improper threading, a dull needle, or tension issues. Re-thread your machine carefully, making sure the thread path is correct. If the issue persists, consider replacing your needle with a new one.
- Loose Threads on the Underside: If you spot loose threads on the underside of your fabric, it’s a telltale sign of tension problems. Adjust the top thread tension first and see if that solves the issue. Remember, small adjustments go a long way.
- Uneven Stitches: Inconsistent tension can lead to uneven stitches. Along with adjusting tension, make sure your fabric isn’t too thick or slippery for the machine. You might need to play around with different fabrics and tension settings to find the right balance.
- Difficulty Sewing Thick Fabrics: Sewing through thick fabric can be a challenge, but it’s not impossible. Try adjusting the presser foot pressure to accommodate bulkier materials. This simple tweak can make a big difference and save you from a lot of frustration.
Frequently Asked Questions (FAQs)
How do you put thread on a Singer heavy duty sewing machine?
First things first: you need to know how to thread that bad boy. It’s a cinch once you get the hang of it, but there are a few steps to follow. So, let’s get crackin’!
How do you thread an older Singer sewing machine?
To thread an older Singer sewing machine, first disengage the needle by rotating the balance wheel in your direction. Then, attach your new spool, following the thread guide. Next, adjust the tensioner mechanism and thread the needle manually.
How to use the needle threader on a Singer heavy duty machine?
I don’t want to risk damaging my needle or threader."
No worries—just make sure the needle’s centered and the threader’s hook sits in the needle’s eye. Then, pull the lever down, rotate it, and loop the thread. Easy.
How do I thread my Singer 4432?
To thread your Singer 4432, use the automatic needle threader for quick and easy threading. Check your manual for troubleshooting tips. Sewing experts also share videos online, showing how to thread the machine precisely.
Can I use any type of thread?
Yes, you can use most types of thread on a Singer Heavy Duty sewing machine. However, it’s important to use the right thread for your fabric. For instance, 100% polyester thread is great for synthetic fabrics, and heavier quilting thread is better for thick, heavy-weight fabrics.
What if my thread keeps breaking?
If your thread keeps breaking, check your threading path, inspect your bobbin, adjust the top thread tension, clean the tension discs and bobbin case, and make sure you’re using the correct needle type and size.
How do I fix a tangled thread?
First, cut the thread on your fabric and spool. Re-thread your machine, checking your tensions and threading path. If that doesn’t work, try oiling your machine, using a new needle, and fastening the two thread ends when you start to sew.
What causes loose stitches?
If your stitches are loose, check your thread tension and settings. Avoid pulling or pushing the fabric too much, and make sure your needle and thread match.
Why is my fabric bunching up?
Bunching fabric is a pain. It’s often caused by incorrect threading, uneven thread tension, or lint buildup. So, check your threading, adjust your tension, and clean your machine.
Conclusion
So, there you have it—threading your Singer Heavy Duty sewing machine is a breeze once you know the basics. You’ve mastered threading the needle and bobbin case, adjusted the thread tension, and even tackled troubleshooting. Now, go ahead and sew with confidence, knowing that your machine is properly threaded and ready for any project you throw at it!

