This site is supported by our readers. We may earn a commission, at no cost to you, if you purchase through links.
With a needle, thread, and fabric, satisfying this craving is easier than you imagined.
Grasp the basic stitches first; slowly progress to more intricate embroideries as your competence builds.
We’ll explore common troubles and solutions so you can mend mistakes gracefully.
Together, we’ll turn this longing to craft and connect into reality, stitch by stitch.
Table Of Contents
Key Takeaways
- Use quality needles and threads for durability
- Prepare fabrics by preshrinking, ironing, and marking
- Master basic stitches like running and backstitch before embroidery
- Troubleshoot issues like uneven tension and skipped stitches
Sewing Basics
Stitches, Tips & Tricks for Beginners
On the subtopic of Sewing Basics:
Let’s explore some of the most fundamental hand stitches to start sewing.
You’ll need to master making a straight stitch properly before moving onto fun beginner stitches like zig-zag, slip stitch, or blanket stitch.
Once you’ve practiced and perfected basic stitches, more advanced techniques will feel intuitive.
Making a Straight Stitch
You’ll begin by poking the needle into the fabric at your desired starting point.
Grasp the needle firmly, yet relax your grip enough for fluid motion.
Pull the thread through until the knot catches.
Turn the fabric over, pierce the needle 1/4 inch from the first hole.
Make equal spaces between punctures as you create uniform stitches.
Minding needle control, thread tension, and stitch length yields expert results.
With practice, your straight stitch mastery will bloom.
Other Beginner Stitches
Expanding your stitch repertoire beyond the straight stitch includes other handy beginner seams like basting, zig-zag, slip stitch, and backstitch.
Try thicker threads like perle cotton for decorative stitches, while all-purpose polyester works for utilitarian seams.
Knot thread ends by looping over the needle before piercing the fabric. Use a running stitch for gathering and basting to temporarily hold layers.
The backstitch creates a dashed line for decoration or securing seams.
Experiment with different stitches, threads, needles, and fabrics to discover your preferences.
Running and Basting Stitches
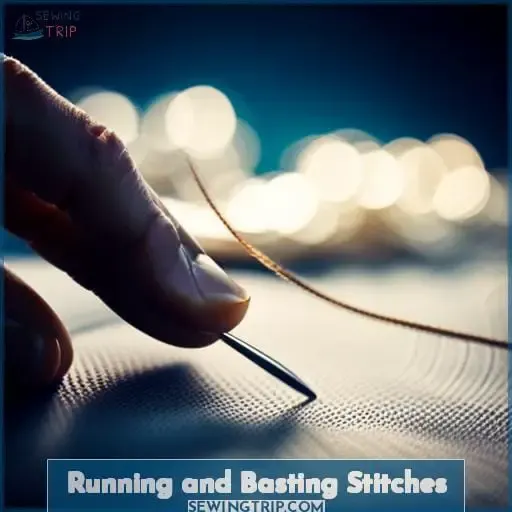
Stitches like the running and basting allow you to temporarily secure layers or gather fabric.
To start, thread your needle and knot the end.
For a running stitch, bring the needle up through the fabric, take a small stitch to the left or right, then repeat.
For a basting stitch, use a longer version of the running stitch, with each stitch ranging from 1⁄4 to 1⁄2 inch.
Pay attention to thread tension, stitch alignment, fabric choice, and needle size.
Tightly woven cottons work well to prevent puckering.
Play with stitch lengths on scrap material first.
An even running stitch adds decorative flair while an evenly spaced basting stitch keeps your fabric layers or sections perfectly lined up.
Backstitch and Slipstitch
After learning how to create practical running and basting stitches, it’s time to try some more advanced hand stitches.
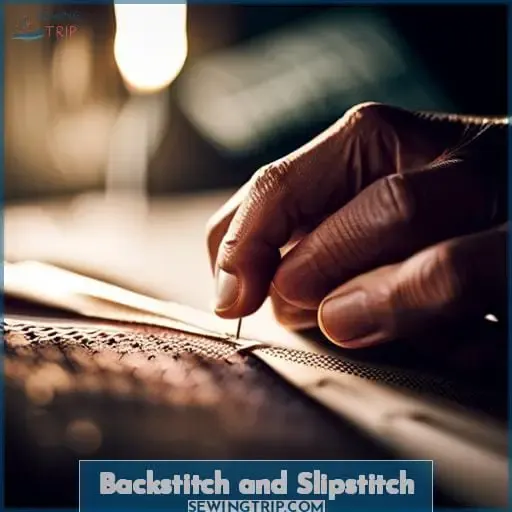
The backstitch and slipstitch open up versatility in finishing and embroidery. When mastered, these precise stitches elevate your sewing skills.
- The backstitch creates a neat, straight seam that’s less likely to unravel. Its tiny stitches are useful for reinforcing edges or embroidering flowers and leaves.
- The slipstitch joins two folded edges for a seamless finish on hems or pillowcase openings. When perfectly aligned, the stitching becomes nearly invisible.
Both require attentive stitch spacing and tension. Use dressmaker shears for precise thread cutting and try a thimble for pushing the needle.
Compare both on a fabric scrap—the backstitch stands out while the slipstitch blends.
With practice, these stitches unlock creative potential for decorative hand sewing projects.
Decorative Embroidery Stitches
Your fabric comes alive with decorative touches using satin stitches, French knots, cross stitches, and blanket stitches.
Embellish pillows, napkins, or clothing using varied threads and inspired color schemes. Combine stitches for unique patterns. Use perle cotton or stranded floss for dimension. Accessorize further with beads, sequins, or ribbons. Refer to the stitch key to recreate patterns.
| Stitch | Description | Uses |
|---|
Satin Stitch
French Knot
Blanket Stitch
Embrace creativity as you learn. Experiment with fabrics, threads, needles before tackling advanced endeavors like heirloom stitching or goldwork embroidery.
Relish hand crafting unique accent pieces to showcase skills.
Hand Sewing Tips and Tricks
Having completed decorative embroidery stitches, it’s best to focus on some key hand sewing tips and tricks for continuing your success when stitching by hand.
- Choose quality needles and threads to avoid frustration and improve durability.
- Prepare fabrics by preshrinking, ironing, and using water-soluble markers.
- Master a variety of knot techniques like single knots or loops around the needle.
- Finish seams neatly with whip stitching or knots under the lining.
- Use thimbles, larger needles, and proper posture to prevent hand strain.
Troubleshooting Common Sewing Issues
Stitches, Tips & Tricks for Beginners:
Facing issues while sewing? Start troubleshooting the snags in your thread by checking your tensions and your bobbins.
If your top thread is too tight, it can cause uneven stitches and puckering. Loosen the top tension slightly until the thread flows smoothly.
If the bottom thread is too loose, the stitches may loop on the underside. Tighten the bobbin case tension screw incrementally until the problem resolves.
Breaking needles usually signify hitting a pin or thick fabric spot. Try a new needle and go slower.
For skipped stitches, the timing is off – adjust the motor or hand wheel.
Jammed bobbins can be cleared by removing lint buildup and properly inserting the bobbin case.
With patience, practice, and adjusting tensions, sewists can easily sew, bind seams, mend and quilting cottons on any machine.
Best Fabrics for Beginner Sewing
You’ll have an easier time learning to sew with lightweight cottons and stable wovens like quilting fabric.
Consider these fabric characteristics when starting out:
- Fabrics with no stretch or drape, like cotton poplin or twill, help you master basic sewing skills.
- Prewashed fabrics in solid colors simplify the sewing process. There are no surprises in fit after washing, and solid colors showcase your stitching.
- Light to medium-weight fabrics, like cotton flannel or quilting cottons, aren’t too heavy to maneuver as a beginner.
Beginner Sewing Terminology
- Thread Varieties:
- All-purpose polyester or cotton-covered polyester work well for hand and machine sewing.
- Stitch Anatomy:
- Straight stitch, zigzag, basting, and other stitches.
- Seam Types:
- Flat-felled seams are sturdy.
- French seams enclose raw edges.
- Needle Sizes:
- Range from fine 9 needles for lightweight fabrics to thick 18 needles for denim.
- Fabric Weaves:
- Knits, wovens, and blends behave differently when sewn.
Understanding basic terminology helps you confidently choose materials, needles, threads, and seams to easily sew projects by hand or machine, even using techniques like heat transfer vinyl.
Frequently Asked Questions (FAQs)
What basic sewing supplies do I need to get started?
- Quality fabric scissors
- A variety of hand sewing needles
- Pins and pincushion
- Thread in basic colors
- A tape measure
- Thimble
- Seam ripper
- Embroidery floss
Focus first on gathering these essential tools.
Then you can advance your skills with practice using simple techniques.
How do I make different types of seams (french seam, flat fell seam, etc.)?
Learn to make flat-felled and French seams.
Sew fabric wrong sides together first.
Then sew the seam allowances or turn them inward, enclosing raw edges.
This creates durable, clean-finished interior seams.
Experiment with scraps to master techniques before sewing projects.
What’s the best way to transfer a pattern onto fabric?
My friend, while transferring patterns can be tricky, have heart.
Carefully pin the paper to fabric like a thoughtful note pinned on a loved one’s pillow.
Use weights to gently hold it in place, then visualize your beautiful creation as you patiently trace each line.
With care and vision, your fabric canvas awaits your creative gifts.
How do I sew knit fabrics without stretching them out?
Use ballpoint needles and stabilizer when sewing knits.
Feed fabric slowly and avoid pulling as you sew.
Use clips or pins perpendicular to seams instead of straight pins.
Choose patterns specifically designed for knits that account for stretch and recovery.
What sewing machine features should I look for as a beginner?
As a beginner, seek a sewing machine with user-friendly features that nurture your creativity.
Look for:
- Adjustable stitch length and width
- An automatic needle threader
- A variety of presser feet to tackle diverse projects
Conclusion
Through patience and practice, the intimidation of sewing fades.
One stitch leads to the next as you steadily gain competence, guided by these stitches, tips, and tricks.
Soon, your longing to craft beautiful garments will be a reality, with each new stitch connecting you to this art.
Simply begin, and let your passion for sewing unfold, stitch by stitch.

