This site is supported by our readers. We may earn a commission, at no cost to you, if you purchase through links.
 This sewing machine hasn’t been humming quite right, has it? Let’s open it up and clear out some lint.
A little TLC keeps stitches smooth and machines happy.
Follow my lead – routine cleanings prevent bigger problems down the road.
Together, we’ll have this beauty sewing like new in no time.
Table Of Contents
Key Takeaways
- Use soft-bristle brushes, pipe cleaners, straws, and compressed air to remove lint, threads, and debris from the bobbin area, feed dogs, tension discs, and crevices.
- Apply just a drop or two of specialty sewing machine oil to moving parts like the shuttle, bobbin case, feed dogs, needle bar, and presser foot bar.
- Clean the machine after every 8-10 hours of use or more frequently with heavy use or shedding fabrics; less often for seasonal sewers.
- Protect machines when not in use through covers, cases, wall mounts, and humidity controlling products to prevent dust buildup and rust.
Cleaning Supplies for Sewing Machines
Gather your sewing machine cleaning supplies:
- Small brushes
- Pipe cleaners
- Screwdrivers
- Compressed air
Essential supplies include:
- Soft-bristle handheld brushes
- Small detail brushes often included with machines
- Flat and Phillips screwdrivers also provided
- Pipe cleaners and drinking straws for lint removal
- Optional magnetic screwdriver for hard-to-reach areas
Consider keeping annual maintenance kits on hand containing:
- Replacement bobbins
- Needles
- Screwdrivers
- Lint brushes
- Specialty sewing machine oil
Proper thread storage extends thread life:
- Keep wood, metal, or plastic spool holders in airtight plastic bins or fabric bags.
Quilted sewing machine covers safeguard against dust settling inside mechanisms while not in use.
With the right tools ready, you can keep your sewing machine running smoothly for years to come.
Step-by-Step Sewing Machine Cleaning
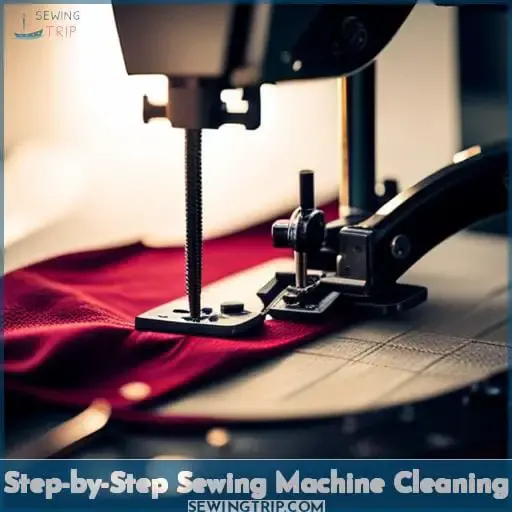
Before jumping into cleaning your machine, be sure to gather the proper supplies mentioned in the previous section.
With your tools in hand, you’re ready to give your sewing companion some much-needed TLC.
First up is prepping the machine:
- Turn off the power.
- Remove any thread, the needle, presser foot, needle plate, and bobbin.
- Use the small brushes that came with your machine to gently sweep away lint, stray threads, and debris.
- Check the bobbin area and shuttle hook for rough spots that could snag thread.
- Inspect the feed dogs as well.
Once the loose material is cleared out, grab a dust cloth to wipe down the machine’s exterior and any accessible crevices.
Refer back to your owner’s manual for the proper oiling points and techniques specific to your make and model.
Proper cleaning and oiling are key to keeping your machine happily humming along on projects for years to come.
How to Oil a Sewing Machine
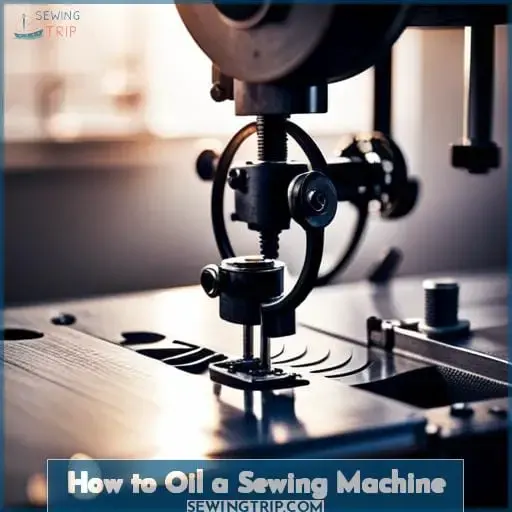
Once you have cleaned your sewing machine, you should oil it by using sewing machine oil specifically and applying it to the moving parts where friction occurs.
Use only sewing machine oil. Household oils can gum up the works.
Apply just a drop or two of oil to moving parts like the shuttle, bobbin case, feed dogs, needle bar, and presser foot bar.
Turn the handwheel to work the oil into the mechanism. Or run the machine at high speed for a few seconds.
Always test stitch on a scrap after oiling. Check for improved movement without excess dripping before sewing your project.
Use a small brush to apply oil directly where needed. Take care not to over-lubricate, as excess oil attracts lint and dust over time.
Proper oiling is key to keeping your machine running smoothly for years to come.
Cleaning Frequency for Sewing Machines
You should clean your sewing machine after every 8-10 hours of use to prevent buildup and keep it running smoothly.
How often you clean depends on how frequently you sew and what fabrics you use.
For seasonal sewers, a thorough cleaning every 3-4 months is sufficient.
However, daily sewing requires weekly cleanings to prevent lint and dust accumulation within the bobbin case and feed dogs.
Fabrics like fleece and velvet tend to shed more, necessitating extra maintenance after every few projects.
Clean immediately if your stitches start to skip or your machine seems strained.
Quick fixes involve brushing lint from the needle plate and replacing old needles.
For specialty fabrics, clean before storing to prevent corrosion and stickiness within the inner mechanisms.
Frequent oilings and cleanings protect your investment and ensure quality stitches for years to come.
With proper care, your loyal companion will continue crafting homemade treasures matching your unique creative spirit.
Storing Your Sewing Machine
Your machine’s storage impacts its performance and longevity. I recommend investing in quality travel cases, humidity control products, wall mounts, machine covers, or even custom cabinets to keep your beloved machine safe.
A sturdy case with foam inserts allows easy transport without jostling internal components. Dessicant packs absorb moisture, preventing rust. Wall mounts elevate machines off the floor away from curious pets and clumsy feet! Covers defend against dust buildup in the hooks and bobbin area.
For the ultimate in protection, install a closet rod and have a cabinet custom built to your machine’s dimensions. With doors that close to shelter your investment, you’ll sew distraction-free for decades.
Proper storage slows wear and tear. I want your machine to last so we can create countless quilts, clothes, crafts, and family heirlooms together. Invest in safe storage now, and you’ll reap rewards for years through enhanced performance.
Protect your investment as if it was your own child. Love it enough to give it the care it deserves!
Servicing Your Sewing Machine
When should you service your sewing machine?
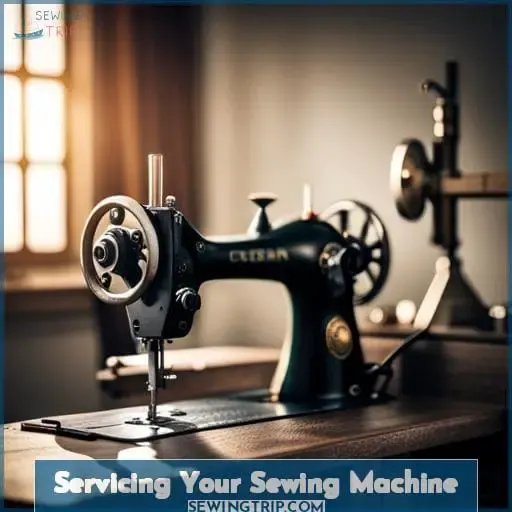
I recommend getting your machine professionally cleaned and tuned up annually.
This maintenance keeps your machine running smoothly and can prevent issues like skipped stitches before they happen.
Where can you get your machine serviced?
Read on for recommendations.
What is a Sewing Machine Service?
One thorough check of the machine that involves a deep clean and oiling of the internal mechanism, tension adjustment of top and bottom threads, and timing check and fix of needle and shuttle constitutes a sewing machine service.
Lubrication and adjustment for optimal performance.
Inspection for worn parts and timing issues.
Testing on practice fabric before real projects.
Consultation about specific repair and maintenance questions.
Getting your machine professionally serviced annually helps ensure it continues humming along, stitching beautiful creations for years to come through preventative maintenance.
How Often to Get It Serviced
Every year, aim to have your sewing machine serviced by a professional. This ensures optimal performance and extends the machine’s lifespan.
While it is possible to service the machine yourself, professional technicians have specialized equipment and expertise. Expect to pay $50-100 annually. This investment saves headaches and money over time.
| Machine Usage | Servicing Frequency |
|---|---|
| Heavy/Daily | Every 6 months |
| Moderate/Weekly | Annually |
| Light/Monthly | Every 2 years |
Where to Get It Serviced and Cost
You can get your sewing machine serviced at local independent repair shops for between £50-£100, depending on the complexity of your machine.
Visit shops in your area that specialize in servicing and repairing sewing machines.
They’ll give your machine a thorough cleaning, oiling, and tune-up to keep it running smoothly.
Schedule annual maintenance visits.
Simple machines fall on the lower end around £50.
Computerized or embroidery machines run closer to £100.
Prioritize proper care to extend your machine’s longevity and reliability.
Sewing Tips for Beginners
As a novice sewer, having the proper basics will ensure your sewing success. Follow these key beginner tips:
Start with woven cotton fabrics. Cotton is easy to work with and less frustrating than slippery polyester or stretchy knits for beginners.
Select the proper needle size. Consult your pattern envelope for recommendations. As a general rule, lightweight fabrics take fine needles while heavier fabrics need thicker needles.
Balance your thread tension. Set the tension between 3-5 for most fabrics. Adjust higher or lower if noticing puckered seams or loose top threads.
Finish your seams. Stop those fraying edges by pinking, zigzag stitching, or overcasting raw edges.
Learn to read patterns. They provide valuable information on fabric type, notions, cutting layouts, and construction steps.
Follow these tips as you learn to sew, and you’ll avoid common beginner headaches. Most of all, take your time and have fun! Sewing is a joy when you start with the basics.
DIY Sewing Projects
Having cleaned and oiled your sewing machine, you’re eager to try out some DIY sewing projects.
| Project | Skill Level | Estimated Time |
|---|---|---|
| Tote bag | Beginner | 2 hours |
| Pillow cover | Beginner | 1 hour |
| Skirt | Intermediate | 4 hours |
| Quilt | Advanced | Days |
When selecting your first few projects, focus on beginner-friendly patterns with simple constructions like tote bags or pillow covers. This allows you to practice your stitching on basic fabric selections like cotton wovens before moving onto trickier pattern choices.
Start with just one or two color combinations before embellishing with ribbons, buttons, or embroidery floss. Review the list of sewing essentials in the pattern instructions so you have the right supplies.
Soon you’ll have the skills to tackle more advanced endeavors like quilts! Let your creativity run wild on your newly cleaned machine.
Frequently Asked Questions (FAQs)
How do I clean the tension discs on my sewing machine?
Carefully use a small brush to clean between the tension discs.
Avoid using liquids, as this can leave residue.
Gently pry discs apart to access debris if needed.
Always test tension on scraps before sewing projects after cleaning.
What kind of brush is best to use when cleaning out my sewing machine?
Use a soft-bristle nylon brush to gently dislodge lint and debris as you clean.
Being gentle prevents damaging delicate parts.
Consult your manual for the best cleaning practices for your machine’s make and model.
Are there any household products I should avoid using when cleaning my sewing machine?
When cleaning your machine, avoid household cleaners and solvents.
They can damage finishes and internal parts.
Stick to specialized sewing machine oil and cleaning tools designed for the job.
This keeps things running smoothly without risk of corrosion over time.
Gentle care preserves your investment.
How can I clean dirt or oil stains off the exterior body of my sewing machine?
Use a soft cloth dampened with warm, soapy water to gently wipe the stained areas.
For tough stains, try an all-purpose cleaner designed for plastic surfaces.
Always apply cleaning solutions to the cloth first before wiping the machine to prevent liquid from seeping inside.
What should I do if my sewing machine is very old and I can no longer find the user manual with instructions for cleaning and oiling?
Unfortunately, if you’ve lost the manual for an older sewing machine, finding cleaning instructions can be tricky.
Your best option may be taking it to a sewing machine repair shop for a tune-up.
Experienced technicians can assess the machine’s specific needs and service it properly.
Conclusion
Believe it or not, taking care of your sewing companion needn’t be a chore.
Treat your machine to regular cleanings, and it’ll repay you with smooth sailing.
Keep things oiled and lint-free, and you’ll have a sewing soulmate for years to come.
Remember – consistency prevents bigger headaches.
So show your sewing machine some love, and happy stitching!


