This site is supported by our readers. We may earn a commission, at no cost to you, if you purchase through links.
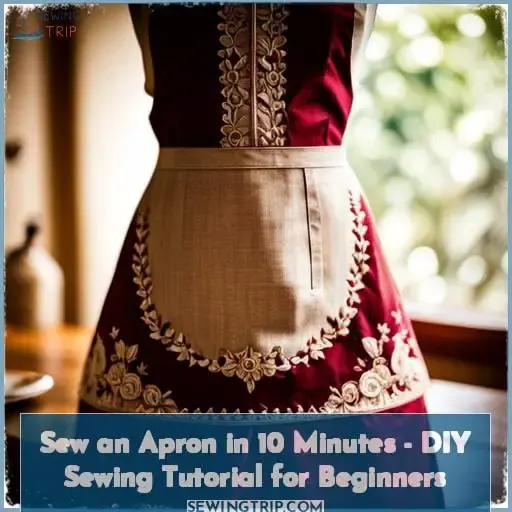
With some fabric, thread, and 10 minutes, you can stitch up an apron perfect for protecting your clothes in the kitchen.
We’ll walk through easy steps from cutting to sewing using basic hand stitches.
Before you know it, you’ll have a custom apron to throw on as you cook up your next meal.
Ready to get started on this simple sewing project?
Let’s make an apron!
Table Of Contents
Key Takeaways
- Select tightly-woven, durable fabric in your preferred color and pattern for the apron
- Carefully measure and cut all apron pieces according to required dimensions before sewing
- Sew main apron piece first, then attach ties, straps, pockets, trims or other decorative elements as desired
- Press finished apron using steam to remove wrinkles and give it a crisp, clean finish
DIY Apron Materials
Let’s first look at fabric options:
- Cotton
- Linen
- Denim
- Canvas
Supplies you’ll need:
- Fabric
- Scissors
- Thread
- Sewing machine or needle
- Pins
- Measuring tape
- Iron
- Apron pattern (optional)
Fabric Options
Cotton, linen, and other fabrics provide plenty of options for your DIY apron.
When it comes to fabric selection, consider factors such as:
- Color choices
- Style variations
- Practical patterns
Cotton is an inexpensive option that comes in a wide variety of colors and patterns.
Linen fabric is more expensive but makes a great choice for a DIY apron with its durability and classic look.
Ultimately, the material preferences are up to you – choose what suits your taste and sewing abilities best!
Supplies Needed
To sew an apron, you’ll need:
- About a yard of your preferred fabric
- Coordinating thread
- A measuring tape
- Scissors
- A sewing machine
Choose a tightly-woven cotton, linen, or canvas fabric that can withstand frequent use and washing.
Marking tools like a fabric pen or tailor’s chalk are handy for marking your pattern pieces.
Straight pins can help hold the fabric pieces in place as you sew.
For a bit of flair, consider ric-rac trim, rickrack, or bias tape to decorate the apron.
With just these basic sewing supplies, you can craft a custom apron in no time.
DIY Apron Cutting Instructions
Once you have gathered your materials, you’ll need to cut your fabric pieces to the proper dimensions to create your DIY apron.
Start by cutting the main apron piece to 32 inches long by 27 1/4 inches wide. This will be the bulk of your apron.
Next, cut one 4-inch by 22-inch strip for the neck strap. Then cut two 25-inch-long strips for the waist ties.
If adding pockets, cut two 8-inch squares.
Folding the fabric with right sides together before cutting will yield pieces ready for hemming.
Vary pocket shape and placement to personalize your apron style.
Take care cutting curved edges and notches so your apron seam finishes smoothly.
Mark piece dimensions with a fabric marker and cut precisely for a polished result.
With an understanding of essential apron pieces and crisp cutting technique, you’ll be ready to sew up a charming homemade apron in no time.
DIY Apron Sewing Steps
Here we go!
Time to start sewing your apron together.
First, prepare the straps and ties by folding the fabric in half lengthwise.
Then make the pockets by folding down one edge for a hem before stitching to the main piece.
Finally, assemble the main apron by hemming the edges, attaching the neck strap, and securing the ties.
Prepare the Straps and Ties
Now that you have cut the fabric for your DIY apron, it’s time to prepare the straps and ties.
Fold your strap and tie fabrics in half lengthwise with wrong sides together. Sew along the long open side of each piece.
Consider strap variations like width, length, and embellishments.
Finish the ends and insert straps into the apron’s arm area. Adjust size as needed.
Make the Pockets
You then prepare the pockets by folding down one edge of each pocket square for a hem, ironing the hem line, and sewing the hem down.
Consider placement of pockets, centered, off to one side, or dual pockets.
Add embellishments like ruffles, trims, embroidery, or applique.
Vary pocket shapes – square, rounded, angled.
Assemble the Apron Main Piece
Having prepared the pockets, assemble the apron main piece by placing the pockets on the main apron fabric piece.
Fold the unhemmed edges of the pockets underneath and sew each pocket to the apron.
With the pockets secured, you can now focus on the overall construction.
Consider different fabrics, styling tweaks, and fit adjustments to make this DIY apron truly your own.
Sew the Apron Edges
After securing the pockets to the apron, fold down and iron the remaining apron edges to create hems for a clean finish.
For fabric with a tendency to fray, consider finished edges using bias tape, French seams, or a zigzag stitch before hemming.
When hemming, folding the raw edges in 1/4 inch, then another 1/2 inch creates a narrow, tidy hem.
For curved edges, clip into the hem allowance every 1-2 inches to ease fullness around curves.
Add interest using contrasting thread colors, decorative stitches, or trims like lace or rickrack along the hem.
With the bulk of the project complete, take pride in these finishing touches that elevate your handmade apron.
Add a Pocket to the Apron
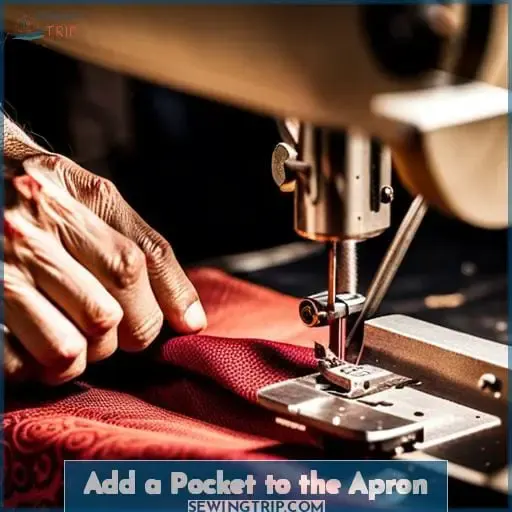
Once your apron’s edges are sewn, customize it by adding a handy pocket.
A pocket isn’t only decorative but also functional, providing you with a convenient place to store small tools or essentials while cooking or crafting.
Here are some tips for adding a pocket to your DIY apron:
- Pocket placement: Consider where you want the pocket to be located on your apron. It can be placed on the chest area for easy access, or lower down near the waist for larger items.
- Embellishment options: Get creative with embellishments such as lace trims, fabric appliques, or embroidery designs to make your pocket stand out.
- Pocket styles: Choose from different types of pockets like patch pockets (sewn directly onto the front of the apron), inseam pockets (hidden within seams), double welt pockets (more advanced technique), and more.
- Functional designs: Think about what you’ll use the pocket for and design it accordingly. For example, if you need space for utensils or recipe cards in your kitchen apron, consider making multiple smaller compartments within one large pouch.
- Patchwork variations: If you’re feeling adventurous and want an eclectic look, create a patchwork-style pocket using different fabric scraps.
By incorporating these elements into your DIY project, you will have both style and functionality in one piece – truly mastering every aspect of sewing an amazing custom-made apron!
Sew the Apron Neckband
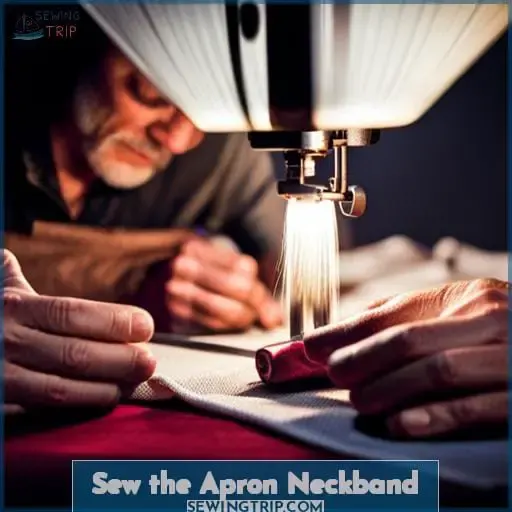
Next up, sew the apron neckband to add a professional finish.
Cut an 18-inch length of 1-inch wide elastic.
To match, cut a 22 x 3-inch rectangle of your apron fabric.
Fold the fabric in half lengthwise with right sides together.
Sew the long open edge with 1⁄4 inch seam allowance, creating a tube.
Turn the tube right side out.
Pin the ends of the elastic inside the fabric tube, overlapping slightly.
Tack the elastic ends in place.
Pin the neckband to the apron neckline, aligning the edges and the corners.
Stitch it in place along the neckline edge.
The elastic will keep it snug.
For fun variations, try ruffles, premade trims, or different neckband shapes.
| Neckband Variation | Ideal Fabric | Possible Embellishment | Adjusted Length | Personalization |
|---|---|---|---|---|
| Basic | Cotton | Contrast Stitching | Shorten for Petite | Monogram |
| Ruffled | Linen | Rickrack Trim | Lengthen for Tall | Applique |
| Peter Pan Collar | Flannel | Buttons | Child Size | Fabric Painting |
| Off Shoulder | Denim | Lace Insert | Maternity Adjustment | Heat Transfer Graphic |
| Criss Cross | Chambray | Piping | Big & Tall Fit | Fabric Marker Drawing |
Iron and Finish the DIY Apron
When you’ve sewn all the edges, iron your homemade apron to remove any wrinkles and give it a crisp, clean finish.
Press with an up-and-down motion, not back-and-forth, to avoid stretching or distorting the fabric.
Use steam to make creases permanent and help flatten seams. Hold the iron down for several seconds when pressing.
For stubborn wrinkles, spray with water before pressing.
Check the entire apron, pressing inward from the edges and over seams.
Proper pressing techniques prevent wrinkles and give your project a professional look.
Refine the edges with some final passes of the iron.
Your pressed apron is now ready to protect your clothes in style!
Easy Beginner Sewing Projects
After hemming and assembling your lovely homemade apron, it’s ready to wear! Now you have sewing skills to make easy beginner projects.
Start small with oven mitts. Trace your hand, cut two mitt shapes from cotton fabric leaving seam allowance. Place fabric right sides together, sew around leaving an opening. Clip corners, turn inside out, topstitch closed.
Add heat resistant batting or interfacing for insulation. Customize with quilting or embroidery.
Make scented sachets with lavender buds tucked inside drawstring bags of pretty fabrics. Simply cut rectangles twice desired size, sew side seams right sides together, box corner seams, turn inside out, thread ribbon through top casing.
You can also sew fabric coasters, travel jewelry cases, headbands, patchwork pillows. Follow simple patterns using your new skills – rotary cutting, seam finishes, hems, topstitching.
Customize Your Handmade Apron
You can jazz up your homemade apron by adding decorative touches like appliqués, trims, ruffles, or embroidery.
Sew on patches, lace, ribbons, rickrack, buttons, or other personalized touches.
Appliqué fun shapes, initials, names, or phrases onto the apron.
Add ruffles or extra tiers for a feminine apron.
Use colorful embroidery floss to stitch flowers, vines, or your own unique designs.
Stamp fabric ink designs before constructing the apron for a customized look.
With so many creative additions available, you can make your handmade apron truly unique with customized details.
The possibilities are endless, so unleash your creativity!
Frequently Asked Questions (FAQs)
What length of elastic should I use for the neck strap?
For the neck strap, cut an 18 length of 1 wide elastic.
This provides enough stretch to comfortably fit over an adult head while keeping the apron secure around the neck.
Simply stitch the elastic into a loop and attach it to the corners of the apron’s neckline.
What type of thread works best for sewing an apron?
For sewing aprons, I’d recommend polyester or cotton thread.
Polyester is very durable, while cotton offers a nice, soft feel.
Now, let’s discuss some easy apron patterns for beginners!
How do I clean and care for a handmade apron?
To care for your handmade apron:
- Wash gently by hand or on the delicate cycle.
- Line dry to prevent shrinking.
- Iron inside out on low heat as needed to remove wrinkles and restore shape.
Can I add embroidery or other decorative touches?
Absolutely! Personalize your apron by embroidering names, motifs, or monograms.
Add colorful trims, appliqués, or lace for a decorative flair.
Such artistic touches make your handmade apron uniquely yours.
What is the best way to gift wrap a homemade apron?
Fold the apron neatly and tie it closed with a ribbon.
Place it inside a handmade fabric pouch or gift bag.
Add a personalized tag and homemade baking mix or kitchen utensil.
The gift conveys thoughtfulness through unique, homemade touches.
Conclusion
And a wonderful new apron is yours!
Stay safe in the kitchen by stitching your stylish solution simply, starting today.
Sew savvy sides, secure straps, stitch pockets.
Craft your apron, then cheer at completed creation: kid-approved and culinary catastrophe-averting with customizable charm!
Keep cooking with confidence, wearing your handmade hero that took hardly ten minutes.
Our little project proves you now possess the power to produce practical pieces pronto.
Protective and pretty, may your custom how-to-sew-a-cooking-apron guide your next garment-sewing glory!

