This site is supported by our readers. We may earn a commission, at no cost to you, if you purchase through links.
We’ll guide you from start to finish so you can master even the trickiest techniques like mitered corners. With a sharp needle and the right tricks, you’ll get professional-looking results. This comprehensive tutorial has everything you need to know about how to sew trim to make your creations truly one-of-a-kind.
Let your imagination run wild with specialty trims like lace and fur – we’ll provide the know-how so your projects reflect your unique personal style. Embrace your inner artisan and unlock new creative possibilities as you learn how to sew trim with flair.
Table Of Contents
- Key Takeaways
- How to Sew a Rectangular Trim Inset
- How to Sew Trim Along the Fabric’s Edge
- How to Hand Sew Novelty Beaded Trims
- How to Go About Sewing Trims
- How to Add Lace Trims to Edges?
- How to Attach Faux Fur Trims?
- How to Sew Ric Rac?
- How to Attach a Ribbon Trim?
- How to Sew Outward Right-angled Corners
- How to Sew Narrow Pointed Corners
- Frequently Asked Questions (FAQs)
- Conclusion
Key Takeaways
- Use a press cloth when ironing delicate fabrics to avoid scorching.
- Allow an extra 5/8 seam allowance for texture with faux fur.
- Test tension on scraps first with ribbon.
- Adjust the machine tension so that threads blend smoothly.
How to Sew a Rectangular Trim Inset
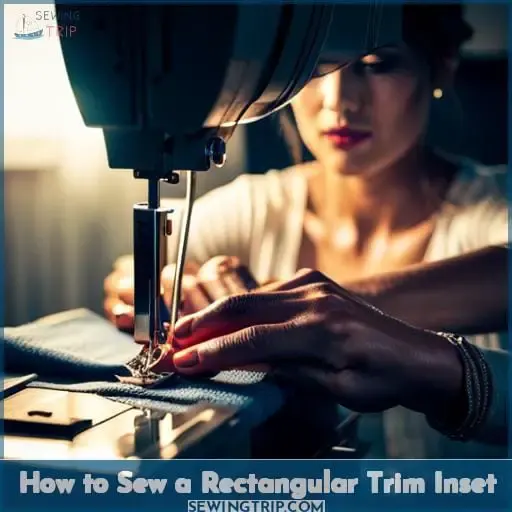
You can easily enhance your project by inserting a rectangular trim as an inset – just stitch along the top and bottom edges before cutting away the excess fabric in the middle. I know it sounds tricky, but going slowly and using a new needle will let you get a beautiful result.
Start by selecting a trim with two straight edges that can be stitched on both sides. Pin the trim in place, matching the edges to your fabric. Use a needle size appropriate for the trim’s thickness.
Stitch the top edge first, keeping the tension balanced so the stitches look smooth. Check under the trim periodically. Then stitch the bottom edge. Once both edges are sewn, carefully cut away the fabric behind the trim, leaving just a strip of the inset.
With some patience, the rectangular trim will be perfectly positioned to enhance your project with a polished embellishment.
How to Sew Trim Along the Fabric’s Edge
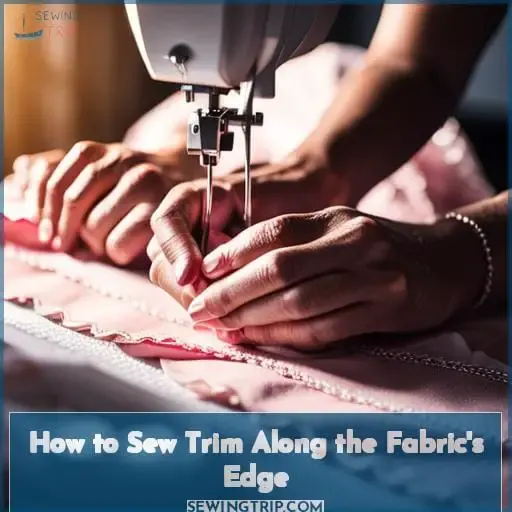
Carefully align the trim along the fabric’s edge before gently stitching through, taking care not to stretch or distort the delicate material.
Baste the trim first to hold it temporarily before final stitching. This allows adjustments.
Use seam types like French seams to neatly finish edges with trim. Encase seams for comfort.
Adjust thread tension so the right side appears smooth without bobbin thread showing.
Lengthen the stitch slightly and use the edge of your presser foot for guidance.
Check under the trim periodically while stitching to ensure even, accurate placement.
When adding lovely trims to finish a project’s edges, patience and care create professional results to showcase on the runway or in everyday wear. Handling each delicate trim according to its needs takes practice, but mastering the techniques brings confidence and satisfaction.
How to Hand Sew Novelty Beaded Trims
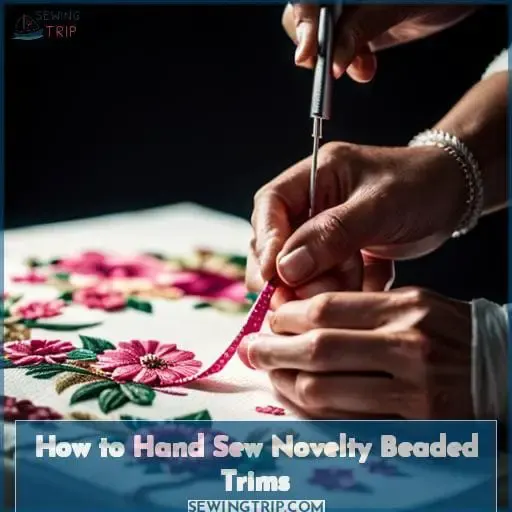
Anchor beaded trim ends with a few stealthy stitches near the last bead before moving along.
- Use a sharps needle and polyester thread. Avoid natural fibers that may fray.
- Back the trim with stabilizer. Tear-away works well.
- Employ stealthy stitches – small slip stitches or invisible stitches.
- Knot the thread securely and bury it between beads.
Take time to thoughtfully apply beaded trims. Your garment will shimmer with quality finishings.
How to Go About Sewing Trims
They’re sewing trims with the care of a mother stitching her child’s favorite blanket.
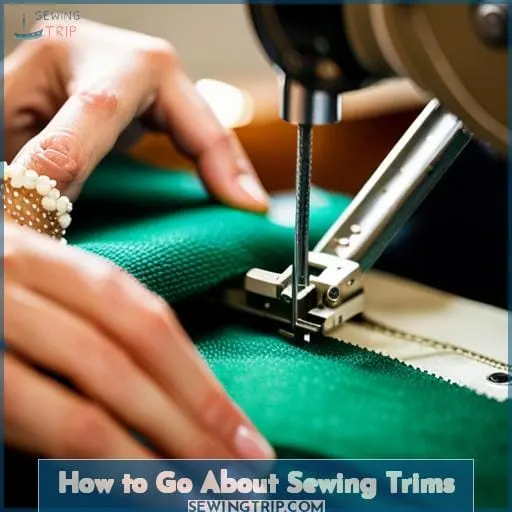
- Select the right needle and thread for the trim’s material.
- Use a press cloth to avoid scorching delicate fabrics when ironing.
- Fold ribbons at corners diagonally for smooth turning and even stitching.
- Anchor trim edges precisely with clips before machine sewing.
Carefully guide the fabric, focusing on each trim’s unique needs. Adjust tension so threads blend, not battling each other. Handle specialty trims gently by hand or machine to preserve their beauty. Let creativity flow freely when choosing color and placement.
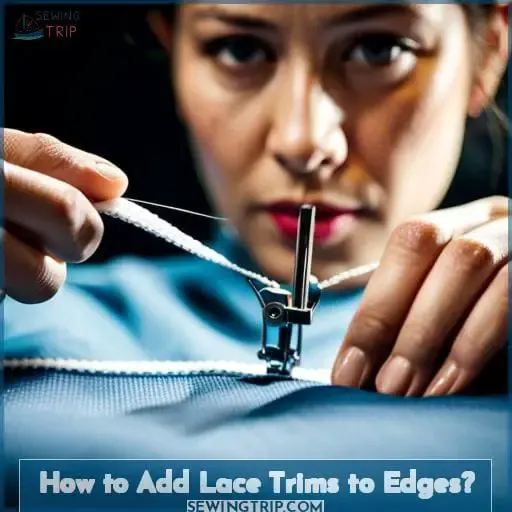
How to Add Lace Trims to Edges?
You’ll get gorgeous results stitching lace trims 1/2 inch from fabric edges so they gracefully extend below the hem.
- Use a longer straight stitch length like 3-4mm to gently sew the lace.
- Choose a needle sized for the lace weight, such as a 70/10 for light laces.
- Set the machine tension so the bobbin thread doesn’t show on the right side.
- Test on scraps first to check stitching before sewing the garment.
When adding lovely lace trims to edges, take care to gently handle the delicate material and make any needed adjustments to your sewing technique. With some thought and testing, you can beautifully embellish hems and edges with elegant laces that will last.
How to Attach Faux Fur Trims?
Let those fancy furs fly free along your fabulous hems, hugging your curves with fluffy warmth.
- Pin baste faux fur trim before final stitching for control.
- Use a longer machine stitch length, like 3mm, to prevent stretching the fur.
- Sew the trim to the right side of the fabric, encasing raw edges in seam allowances.
- Allow an extra seam allowance of 5/8 for thick fur texture.
- Finish enclosed fur seam edges with a zigzag stitch to prevent unraveling.
- Pull the faux fur away from the underside while sewing to avoid tangling fibers.
Attach faux fur trim as a luxurious accent along any edge. Experiment with combining colors and textures for custom cozy creations. Whether real fur or faux, handle gently and allow extra seam room for the fluff factor when attaching.
How to Sew Ric Rac?
You top stitch ric rac trim along the center or hand tack at points.
Here are 5 tips for sewing ric rac trim:
- Cut the ric rac to the desired length and pin it in place before sewing.
- Use a zipper foot to top stitch directly along the center valley of the ric rac. This helps the trim lie flat.
- For lightweight fabric, use a narrow zigzag stitch to give the ric rac more stability.
- Hand tacking with small stitches at points gives greater control over placement.
- When sewing ric rac on a curve, gently ease the trim to follow the shape. Avoid stretching or distorting it.
Ric rac’s zigzag design offers creative possibilities for embellishing projects. Play with color, alternating directions, and placement to make the trim truly yours. With the right technique, ric rac can add a special touch to anything from dresses to home decor.
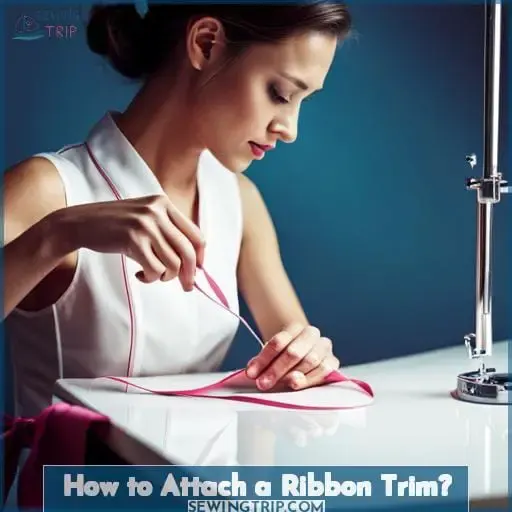
How to Attach a Ribbon Trim?
Take care stitching delicate ribbon trim, so its lustrous beauty enhances your project.
Choose ribbon trim in a coordinating or contrasting color for your fabric. Match or contrast the thread accordingly.
Adjust the thread tension so the bobbin thread doesn’t show through on the right side.
Consider the care requirements of both the fabric and ribbon trim. Many trims require dry cleaning.
Overlap the ribbon ends slightly when joining to create an invisible seam that blends together.
Use a pressing cloth when steaming ribbon trim to avoid damaging the material. Handle gently.
Ribbon trim elevates any sewing project, adding shine, texture, and creative possibilities. With care and proper technique, it stitches up neatly to accent your handiwork with timeless elegance.
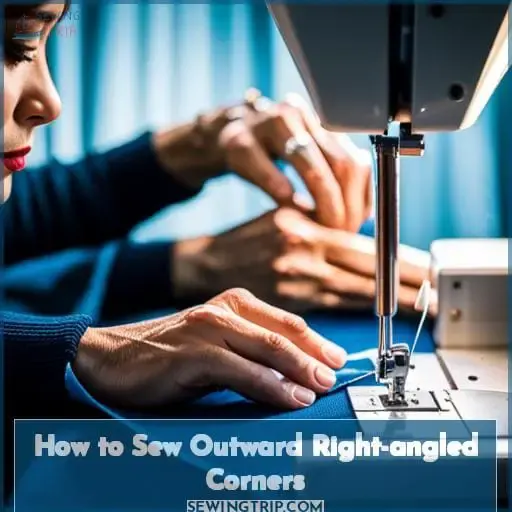
How to Sew Outward Right-angled Corners
When sewing trims, you’ll need to navigate outward right-angled corners. For lightweight fabrics, simply fold the seam allowances in the corner and stitch normally. To ensure a crisp corner, employ a few techniques like clipping, pressing, and securing the seam neatly before turning it right side out.
Uses
Trims’ shapes should match desired placements, like edge trims on hems and rectangular as insets. Selecting the right trim for the right application results in successful embellishment and neat, professional finishes.
Ribbon is ideal to grace necklines, while ric rac excels when used to accent seams or edges. Fringe trims naturally belong on the lower edge of a skirt or dress. Taking care to pair trim characteristics to usage sets sewists up for excellent execution.
| Trim Type | Best Uses |
|---|---|
| Edge trims | Decorating hems, adding interest along edges |
| Rectangular | Insetting into seams and panels as stripes |
| Ribbon | Necklines, waistlines, ties |
| Ric rac | Seams, edges, surface embellishment |
| Fringe | Skirt or dress lower edge |
Step-by-step Instructions
- Stop at the corner point, then pivot the fabric to sew the next edge.
- Trim and grade the seam allowance at inside corners for a sharp shape.
- Use a shorter stitch length of 2.0mm when approaching the corner for more control.
- Press with lots of steam after sewing to flatten those seams nicely.
Tips
Fold the corner over neatly, then grip it with tweezers to lock the folded shape before gently turning the fabric right side out. For outstanding outward corners, coordinate trim color perfectly, gently hand wash delicate trims, iron with a pressing cloth to avoid damage.
Vintage trims authentically embellish any project when sourced thoughtfully from specialty shops. Meticulous technique transforms basic materials into enduring works echoing the liberation found in mastery.
How to Sew Narrow Pointed Corners
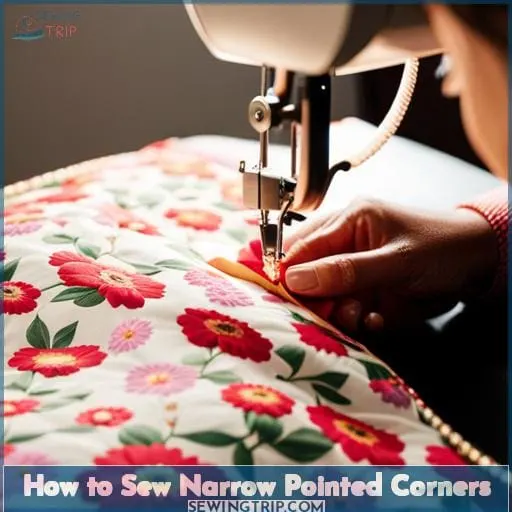
You’ll need to be extra careful when sewing narrow pointed corners. Clip closely to the stitches and gently poke out the fabric point using a stiletto tool.
Use thinner, gradual diagonal trims rather than right-angled cuts to reduce bulk.
Gently poke the corner out using tweezers or a chopstick instead of fingers.
For thin fabrics, pinching the layers together adds improved lengthwise stability.
Check that finishing threads at the point are even and uniform.
Sewing narrow corners takes precision, but with the right preparation and gentle handling, you can achieve crisp, clean points on any project.
Pay attention to clipping, trimming, and pressing for best results.
Frequently Asked Questions (FAQs)
What types of thread should I use when sewing different trims?
When sewing trims, match the thread color and type to the trim material. Polyester thread works well for most trims. Use cotton thread for natural fabrics like linen and silk. Nylon thread is strong for specialty trims with sequins or beads.
Adjust your upper thread tension so the bobbin doesn’t show through. Test different threads on scraps first to ensure quality stitching.
How can I prevent my sewing machine from getting tangled or jammed when sewing trims?
Use a new needle; test tension on scraps first. Go slowly, adjusting as needed. Check under trims periodically to ensure even stitching. Use seam sealant on delicate fabrics and increase presser foot pressure for slippery trims.
What sewing machine settings and needle types work best for different trims?
To ensure success when sewing trims, utilize machine needles that match the thickness. Undeniably, zigzag feet separate trims from fabric. Scissors carefully clip thread ends that come unattached. Mindfully adjust tension down and stitch length up. Prioritize pressing cloths when ironing delicate materials.
Thoughtfully baste first for easier handling. Ultimately, trims transform garments and elevate your sewing skills.
How do I join strips of trim together to get the desired length?
Overlap trim ends slightly, baste them together through the centers with thread matching the trim color. Stitch with small stitches just inside the edge through both pieces for an invisible seam.
What are some good tricks for neatly finishing the ends of trims?
You can stitch a couple of small securing stitches near the last bead to anchor beaded trim ends neatly. For ribbon or lace, cut corners diagonally, then tuck raw edges inside before topstitching for a clean finish.
Conclusion
With all these stitching secrets up your sleeve, you’re sure to turn heads and inspire envy with your indelibly elegant creations. Heed these treasures from seamstresses of yore and watch with quiet satisfaction as you effortlessly finesse even the most unruly of fabrics.
Your dextrous fingers will dance across each trim, ribbon, and notion, guided by timeless techniques to sew trim that lasts for generations.
So take up your needle and thread, fill your heart with passion for your craft, and create an enduring legacy through your devotion to these noble textile arts.

